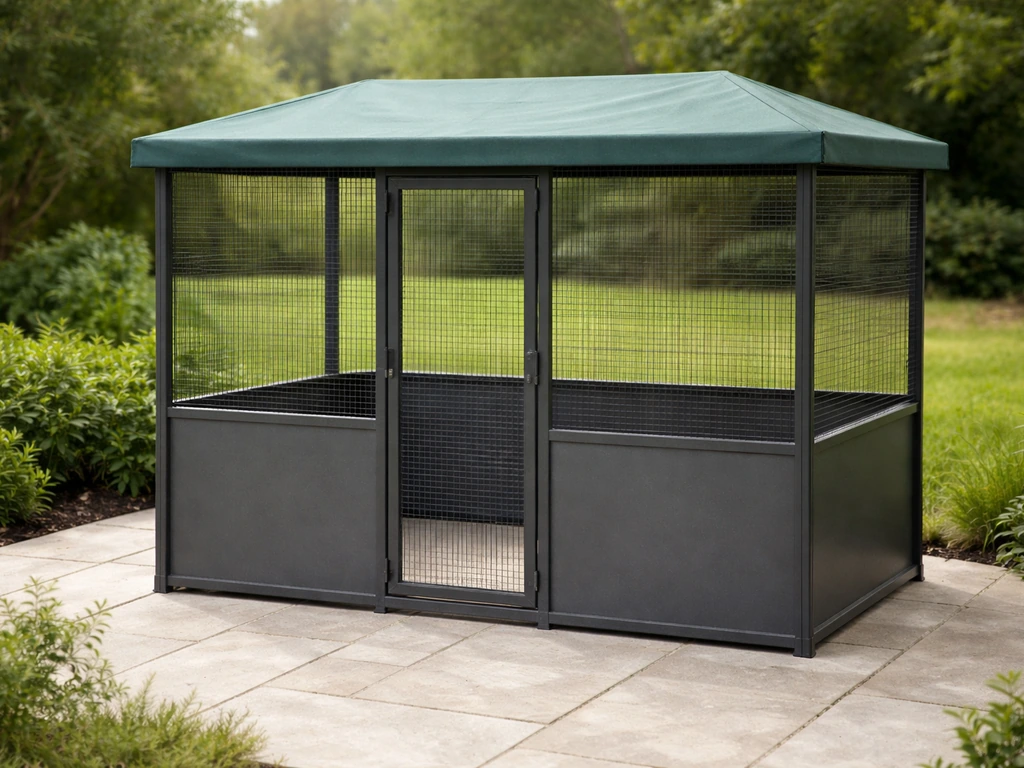
You can build a safe DIY canary cage using welded wire mesh with 1/2-inch or smaller bar spacing, a wooden or powder-coated steel frame sized at least 24 inches wide by 14 inches deep by 18 inches tall, a slide-out bottom tray lined with paper, and bird-safe finishing throughout. That combination keeps your canary from escaping, getting its head stuck, or being poisoned by coatings, and gives it enough horizontal room to actually fly short distances inside the cage.
How to Build a Canary Bird Cage: Step-by-Step DIY Guide

Maya Bennett
30 May 2026
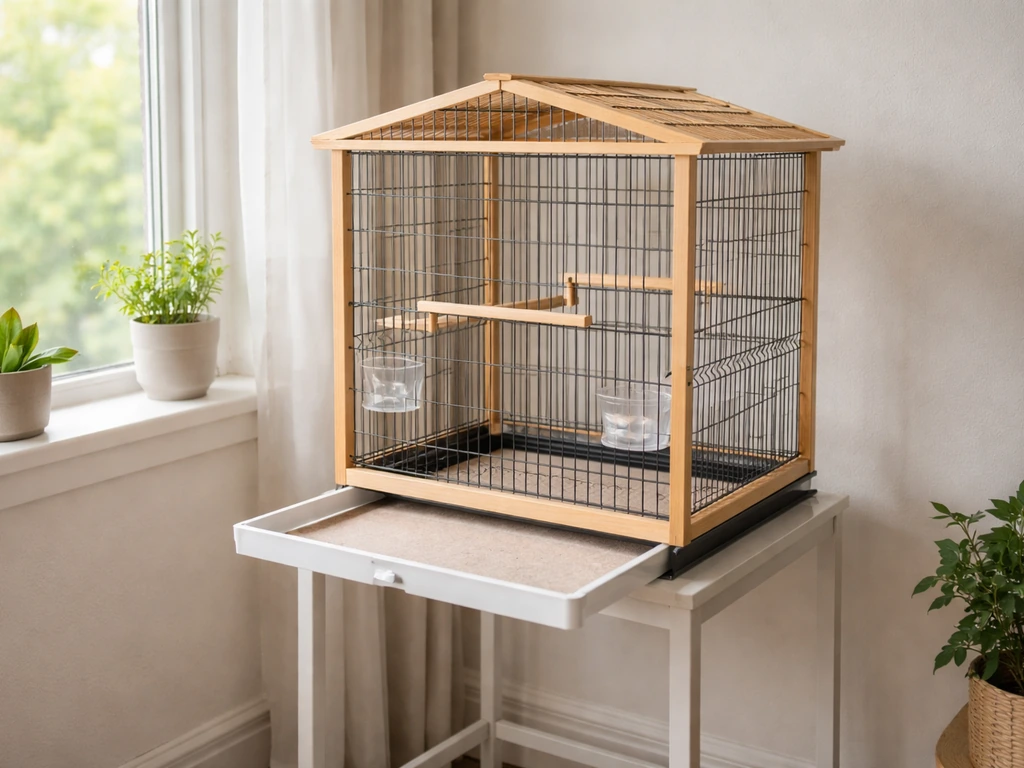
Choosing the right size and style for canaries
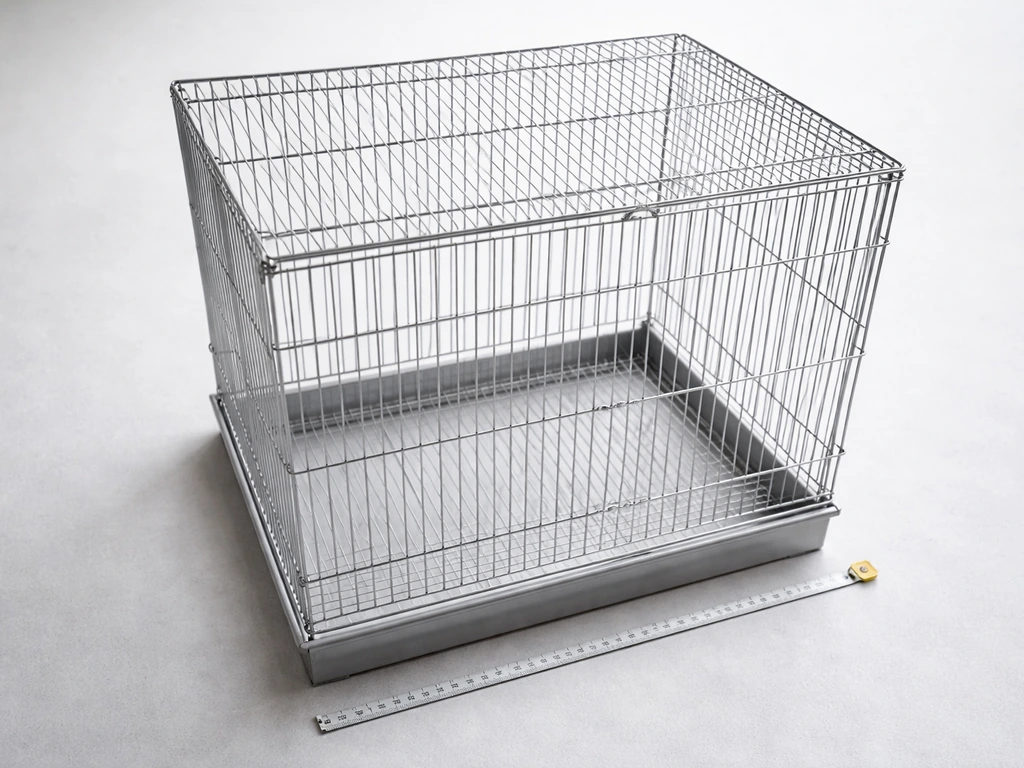
The absolute minimum floor space most avian welfare guidelines cite for a single canary is 18 inches wide by 14 inches deep by 18 inches tall. That's the bare minimum, though, and canaries are active fliers who should never have their wings clipped. Because flight is their main exercise, a longer horizontal footprint matters far more than height. I'd push the width to at least 24 inches, and 30-36 inches is even better if you have the space. Think long and low rather than tall and narrow.
Style-wise, a simple rectangular box cage is the most practical build for a DIYer. Rounded or domed tops look attractive but are harder to frame, collect more dust in the curve, and give your canary less usable perching area. A flat or very slightly pitched top is easier to build, easier to cover at night, and just as functional. If you want to go bigger and give your canary a dedicated flight space, the approach overlaps with building a flight cage or small indoor aviary, which is a different scale of project entirely. If you plan to give more room for hopping and short flights, you can also build a larger flight cage-style setup with safe spacing and sturdy framing. If you're ready to move up from a single canary cage, our guide on how to build an indoor aviary or flight cage can help you plan the larger setup how to build a flight cage or indoor aviary. If you are aiming specifically at parakeets, use the same cage-safety principles, but size the space and bar gaps for their larger bodies and active movement how to build a bird cage for parakeets. If you're trying to build a bird trap cage, the same focus on safe materials and tight bar spacing helps prevent injury and escape attempts.
Materials and safe cage design
Wire gauge and bar spacing

Bar spacing must be 1/2 inch or less. That's non-negotiable. A canary can push its head through anything wider, and if it panics and can't pull back, the result is a broken neck or strangulation. For wire mesh, 16-gauge welded wire mesh at 1/2-inch spacing is the standard choice. It's rigid enough to hold its shape in a panel, light enough to work with hand tools, and widely available at hardware stores. Avoid chicken wire entirely: the hexagonal weave is not rigid, gaps are uneven, and the cut ends are sharp and springy.
Frame materials
You have two main frame choices: kiln-dried hardwood (poplar, maple, or birch are all good) or square steel tubing finished with bird-safe powder coating. Wood is easier to cut and join with basic tools, and a canary won't chew through it the way a parrot would. Steel is more durable and easier to wipe clean. Avoid raw galvanized steel or any wire that is heavily zinc-coated, especially for outdoor builds. Zinc flakes are a genuine toxicity risk if your canary ingests them from chipping surfaces. If you're repurposing any galvanized hardware, remove loose flakes with a wire brush and sand smooth before refinishing with a bird-safe coating.
Safe finishes and what to avoid
Any paint, stain, or sealant used inside or on surfaces the canary can touch must be non-toxic once fully cured. Water-based acrylic paints marketed as bird-safe work well on wood frames. Powder-coated steel (fully cured) is safe. What to avoid: lead-based paints, oil-based paints with strong solvent fumes, spray lacquers, and anything containing zinc compounds. The RSPCA specifically flags that cage wire must not be so heavily galvanized that zinc poses a toxic threat. Let any painted surfaces cure fully in a ventilated area for at least 72 hours before the canary goes anywhere near them.
Doors and latches
Plan at least two doors: one large access door on the front panel (roughly 6 x 8 inches) for cleaning and handling, and one small side door (3 x 4 inches) for inserting food and water cups without opening the whole front. Every door needs a positive-locking latch, not just a friction fit or a simple hook. A small carabiner clip or a spring-loaded bolt latch on the outside of each door works well. Canaries are not as latch-savvy as parrots, but a door that swings open on its own during cleaning is how birds escape.
Step-by-step build layout and measurements
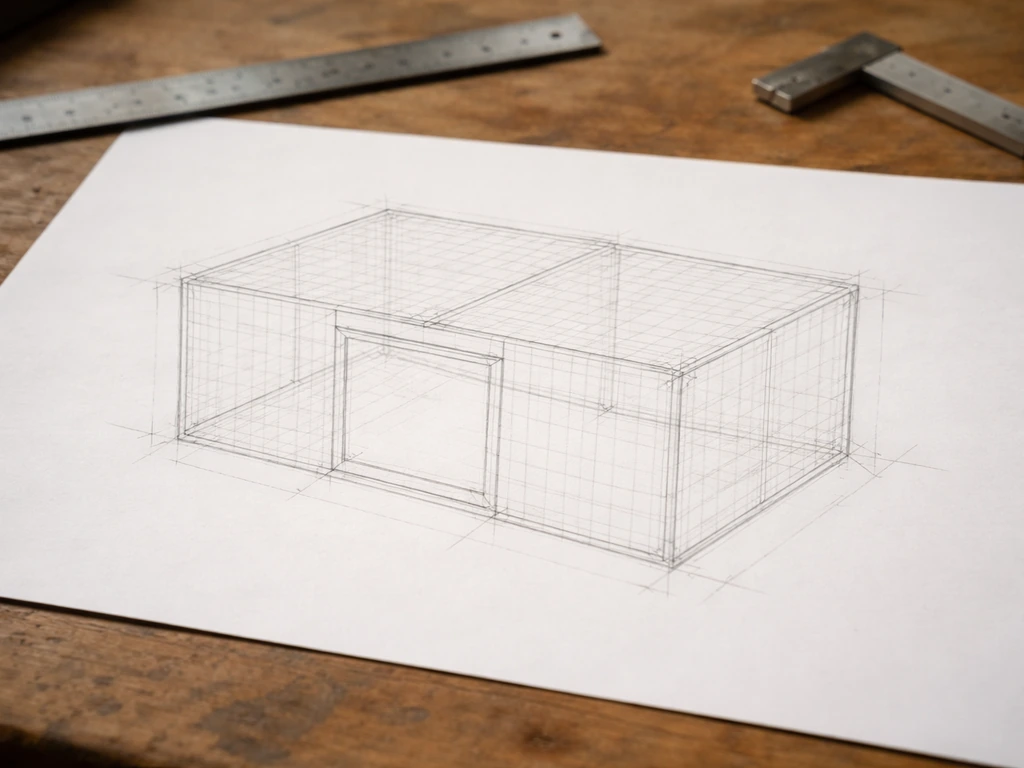
Before you cut anything, sketch the cage on paper and mark every panel dimension. Here's a practical starting size that gives your canary real flying room and keeps the build manageable for one person. For cockatiels, use the same safety-first approach but size the cage larger for their greater space needs and different behavior bird cage for cockatiels. Here's how to build a bird cage using these measurements as your starting point, then adapting the layout to your space.
| Panel | Dimensions (W x H) | Notes |
|---|---|---|
| Front panel | 30" x 18" | Include large access door and small feeder door cutouts |
| Back panel | 30" x 18" | Solid wire mesh, no cutouts needed |
| Left side panel | 14" x 18" | Solid wire mesh |
| Right side panel | 14" x 18" | Small side door optional here |
| Top panel | 30" x 14" | Solid wire mesh or solid wood/acrylic if cover is used |
| Bottom frame | 30" x 14" | Houses the slide-out tray; no wire here |
| Slide-out tray | 29.5" x 13.5" | Aluminum or galvanized steel sheet, 1/2" lip all around |
Cut your frame pieces first, then dry-fit everything before fastening. For a wood frame, use 3/4-inch square hardwood dowel or 1x1 lumber for the corner uprights and horizontal rails. The frame essentially creates a box skeleton, and the wire mesh panels attach to the inside faces of that skeleton. Pre-drill all your screw holes to avoid splitting the wood, and use stainless steel screws throughout, not standard zinc-plated hardware.
- Cut all frame pieces to length and label them (front-top-rail, front-bottom-rail, corner-upright-FL, etc.)
- Dry-fit the entire frame without fasteners to check alignment and measure any gaps
- Cut wire mesh panels to fit each face, leaving a 1/4-inch overlap onto the frame on all sides
- Staple or J-clip wire panels to the inside faces of each frame section before assembly
- Assemble the four side panels into a box using corner brackets and stainless screws
- Attach the top panel last, checking that all corners are square with a framing square
- Frame the bottom separately as a shallow tray runner, leaving the center open for the slide-out tray
- Cut and test-fit the slide-out tray so it slides smoothly with no more than 1/4-inch gap on any side
- Cut and hinge all doors, then fit latches and test each door opens and closes cleanly
Hardware, assembly, and finishing for safety and durability
J-clips (also called C-rings) are the best way to fasten wire mesh to a wire frame or to join mesh panels edge-to-edge. You'll need a J-clip plier tool, which costs about $15-20. For wood frames, stainless steel staples shot with a heavy-duty staple gun work fine, but go back over every staple edge with needle-nose pliers to make sure no wire ends are exposed and pointing inward. A single exposed wire tip can cut a canary's foot badly.
After assembly, run your hand slowly over every interior surface. Feel for any sharp wire ends, screw tips that poke through, or splinters on wood joints. File or clip anything that snags. Then do a gap check: run a 1/2-inch dowel along every seam and corner. If the dowel fits through a gap, your canary's head can too. Fill any gaps wider than 1/2 inch by adding a strip of wire mesh or a thin wood batten over the joint.
If you're painting wood components, apply two thin coats of water-based bird-safe paint, letting each coat dry fully. Don't paint the interior wire mesh. Set the finished cage outside or in a very well-ventilated space for at least three days before introducing the bird. Even non-toxic paints off-gas slightly as they cure, and canaries have extremely sensitive respiratory systems.
Perches, feeding and water setup, and the bottom tray
Perches
Canary feet are small. Perch diameter should be between 1/4 and 1/2 inch so the foot can grip properly without overextending. Natural branches in that diameter range from safe wood species (willow, apple, pear, fir, aspen) are ideal because the slight variation in diameter exercises the foot muscles. Cut branches to span the full width of the cage and wedge or screw them into the wire mesh. Avoid gravel-coated perches: canaries will pick the gravel off and ingest it. Place perches at different heights to encourage hopping and short flights between levels, but position at least one perch near the front of the cage so the bird has a natural landing spot after crossing the cage horizontally.
Feeding and water placement
Never position a perch directly above a food or water cup. Droppings contaminate the supply immediately. Place food cups on the lower half of the cage side walls, accessible through the small feeder door, and position the closest perch off to the side rather than overhead. Water cups or small sipper bottles attach to the wire mesh at about mid-cage height. Canaries also enjoy a shallow bath dish (about 1 inch of water) placed on the cage floor or hung on a door two or three times a week, which is separate from the drinking water.
Bottom tray and cleaning system
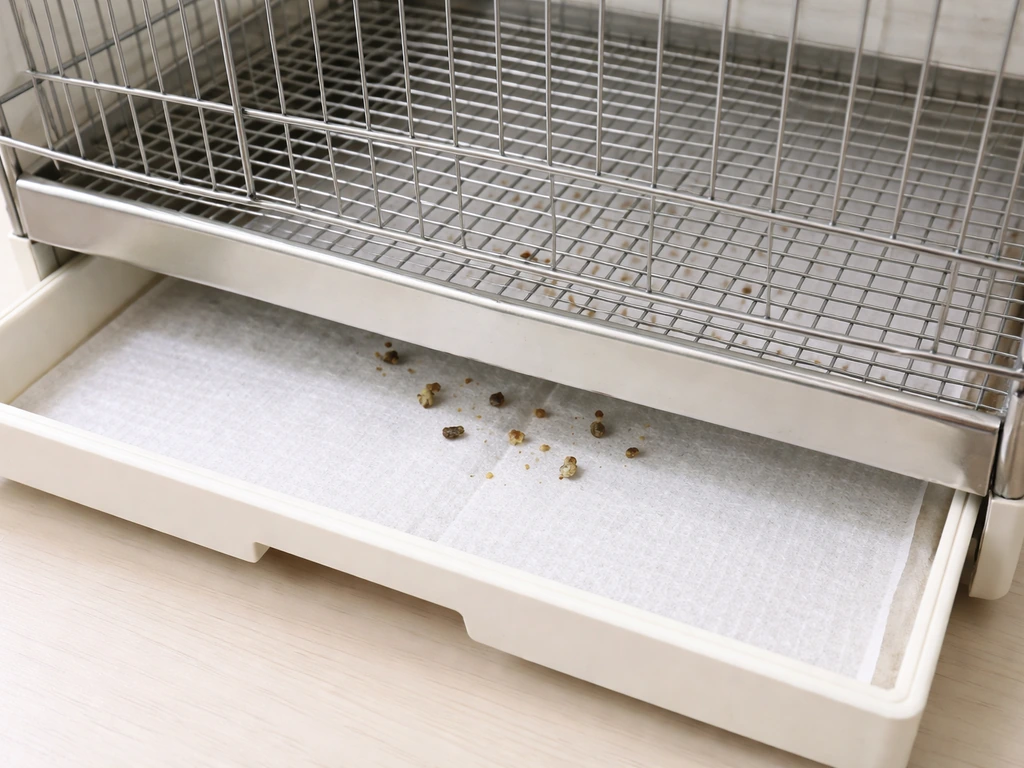
The ideal floor setup is a wire grate sitting above the slide-out tray, with 1/2-inch or smaller grid spacing so droppings fall through but the canary can't get its feet caught. Cut a piece of 1/2-inch welded wire mesh to fit the bottom frame and secure it about an inch above the tray surface. Line the tray itself with newspaper or plain paper towels, which you pull out and replace daily. This two-layer approach (grate plus paper) is what the AAV recommends for cage hygiene, and it makes the daily clean a 30-second job. Make sure the tray edges are smooth and folded or filed, with no sharp corners that could cut you or the bird during removal.
Covers, placement, and seasonal protection
Placement matters as much as the build itself. Keep the cage off the floor, positioned at roughly eye level or a bit below, in a room where your canary can observe household activity without being in the middle of chaos. The room should be well-lit with natural light for part of the day, but never place the cage in direct sunlight where the canary can't move to shade. A wall corner is good because it gives the bird two solid sides for security while keeping two sides open for light and air circulation.
Drafts are the single biggest environmental threat to canaries indoors. Keep the cage away from air conditioning vents, exterior doors, and windows that are regularly opened. In winter, avoid placing the cage near radiators or heating vents too, since the dry heat and temperature fluctuations are just as stressful as cold drafts. Ideal ambient temperature for canaries is roughly 65-75°F (18-24°C), and the key is stability rather than a specific number.
A cage cover is useful for giving your canary 10-12 hours of darkness for sleep and for blocking drafts from a specific direction. Make your cover from a breathable, dark fabric like cotton muslin or a medium-weight canvas. Cut it large enough to drape over three sides and the top, leaving the front partially open for ventilation. Never use plastic or synthetic fabrics that block airflow entirely. Attach small clip weights to the bottom corners so it doesn't blow off or slide during the night.
Decor and enrichment that won't compromise welfare
Canaries are not big toy users the way parrots are, but they do benefit from environmental variety. The most useful enrichment you can add to a DIY cage is variety in perch height, texture, and diameter (within the safe 1/4 to 1/2-inch range). A small hanging swing is usually appreciated and easy to add: a 1/4-inch diameter wooden dowel or branch section, suspended by two short lengths of stainless steel chain from the top wire panel.
For foraging enrichment, you can clip small bunches of safe leafy greens (kale, romaine, fresh herbs) to the wire mesh using stainless steel binder clips. This gives the canary something to investigate and nibble that changes daily. Avoid plastic toys with small detachable parts, and skip anything with rope or string fibers that can unravel and tangle around feet or necks. If you want to add a visual element, a small piece of cuttlebone clipped to the wire gives both enrichment and a calcium source.
Keep the interior clean and uncluttered. More than three or four perch positions and a swing is often too much for a cage in the 24-30-inch range, as it limits the open flying space that matters most. Rotate items in and out weekly rather than piling everything in at once.
Maintenance, troubleshooting, and common build mistakes
Daily and weekly cleaning
Pull and replace the bottom tray paper daily. This takes about 30 seconds and dramatically reduces bacteria and odor. Once a week, do a full clean: move the canary to a temporary holding cage (a travel carrier works fine), remove all perches, cups, and accessories, and wash every removable component with a cleaning product formulated for pet birds. Never use standard household sprays, bleach solutions, or aerosol cleaners around your canary. Birds' respiratory systems are acutely sensitive to fumes, and even residual aerosol particles in the air can cause serious harm. Rinse everything thoroughly, let it air dry completely, and reassemble before returning the bird.
Troubleshooting common DIY problems
| Problem | Likely Cause | Fix |
|---|---|---|
| Bird escaping or getting head stuck | Gap wider than 1/2 inch at a seam or corner joint | Add a wire mesh strip or wood batten over the gap; re-check with a 1/2-inch dowel |
| Rust forming on wire or frame | Untreated cut wire ends or moisture buildup in bottom tray | Clip and file all cut wire ends; seal with bird-safe epoxy; dry tray daily |
| Tray jams or sticks when sliding | Warp in tray material or debris buildup in the runner channel | Sand the runner channels lightly; check tray for warping and replace if bent |
| Mites or pests in cage joints | Debris trapped in wood seams or hollow perches | Replace natural branch perches every few months; seal wood frame joints with bird-safe sealant |
| Door swinging open unexpectedly | Latch not engaging fully or hinge screws loosening | Upgrade to a spring-loaded bolt latch; re-tighten hinge screws with threadlocker |
| Cover sliding off at night | Cover too small or no weight at bottom corners | Add clip weights to bottom corners; cut a new cover 4-6 inches larger on each side |
Safety checklist before your canary moves in
- All bar spacing is 1/2 inch or less with no gaps wider than that at any seam or corner
- Every interior surface passes a hand-check: no sharp wire ends, splinters, or protruding screw tips
- All paint and finish has cured for at least 72 hours in a ventilated space
- No raw galvanized surfaces inside the cage; all zinc-coated hardware is either removed or encapsulated
- Both doors open and close cleanly, and latches engage with positive resistance
- Slide-out tray moves smoothly and the bottom grate sits securely above it
- Perch diameters are between 1/4 and 1/2 inch; no perches are positioned over food or water cups
- Cage is placed off the floor, away from drafts, AC vents, and direct sunlight
- Cleaning supplies on hand are bird-safe and non-aerosol
Once you've checked every item on that list, you're ready to introduce your canary. Start with minimal interior furnishings: two or three perches, food and water cups, and maybe a swing. Let the bird settle for a few days before adding anything new. A calm, uncluttered environment makes the transition easier and gives you a clean baseline to spot any issues with the build early. If you later want to scale up to a shared flight space for multiple birds, the same safety principles apply but the dimensions and structural approach are a bigger project, closer to building a full flight cage or indoor aviary.
FAQ
Can I use larger than 1/2-inch bar spacing if I cover it with cloth or cardboard?
No. Covers can shift, and cloth can snag or trap a foot. The safety requirement is the wire spacing itself, so stick to 1/2-inch or smaller welded mesh everywhere the canary can reach.
What if my canary has trouble stepping onto perches, does that mean my perch diameter is wrong?
Often it is. Aim for 1/4 to 1/2 inch diameter, but also check perch texture and stability. Wobbly perches can make small feet avoid them even if the diameter is correct.
Is it safe to paint the cage wire mesh as long as the paint is labeled “non-toxic”?
Avoid painting the wire mesh interior surfaces entirely. Even bird-safe paints can create textured buildup or off-gassing, and it is harder to verify complete cure on all crevices inside the cage.
How do I make sure the bottom tray and grate spacing will not trap toes?
During assembly, test the gap with a small, smooth 1/2-inch dowel and then remove the dowel to confirm feet will not slip into any openings. Also ensure the wire grate is at the correct height above the tray, and that the grate edges are firmly secured so they cannot lift.
What cleaning products are safest for a canary cage if I need a stronger disinfecting option?
Use only cleaners made specifically for pet birds (or at minimum labeled safe for avian use) and avoid bleach, ammonia, and standard aerosol sprays. After any cleaning, let parts air dry fully in a ventilated area before returning the bird.
Can I build the frame from leftover outdoor lumber or pressure-treated wood?
You should not. Pressure-treated or weathered lumber can contain residues or chemicals even if it seems solid. Use kiln-dried hardwood as recommended, then coat only with fully cured bird-safe paint.
My cage has a slight wobble, is that dangerous?
Yes, instability increases the risk of the canary injuring itself if it hops or panics. Before finishing, tighten all joints, confirm the base sits level, and check that the slide-out tray does not shift when pulled.
Can I use a single door for everything instead of separate front and feeder access doors?
You can, but it increases escape risk because you will open the cage more often and for longer. If you combine access, use a positive latch and plan a cleaning workflow that minimizes the time the front opening is unattended.
How dark does the cage cover need to be, and can it touch the bird while it’s draped?
Use breathable, dark fabric that blocks most light, and leave the front partially open as described. The cover should not be made of stiff plastic or tight synthetic that reduces airflow, and it should be clipped down so it does not sag onto the cage interior.
Is a mirror or stainless steel bowl acceptable for enrichment?
A reflective item is risky if it causes persistent stress or aggression, and it can also complicate your hygiene routine. If you add reflective enrichment, monitor the bird closely, place it away from food and water, and remove it if you notice frantic pacing or over-focus.
What should I do if I discover a sharp wire end after the cage is assembled?
Stop using the cage immediately. Clip or file the sharp point, then re-check neighboring areas, because hidden sharpness often exists along the same seam. After repairs, run a fingertip and gap check again before placing the bird inside.
Next Article
How to Build an Outdoor Bird Cage: Step-by-Step DIY
Step-by-step DIY guide to build a weatherproof outdoor bird cage with safe materials, assembly steps, placement, and car