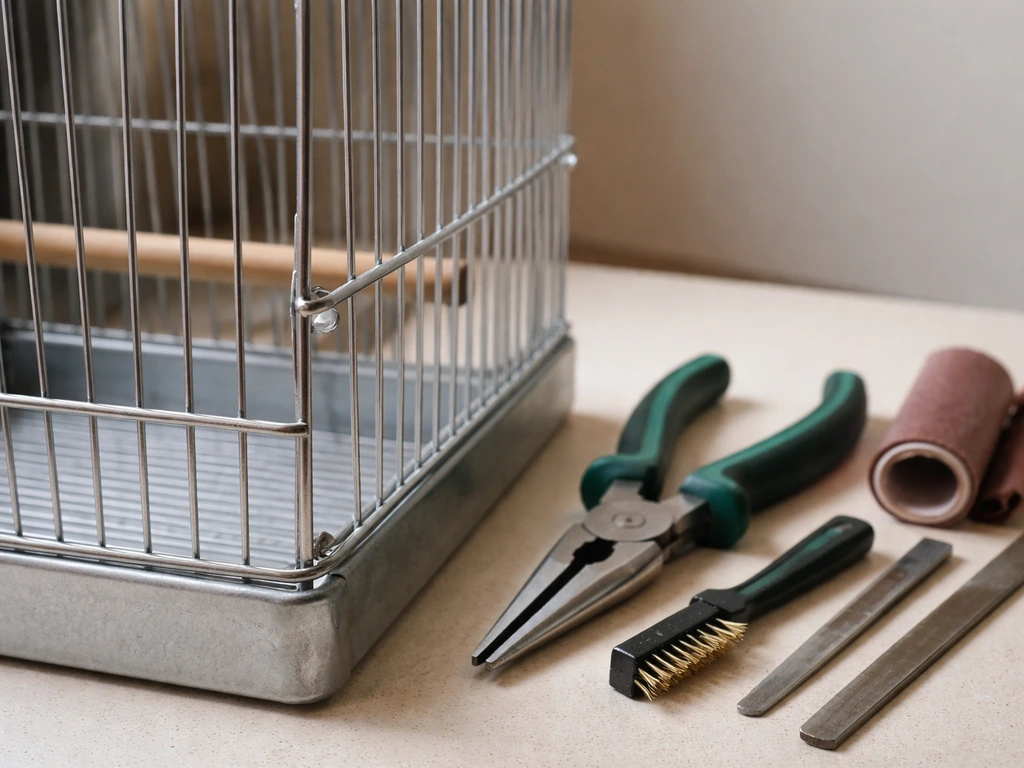
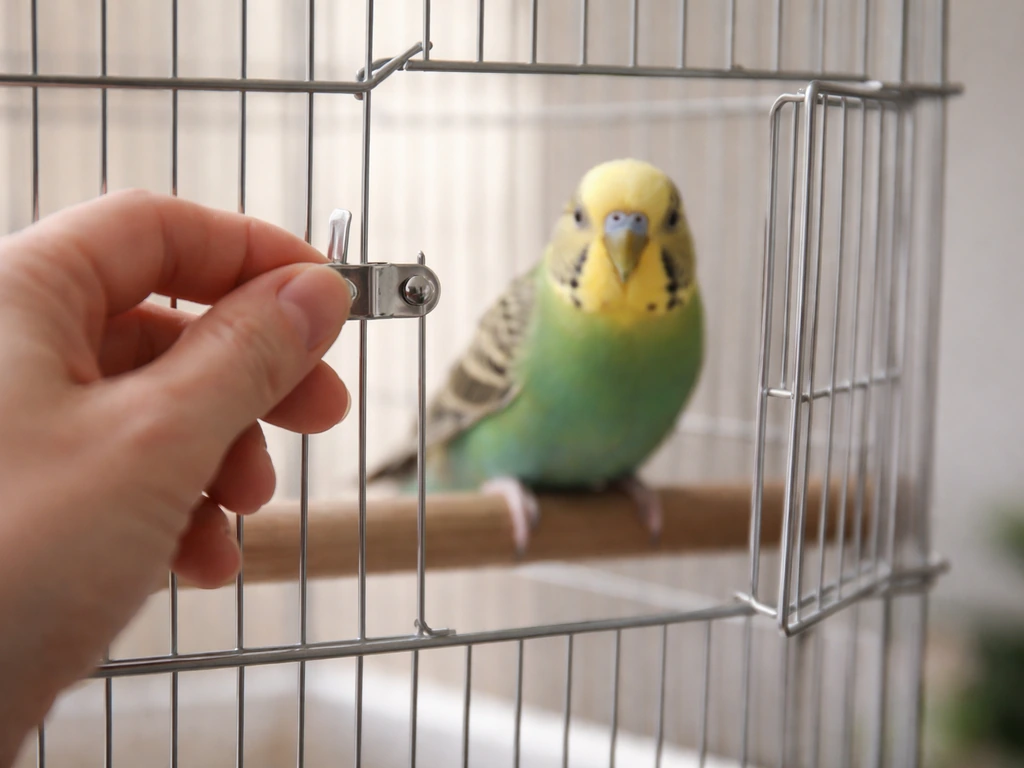
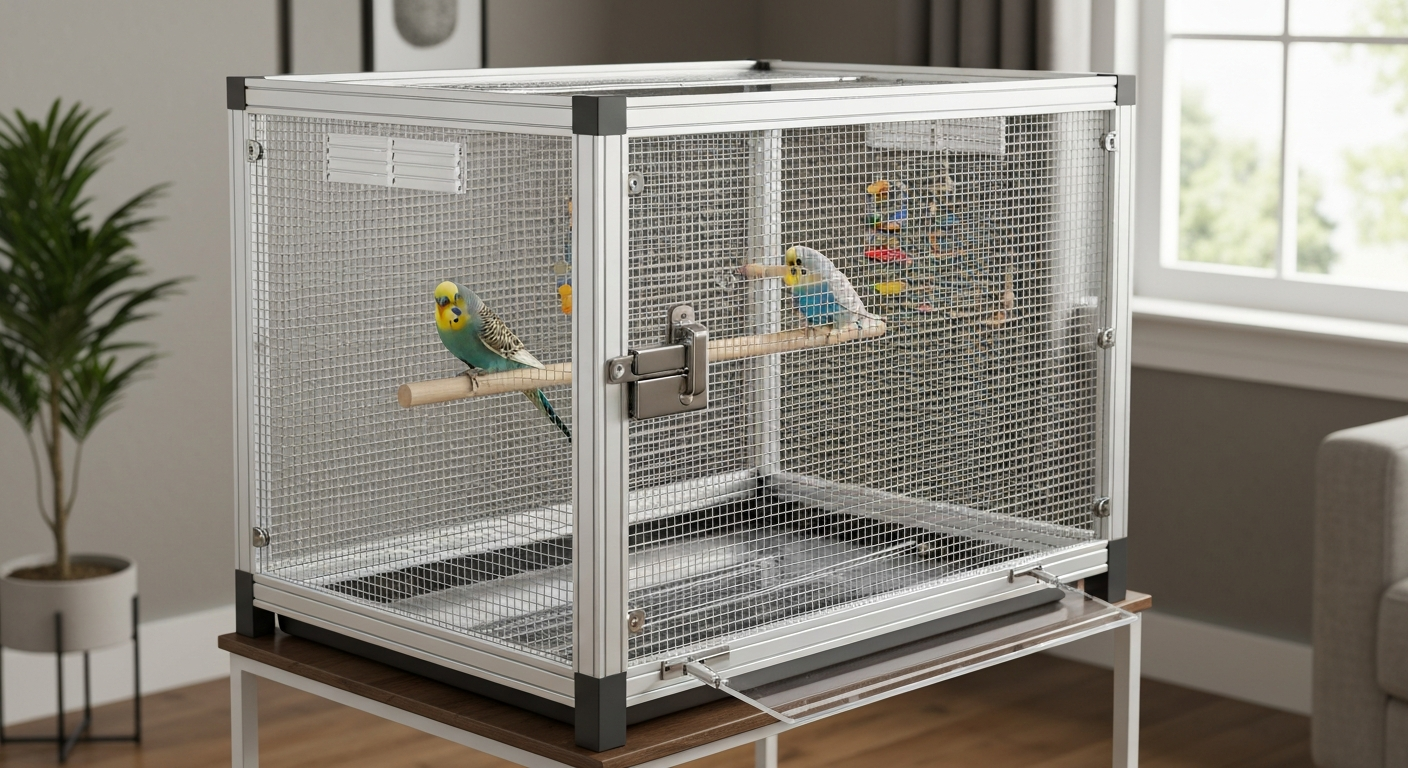
You can reduce bird cage bar spacing by adding a layer of appropriately sized wire mesh or hardware cloth to the inside of the existing cage, or by replacing individual cage panels with new ones built to the correct spacing. The right target gap depends on your bird: 0.5 inches for budgies, cockatiels, lovebirds, and parrotlets; 0.75 inches for conures, caiques, Poicephalus parrots, and miniature macaws; and 1.5 inches for macaws and large cockatoos. Whatever method you choose, the goal is the same: close the gap so your bird cannot fit its head through, without introducing sharp edges, toxic metals, or anything that traps moisture and rusts. After you repair or replace the bars, confirm the gap is correct for your bird and re-test clearance before putting your bird back in repair bird cage bars.
How to Make Bird Cage Bars Smaller Safely DIY Guide

Why bar spacing matters so much
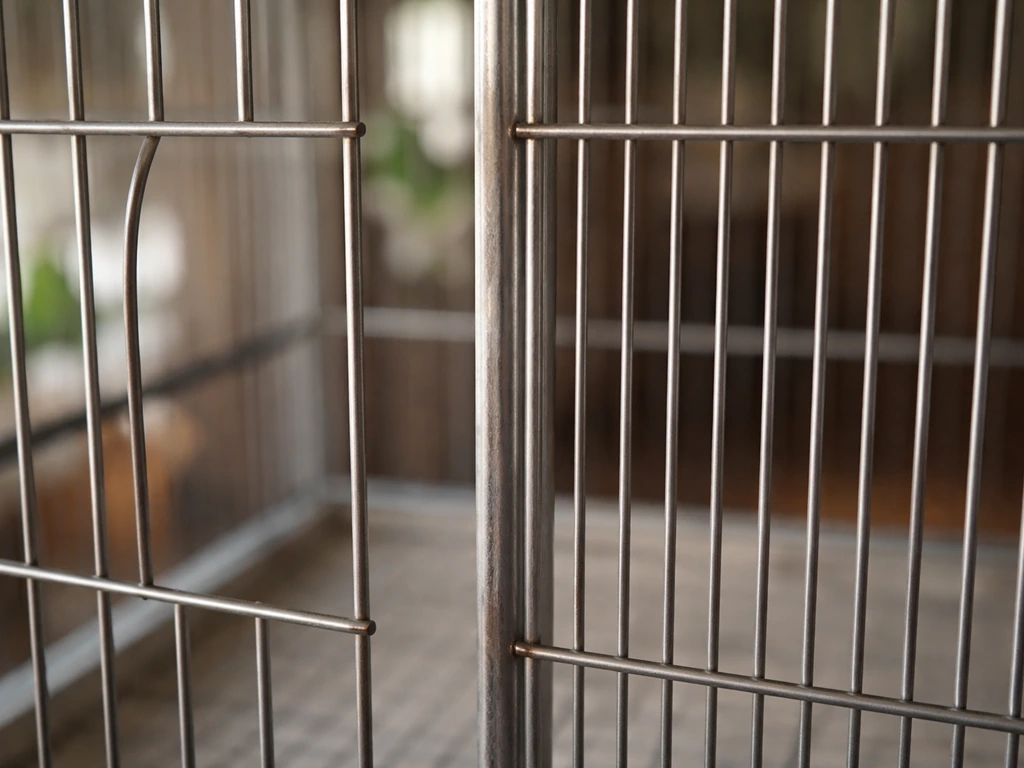
Bar spacing is one of the most important safety factors in any bird cage setup, and it is one that gets overlooked when people buy a cage that looks "close enough." A gap that is even slightly too wide for your species can trap a bird's head, neck, or foot in seconds. A bird that panics when stuck can injure itself badly, and in a worst-case scenario, it can strangle before you notice anything is wrong. Smaller birds can also slip through wider gaps entirely and end up loose in the house, where ceiling fans, hot surfaces, and other pets become immediate dangers.
Spacing that is too wide also invites climbing through gaps and escape attempts that stress your bird and wear out the cage frame faster. If you have a bird that chews, oversized gaps let them work on sections of bar that are not designed to bear that kind of lateral pressure. Getting the spacing right is not just a welfare recommendation: it is the foundation of a safe housing setup.
Measure what you actually have (not what the box says)
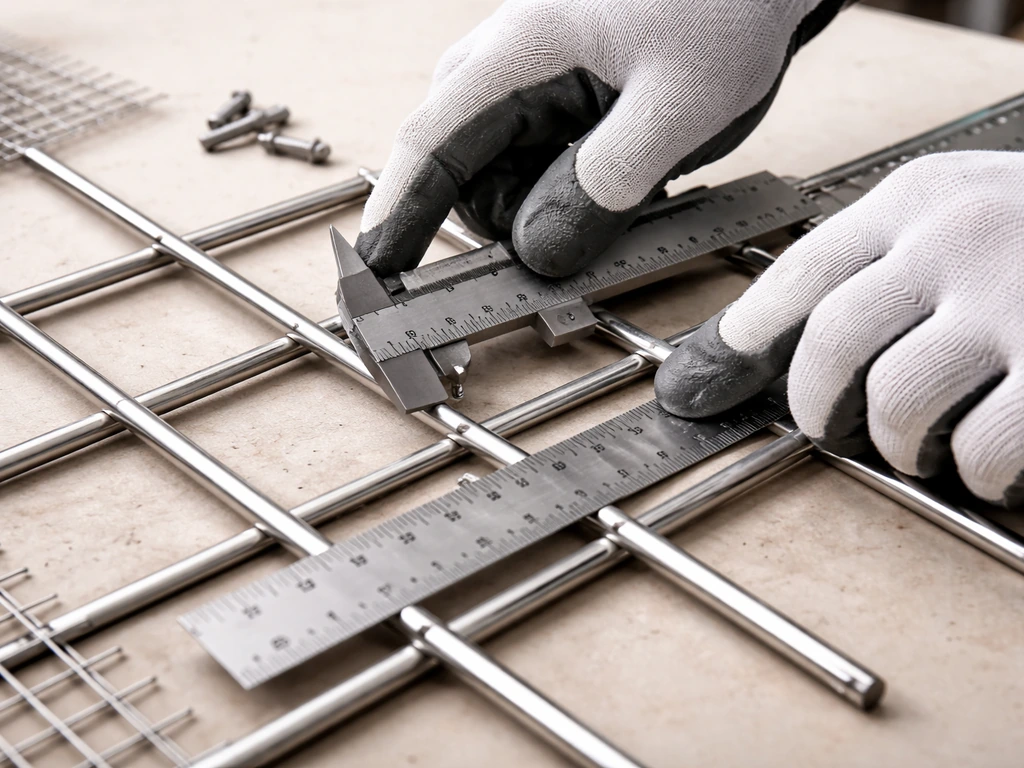
Marketing specs printed on a cage box are not always accurate, and they rarely account for inconsistencies in manufacturing. Before you do anything else, measure the actual clear gap between bars with a steel ruler or digital calipers. Measure in multiple spots: the center panels, the corners, the area around the door frame, and any curved or angled sections. Write those numbers down.
If you do not have calipers handy, use the MSPCA-Angell finger test as a quick sanity check: if your finger fits easily between the bars, the spacing is too wide for most small to medium birds. It is a rough guide, but it is fast and tells you immediately whether you have a problem. Then go back and get the exact measurement with a ruler before you order materials.
| Species / Group | Target Bar Spacing | Finger Test Result |
|---|---|---|
| Budgerigar, cockatiel, lovebird, parrotlet | 0.5 inches | Finger should not fit at all |
| Conure, caique, Poicephalus, miniature macaw | 0.75 inches | Finger should not fit easily |
| Large macaw, large cockatoo | 1.5 inches | Two fingers should not fit together |
Once you know your current gap and your target gap, you know exactly how much you need to reduce. A cage with 1-inch spacing that needs to be 0.5 inches needs to be cut in half, effectively. That gap reduction tells you whether a simple mesh liner will do the job or whether you need to think about replacing panels.
Safe materials: what to use and what to avoid
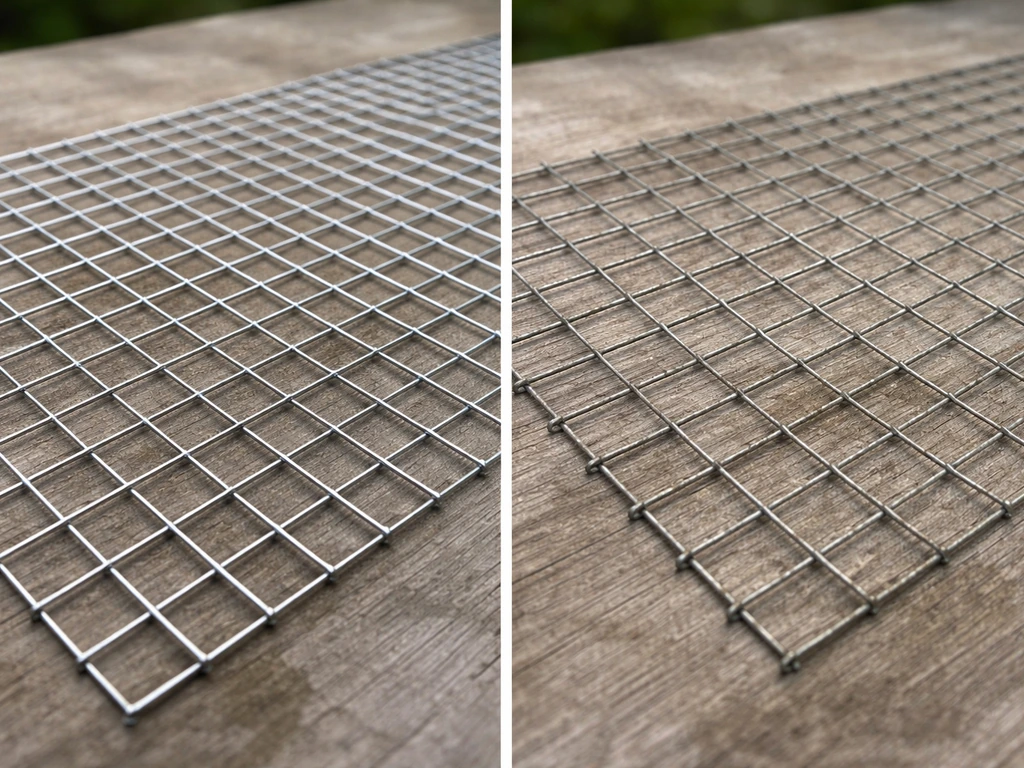
This is the part most DIY guides gloss over, and it is the part that can actually hurt your bird. Not all wire mesh is bird-safe. Galvanized hardware cloth is cheap and widely available at hardware stores, but the zinc coating used in galvanization can cause zinc toxicosis in birds, a condition sometimes called "new wire disease." Birds that chew on galvanized wire can ingest enough zinc to cause serious neurological and gastrointestinal symptoms. The condition can look similar to lead poisoning on imaging, which makes diagnosis difficult and treatment delayed.
The safest choices for reducing bar spacing are stainless steel mesh (welded or woven), vinyl-coated hardware cloth, or powder-coated steel panels. Stainless steel will never rust and does not carry the zinc risk. Vinyl-coated cloth adds a layer of protection against both rust and bare metal contact, though you need to check that the vinyl is non-toxic and that your bird is not shredding and ingesting the coating. Avoid anything galvanized, any wire with an unknown coating, and any off-brand mesh where the metal composition is not listed.
- Stainless steel welded mesh: best overall, no rust, no zinc risk, durable
- Vinyl-coated hardware cloth: good option if the vinyl is confirmed non-toxic and intact
- Powder-coated replacement panels: ideal for a full section replacement
- Galvanized hardware cloth: avoid, zinc toxicity risk especially for chewing birds
- Unknown or mystery metals: avoid, no way to verify safety
- Bare galvanized cage clips or crimp sleeves: avoid as fasteners, use stainless steel wire or safe zip ties instead
For fasteners, stainless steel zip ties or stainless steel wire are the safest options. If you use plastic zip ties, clip the tails completely flush after tightening. Any protruding sharp end is a toe-catch hazard, and a sharp cut end can also slice skin during cleaning. Do not leave any fastener proud of the mesh surface on the inside of the cage.
DIY options to reduce bar spacing on an existing cage
Adding an internal mesh liner is the most practical DIY approach for most people. You are essentially building a finer-spaced layer on the inside of the existing cage bars, reducing the effective gap your bird can access. This works well when the existing cage frame is solid and the bar spacing is not so large that the liner becomes impossible to secure properly.
What you need before you start
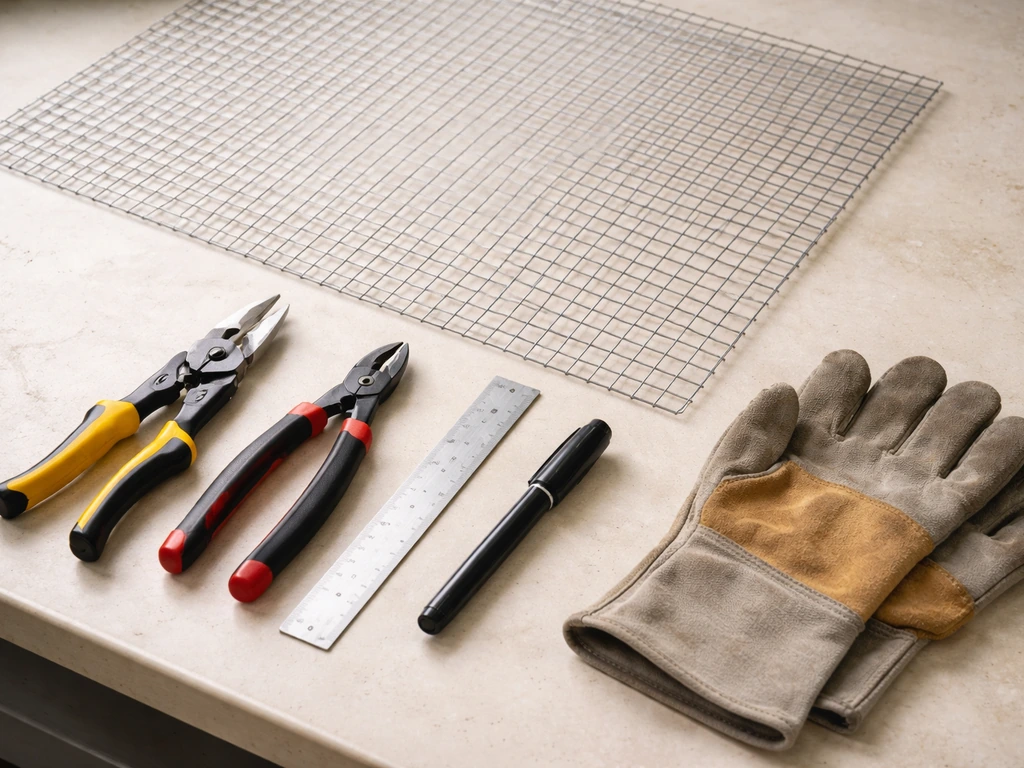
- Stainless steel welded mesh or vinyl-coated hardware cloth in your target spacing (e.g., 0.5-inch grid for budgies)
- Wire cutters or tin snips
- Steel ruler and marker
- Stainless steel zip ties or stainless wire (20-gauge works well)
- Needle-nose pliers
- Work gloves (cut mesh edges are sharp)
- File or metal edge tape to finish cut edges
Step-by-step: adding a mesh liner
- Remove your bird from the cage and set it up somewhere safe. You will be working with sharp materials.
- Measure each panel section you plan to cover: height and width. Measure twice.
- Cut your mesh panels about half an inch smaller than each measured section on all four sides. This keeps the cut edges away from the outer frame corners where your bird is most likely to investigate.
- File or smooth any cut wire ends on the mesh before installing. Run your finger along every edge with a glove on first, then bare to check for snags.
- Position the mesh panel flat against the inside face of the cage bars.
- Attach using zip ties or stainless wire at every second bar intersection around the perimeter, then add a few ties across the middle for large panels. Spacing tie points about 4 to 6 inches apart is usually sufficient.
- Clip all zip tie tails flush with the locking head. Use your pliers to get a clean, flat finish. Check from inside the cage looking outward and run your hand across the surface.
- Check that the mesh lies flat and does not bow inward. Any gap between the liner and the cage bars is a potential pinch point.
- Reinstall any perches, toys, or feeders that were moved. Make sure nothing is pressing on the liner from inside.
Do the same process for each cage panel section. The door panels need special attention: you need to line the door itself separately so it still opens and closes cleanly, and you need to check that the latch mechanism works with the added liner thickness. If the door frame is already tight, you may need to trim the liner slightly or switch to a thinner mesh gauge.
Common mistakes to avoid
- Cutting the liner too large so the edges curl against the frame: cut it slightly undersized instead
- Leaving any cut wire end accessible inside the cage: file and check everything before the bird goes back in
- Using galvanized mesh because it was cheaper at the hardware store: not worth the zinc risk
- Attaching ties only at the corners: the middle of large panels can bow and create gaps
- Forgetting to line the door or the bottom tray area where bar spacing may differ
When you need to go further: rebuilding or replacing cage sections
Sometimes adding a liner is not the right answer. If your cage bars are already spaced so widely that a liner cannot be secured without leaving visible gaps, or if the cage is showing rust or structural wear, you are better off replacing individual panels entirely. Many aviary-style cages and some commercial modular cages have panels that can be unbolted and swapped out. If your cage uses this kind of construction, you can order or build replacement panels to the correct spacing and bolt them in place.
Building a replacement panel from scratch is more work but gives you complete control over spacing and material. Use a welded stainless steel mesh cut to the panel dimensions, then frame it with stainless steel flat bar or heavy-gauge wire bent into a perimeter frame. Attach the mesh to the frame using stainless wire crimped at regular intervals. The finished panel should be as rigid as the original, with no flex that could allow the spacing to open under pressure.
When reattaching any replacement panel, use stainless steel bolts and lock nuts rather than the original hardware if the original fasteners are showing corrosion. Check that every fastener is tight and that there are no exposed bolt ends pointing into the cage interior. If you need to drill new mounting holes, deburr them carefully with a file or rotary tool.
This kind of work overlaps with full cage repair, and if you find significant structural damage while you are at it, the question of whether to repair or replace the whole unit becomes relevant. That decision is worth thinking through carefully, which is addressed at the end of this guide.
Safety checks: fit, clearance, airflow, and cleaning
After any modification, go through the whole cage systematically before your bird goes back in. Once you know the bar spacing, you can use these methods to safely modify the cage opening so your bird cannot slip out. Do not skip this step just because everything looks fine at a glance.
Gap and fit check
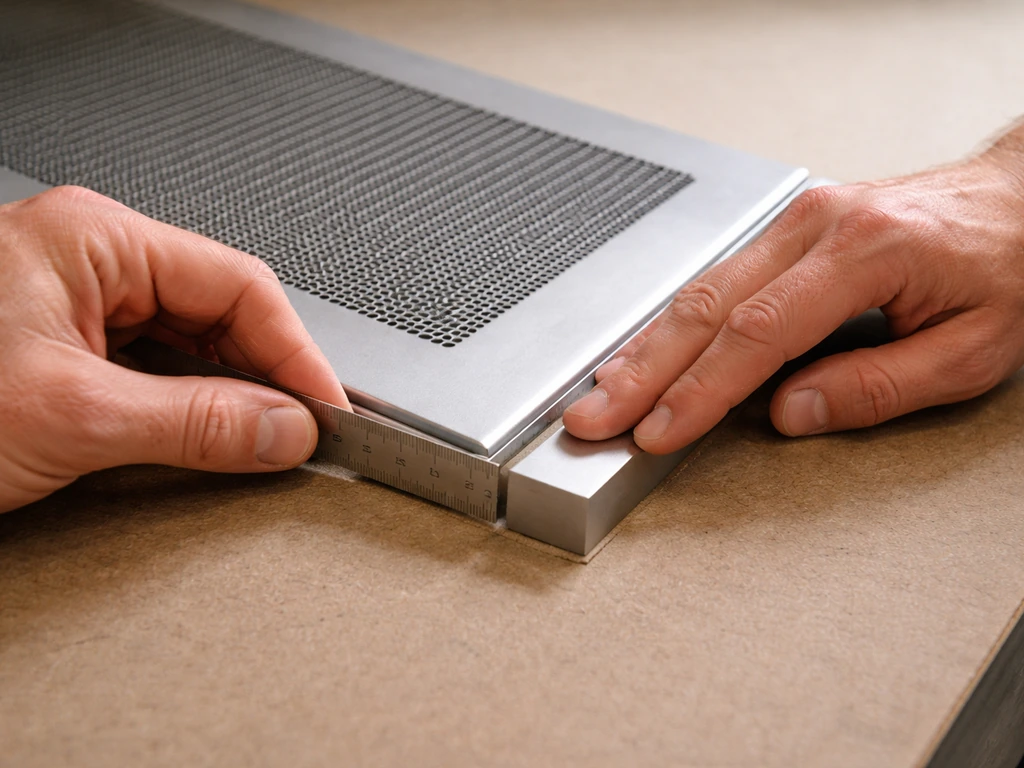
Use your ruler to re-measure the modified sections and verify you hit your target spacing. Then do the finger test at multiple points across each panel, including corners and the area around the door. The AAV's guideline is simple: your bird should not be able to fit its head between the bars anywhere. If it can, the modification did not fully close the gap and you need to go back and fix it.
Airflow and ventilation
Adding a mesh liner does reduce the open area of each panel slightly, which can reduce airflow in a tightly enclosed space. For most setups this is not a significant problem, but if your cage is in a warm room or gets direct sun, check that air circulates freely. The inside of the cage should not feel noticeably stuffy compared to before. If it does, consider whether the cage placement needs to change, or whether a finer mesh is covering too much of the panel area.
Cleaning access
A liner adds a surface that will collect feather dust, dander, and debris. You need to be able to clean it. Check that you can reach all parts of the liner with a brush or cloth, and that the mesh does not trap material in a way that is impossible to clear. Welded mesh with smooth wire is easier to wipe down than woven mesh with overlapping weave points. Also check that the bottom tray still slides in and out normally: if the liner on the bottom section is interfering with the tray fit, trim it or reposition it.
Door and latch function
Open and close every door at least ten times after adding the liner. Check that latches engage fully and that the liner does not cause the door to bind or spring open. A latch that looks closed but is not fully seated is a escape risk that can show up hours later when you are not watching.
Long-term maintenance and when to replace the whole cage
Once your modification is in place, build a regular inspection routine into your cleaning schedule. If the cage has wheels that wobble or bind, you can usually fix them by inspecting the axle, cleaning out debris, and tightening or replacing the wheel hardware how to fix bird cage wheels. Every two to four weeks, run your hand across all modified panels and check for: any rust spots forming at cut wire ends or zip tie contact points, any loosened ties or wire fasteners, any areas where the liner has started to bow or pull away from the bars, and any sign that your bird has chewed through or compromised the liner material.
Rust is a serious concern and not just a cosmetic one. Even a small rust spot on a liner can mean exposed raw metal that your bird can ingest. If you see rust forming, identify whether it is surface oxidation on vinyl-coated wire (which means the coating is compromised) or actual rust on stainless steel (which is unlikely but possible with low-grade alloys). Remove and replace any rusted section. Do not just paint over it: that coating will not hold under a bird's beak.
Re-do the gap test every few months, especially if your bird is a chewer. Mesh can deform under repeated pressure, and what was 0.5 inches when you installed it can open up to 0.75 inches if a bird works at the same spot repeatedly. Also re-check after any deep cleaning or if you have removed and reinstalled panels for any reason.
When it is time to just buy a new cage
There are situations where modifying an existing cage is more trouble than it is worth, or where it genuinely cannot be done safely. If the cage frame is already corroding and you cannot get the rust under control, adding more metal components is going to accelerate the problem rather than fix it. If the bar spacing is so wide that a liner would need to cover almost the entire panel area, you lose meaningful airflow and cleaning access. If the door frame or structural welds are damaged, no modification to the bar spacing addresses the real problem.
The practical rule is this: if you cannot get every section of the cage (including doors, corners, and the base grid) down to the correct spacing using safe materials that are securely fastened with no sharp edges, replace the cage. A purpose-built cage in stainless steel or powder-coated steel at the right spacing for your bird is a one-time investment that removes ongoing risk. Galvanized cages that are aging and a DIY liner built from unknown hardware store mesh is not a safer outcome than starting fresh.
If you do replace the cage, take the same measurement approach before you buy: get the actual bar spacing in writing from the manufacturer, confirm which species it is rated for, and do your own ruler check when the cage arrives. Marketing numbers and actual measurements do not always match, and by now you know exactly what to look for.
FAQ
Can I just bend or cut the existing bars instead of adding a liner or replacing panels?
Avoid cutting or reshaping cage bars. Even if you reduce spacing, you can weaken the frame and create sharp burrs or twisted metal that birds can snag on. Safer approaches are adding an internal layer with the right material or swapping panels built to the correct spacing.
What should I do if my cage bar gap is inconsistent across panels?
Use the smallest (most dangerous) gap measurement as your target, not the average. Measure center, corners, and door regions, then choose liner gauge or replacement panels sized to close the narrowest-to-widest range without leaving any spot that still passes the head-fit test.
How do I choose mesh gauge so the liner does not sag or reopen the gap?
Choose a mesh that is rigid enough to stay flush when you tug it lightly by hand, especially at corners and along the door edge. If the liner visibly bows, increase the thickness or switch materials (for example, stainless welded mesh) and add more frequent stainless wire or zip tie attachment points.
Is vinyl-coated hardware cloth always safe for chewing birds?
Vinyl-coated material can be safer than bare galvanized, but chewing changes the risk. If your bird shreds coatings, you should upgrade to stainless steel mesh, confirm the coating is non-toxic, and inspect the liner more often because coating damage can expose underlying metal.
Can I use galvanized wire or mesh if I cover it with something?
Do not rely on covering galvanized components as a safety plan. If the galvanized wire is ever exposed by abrasion or tearing, zinc risk returns. The safer route is to use stainless, vinyl-coated (with non-toxic confirmation), or powder-coated panels from the start.
How tight should I fasten the liner, so it cannot shift?
Fasten the liner so it does not move when pushed from the inside with a firm, flat-handed press. Then check at least once after the first few days, because liners can settle slightly as tension equalizes around door frames and corners.
Do I need to account for the bottom tray and droppings cover when reducing bar spacing?
Yes. A liner on the lower section can interfere with the tray slide, leaving gaps you did not intend. Before reintroducing the bird, confirm the tray seats fully and there is no new side opening around the tray edges.
What cleaning issues should I expect after adding an internal mesh liner?
Plan for more frequent dust and debris removal, because the liner creates extra surfaces. Use a brush or cloth that reaches between the liner and cage bars, and check that water from misting or bathing does not collect in places you cannot dry.
How often should I re-check bar spacing after the DIY modification?
Re-test at least every few months, and immediately after any event that could stress the liner (deep cleaning, panel removal, or a strong chewer period). Also re-run the head-fit test across corners and the door area, since those zones are most likely to drift over time.
What if my bird still can fit its head after I add a liner?
Do not “wait and see.” Identify where the fit occurs, re-measure that exact spot, then fix the specific panel or attachment zone. Common causes are a liner gap at the corner, door frame misalignment, or insufficient reduction because the liner gauge was too large.
How do I prevent rust around cut wire ends and fasteners?
Inspect cut ends and zip tie contact points during and after installation. If you see oxidation forming, remove the affected section and replace with the correct material, do not paint over it. Also ensure fasteners do not create pinch points that hold moisture against the metal.
Is it safe to reinstall the bird right away after modifying the cage?
Do a full systems check first, re-measure spacing, and confirm doors latch securely through multiple open-close cycles. Keep the bird out until you have verified there are no sharp protrusions, the tray fits properly, and airflow still feels normal in the cage placement location.