Most bird cage wheel problems come down to one of four things: debris wrapped around the axle, loose or missing mounting hardware, dry bearings that need lubrication, or a worn caster that simply needs swapping out. In almost every case you can diagnose and fix the issue in under an hour with basic tools you probably already own.
How to Fix Bird Cage Wheels: Wobbling, Stuck, or Noisy

Maya Bennett
9 Jul 2026
Safety checks before you touch the cage
Before you start rolling the cage around or flipping it to get at the wheels, take a few minutes to make sure neither you nor your bird ends up in a worse situation than a squeaky wheel.
- Move your bird out first. Put them in a travel carrier or a spare cage. Any repair that involves tilting, shaking, or spinning the cage is a stress event for a bird still inside it, and a tipping cage is genuinely dangerous.
- Lock all wheel brakes before you start. If one brake is already broken and won't hold, block that wheel with a folded towel or a door stopper so the cage can't roll unexpectedly while you work.
- Do a shake test. Grip the cage at mid-height and give it a firm but controlled side-to-side push. If it rocks dramatically before you've even started the repair, the cage may have a structural issue beyond just the wheels. Check the cage frame and corner joints first.
- Clear the area. A rolling cage on a hard floor can travel fast. Move it away from walls, furniture, and other cages before you diagnose.
- Skip the toxic lubricants. Bird cages are surfaces your bird lands on, climbs on, and sometimes chews. Never use WD-40, automotive grease, or any solvent-based product near cage surfaces. Stick to food-safe or PTFE-based dry lubricants, or plain white lithium grease applied only to the wheel axle and housing, never to the cage bars or tray.
Diagnose the problem before you pick up a tool
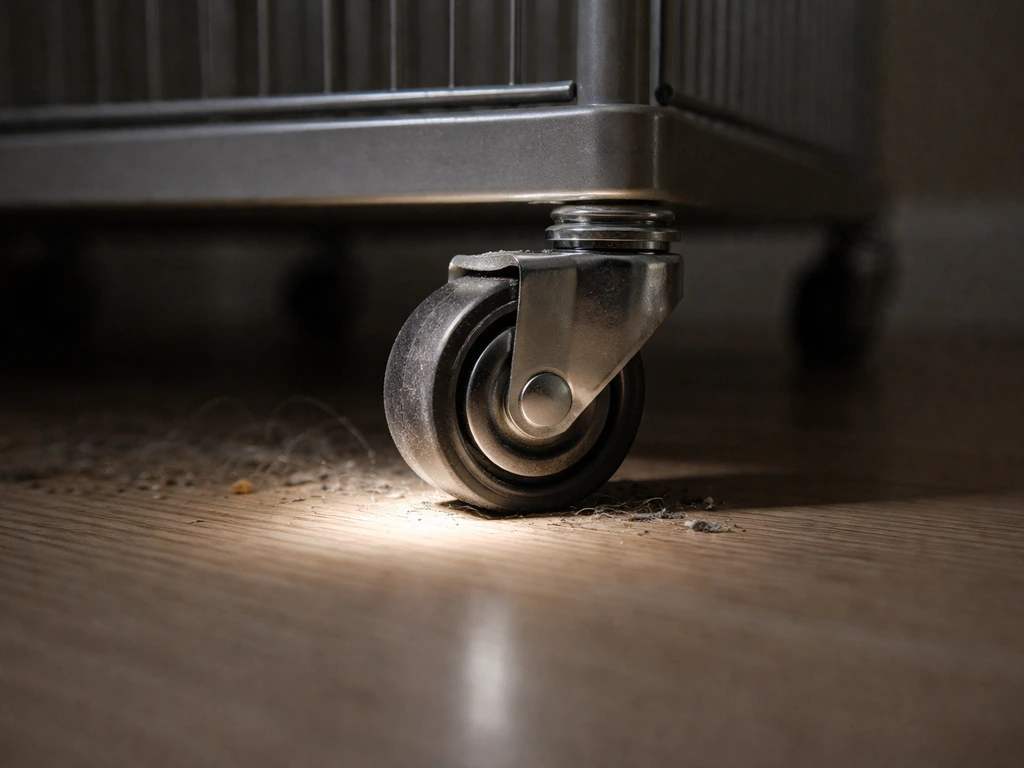
Flip the cage onto its side so you can see all four wheels, or use a flashlight to inspect each caster at floor level. The symptom usually tells you exactly what's wrong.
| Symptom | Most likely cause | Fix section to go to |
|---|---|---|
| Wheel won't spin at all | Hair/debris seized around axle | Clean and unbind |
| Wheel spins but cage won't move smoothly | One or more wheels not making full floor contact, or debris partially blocking rotation | Clean and unbind, then check alignment |
| Wobbling or side-to-side rocking on one wheel | Bent stem, cracked caster body, or loose mounting plate | Tighten/align hardware, then assess for replacement |
| Squeaking or grinding noise | Dry bearing or grit inside the housing | Lubrication section |
| Wheel spins freely but cage drifts sideways | Swivel mechanism is seized or the caster swivel bearing is worn | Clean swivel, lubricate, or replace caster |
| Brake won't hold | Worn brake paddle or broken brake tab | Replace caster |
Check all four wheels, not just the one that's obviously misbehaving. It's very common to find that two or three casters have the same debris buildup or loose hardware, and fixing only the squeaky one means you'll be back under the cage in a month.
Tools and parts to grab before you start
You don't need anything exotic. Here's what covers the full range of repairs described in this guide.
- Flathead and Phillips screwdrivers (most cage caster plates use one or the other)
- Needle-nose pliers
- Fine-point tweezers or an X-Acto knife (for pulling hair off axles)
- A seam ripper, if you have one, works better than a knife for tightly wound hair
- Small wire brush or old toothbrush
- Vacuum with a brush attachment
- Lint-free cloth or paper towels
- White lithium grease (spray or tube) or a PTFE dry lubricant spray
- Penetrating oil like PB Blaster (NOT WD-40) for truly seized metal-on-metal connections, used sparingly and only on metal hardware, never near bar surfaces
- Replacement casters that match your cage's mounting style (see the repair vs replace section below)
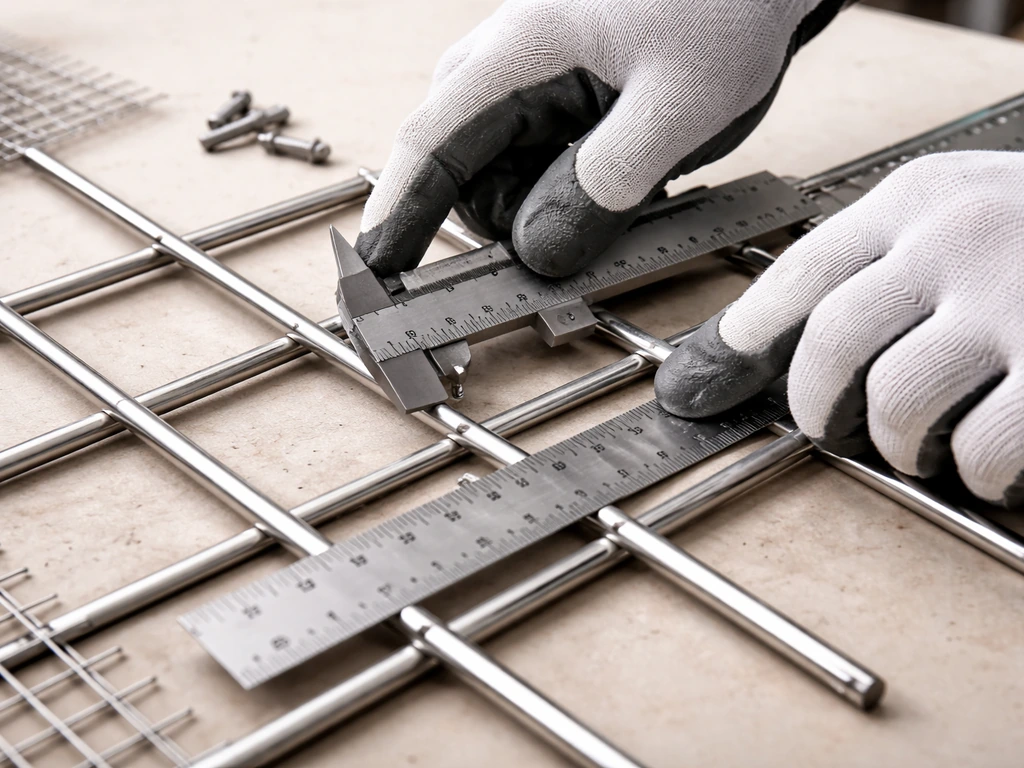
- A ruler or calipers for measuring caster dimensions if you need replacements
Clean, re-seat, and unbind: getting stuck wheels moving again
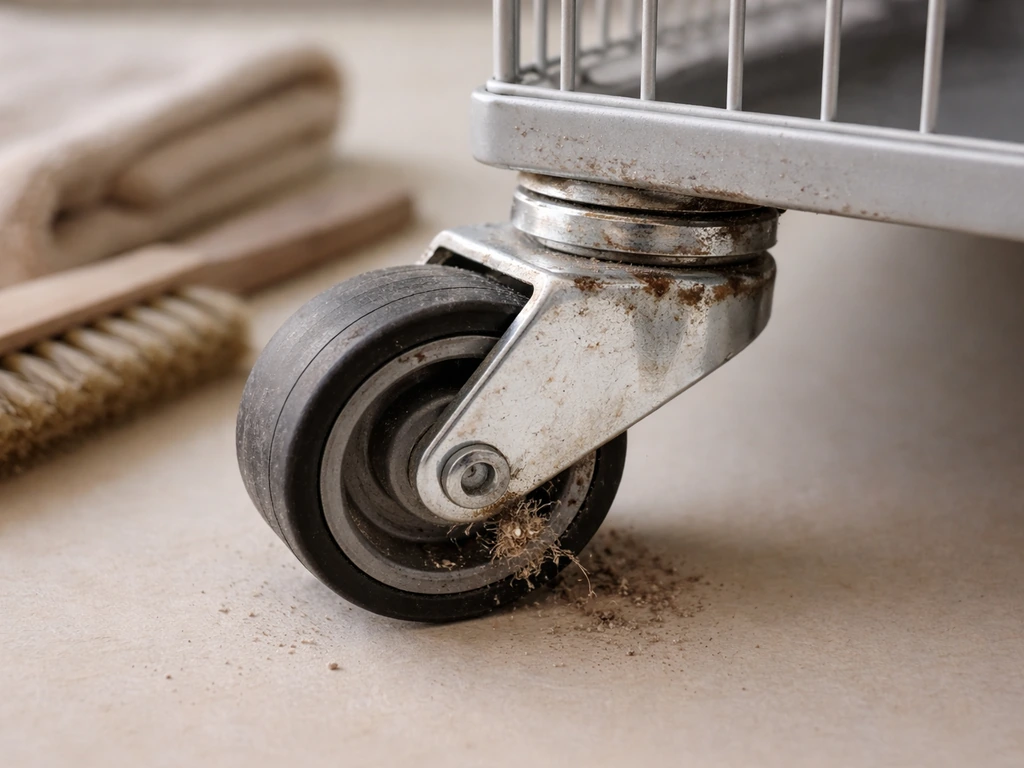
Hair, feather shafts, lint, and seed husks are the number-one cause of bird cage wheels seizing or dragging. This stuff winds around the axle between the wheel and the housing, tightening with every rotation until the wheel can barely turn. Here's how to clear it. If hair and debris have lodged around the axle or inside the caster housing, blank" rel="noopener noreferrer">vacuuming with a brush attachment can remove loose debris before you do deeper cleaning. Once you know which wheel is sticking, follow the steps in this guide to get it moving smoothly again how to fix bird cage.
- Start with the vacuum. Run a brush attachment around the wheel tread, the gap between the wheel and the caster fork, and the axle area. This pulls out the loose stuff and makes the next steps cleaner.
- Inspect the axle closely with a flashlight. Hair and thread usually appear as a tight dark ring right where the wheel meets the caster body on both sides.
- Use your X-Acto knife or seam ripper to score through the wrapped material. Make careful cuts parallel to the axle rather than across it so you don't nick the axle itself. Nicks create catch-points that will grab debris again faster.
- Pull the loosened material away with needle-nose pliers or tweezers. Work in small sections. Tightly wound hair can take a few minutes per wheel.
- Scrub the axle and the inside of the wheel housing with your wire brush or toothbrush. If the caster is removable (see hardware section below), take it off the cage first so you can clean it properly.
- If the wheel still won't spin freely after cleaning, check whether the caster body itself is cracked or bent. A cracked housing can pinch the wheel from the outside even after the axle is clean. That caster needs replacing.
- Wipe everything dry before lubricating.
One note worth flagging: many budget caster wheels are not designed to be disassembled. If you try to pry the wheel off the axle to clean underneath it and the axle is a pressed-in pin rather than a threaded bolt, you risk cracking the housing. In that case, clean what you can reach from the outside, lubricate, and see if it improves. If it doesn't, it's a replacement job.
Tighten, align, and replace mounting hardware
If the wheel spins but wobbles, or if the caster swivels unevenly, the issue is usually at the mounting point rather than the wheel itself. Most bird cage casters attach to the cage's leg or base frame in one of two ways: a stem (a metal post that presses or threads into a socket in the leg) or a top plate (a flat metal plate bolted directly to the cage frame). Both have their own failure modes.
Stem-mounted casters
The stem either press-fits into a plastic or metal socket or threads in with a bolt. If the wheel wobbles, first check whether the stem is simply loose in the socket. Push it firmly back in and test. If it keeps working loose, the socket is worn out. You can temporarily pack the socket with a thin wrap of thread-seal tape (plumber's tape) to tighten the fit, but the real fix is replacing the socket or the full caster leg assembly. If the stem itself is visibly bent, replace the caster. You cannot safely straighten a bent caster stem without risking a future snap.
Plate-mounted casters
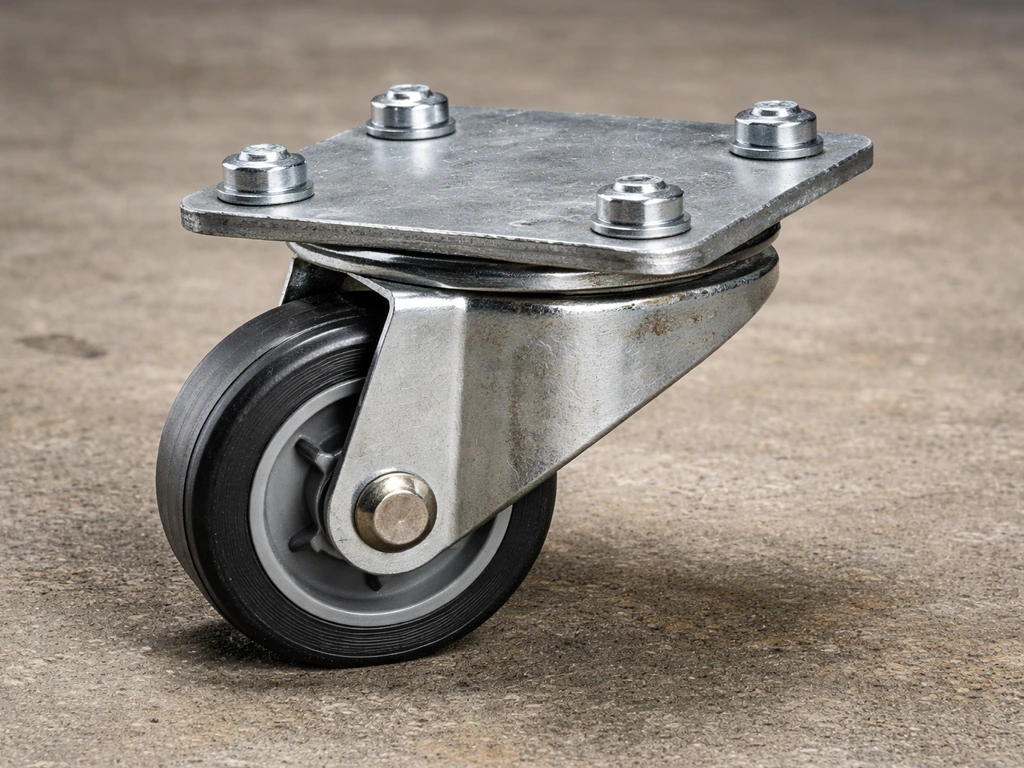
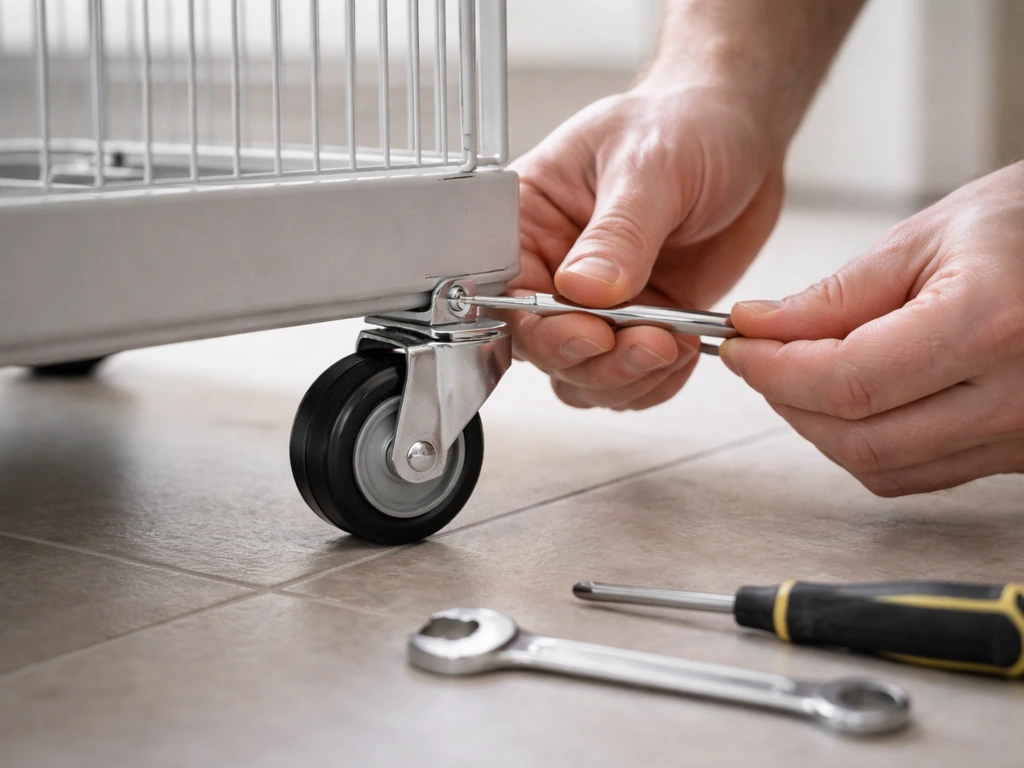
These attach with bolts through a flat top plate. Check each bolt for looseness first, then look at the plate itself. A slightly bent plate will cause the wheel to tilt and skip. Tighten all bolts fully, making sure they're finger-tight plus a quarter turn with the screwdriver so you don't strip the threads. If a bolt hole in the cage frame is stripped, you have two options: use a slightly larger bolt with a nut on the back side, or drill out the hole and use a rivet nut (a threaded insert). Both are solid fixes for a steel cage frame.
After tightening, push the cage in several directions on a hard floor and watch the wheels. All four should spin and swivel evenly. If one wheel sits slightly off the floor, the cage frame itself may be racked (twisted). Try adjusting the caster plate with a thin washer under one side to level it out.
Repair vs replace: how to decide and how to match sizes
Some wheel problems are worth fixing in place. Others aren't. Here's the quick decision rule: if cleaning and lubricating don't resolve the issue within one repair session, replace the caster. You're not saving money by repeatedly cleaning a $3 caster. If you need to adjust bar spacing, follow the right measurements and techniques for making bird cage bars smaller match sizes.
Replace the caster when you see any of these
- Flat spots or chunks missing from the wheel tread
- A crack in the wheel body or the caster housing
- A brake that no longer locks even after cleaning
- A swivel that grinds or drags after you've already cleaned and lubricated it
- A bent or corroded stem or top plate
- Persistent squeaking that doesn't stop after proper lubrication (usually means bearing wear)
How to measure for a replacement caster
Take the old caster off the cage before you order a replacement. Ordering from a photo online almost always results in the wrong size. Here's what to measure:
- Wheel diameter: measure across the wheel at its widest point
- Overall caster height: from the floor contact point to the top of the mounting plate or stem tip
- Mounting type: is it a stem or a top plate?
- For stem casters: measure stem diameter (typically 3/8 inch, 7/16 inch, or 1/2 inch on common cage designs) and stem length
- For plate casters: measure the top plate dimensions and, critically, the bolt-hole center-to-center spacing in both directions (e.g., 2-1/2 x 3-5/8 inches is a common standard pattern)
The bolt-hole pattern is the measurement people most often get wrong. Two plates can look identical but have hole spacings that are off by a quarter inch, making them completely incompatible without drilling new holes. Write down all measurements before you buy. If your cage uses a non-standard pattern, a caster hardware supplier can often suggest an adapter plate that bridges the gap rather than requiring you to drill into the cage frame.
Also check whether your cage uses swivel or rigid casters. Most bird cages use all-swivel casters for maneuverability, but some models have two swivel and two rigid at the back. Replacing a rigid with a swivel (or vice versa) will make the cage handle very differently, so match the type exactly.
Lubrication: what to use, where to put it, and what to avoid
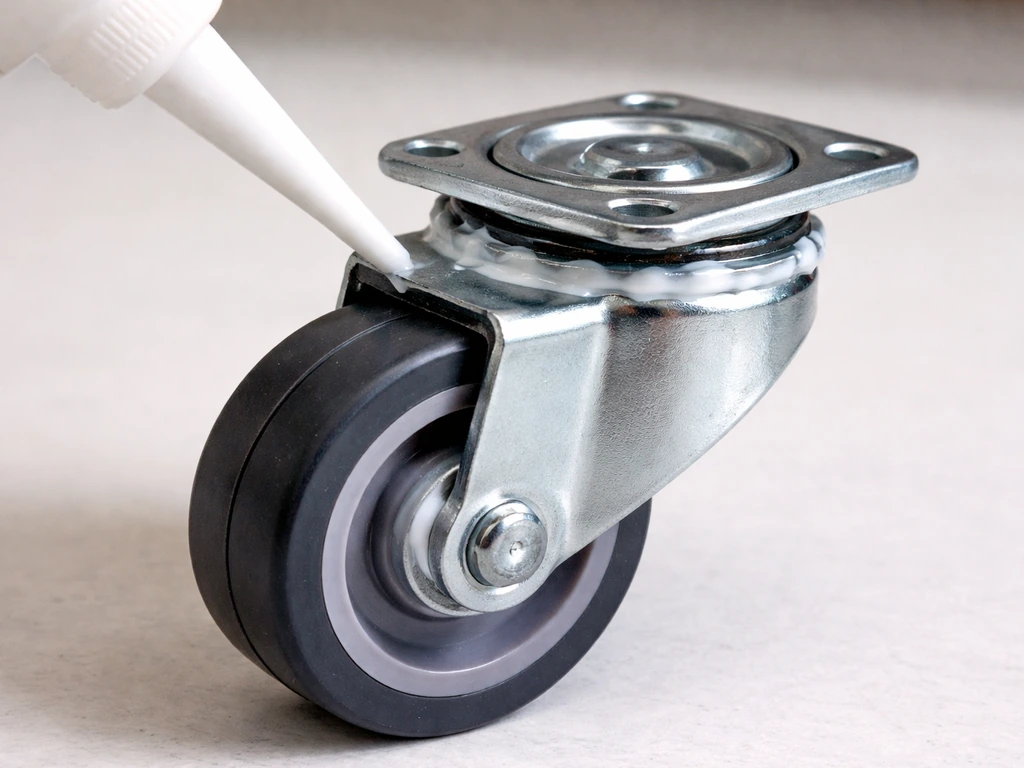
Lubrication is what keeps a freshly cleaned caster running quietly for months instead of weeks. The goal is to get lubricant into the axle bearing and the swivel bearing without contaminating the cage surfaces your bird touches.
White lithium grease is the right choice for most bird cage casters. It stays put, doesn't fling off, and handles the light load of a rolling cage without attracting grit the way heavier greases do. Apply a small amount directly to the axle where the wheel rotates. If you can access the swivel bearing (the mechanism that lets the caster change direction), add a thin film there too. Wipe away any excess immediately.
PTFE dry lubricant spray is a good alternative if you want something that won't attract dust. It dries into a thin film that reduces friction without feeling wet or sticky. It's especially useful if your cage lives in a room where seed husks and feather dust are constantly settling on the floor around the wheels.
Avoid WD-40 entirely. It's not a lubricant, it's a water displacer and light solvent. It may quiet a squeak for a day or two, but it can actually wash out the existing grease from sealed bearings, making things worse within a few weeks. It's also not safe to use on surfaces near birds.
Ongoing maintenance so you don't end up here again
The good news is that bird cage casters are simple enough that a short maintenance routine keeps them in good shape almost indefinitely.
- Every 4 to 6 weeks: vacuum around all four wheels with a brush attachment. In a bird room with heavy feather and seed debris, do this every two weeks.
- Every 3 months: remove each caster or at minimum inspect it closely. Pull out any wrapped hair or debris with tweezers. This is the session where you also check that all bolts or stem fittings are still tight.
- Every 6 months: apply a fresh thin coat of white lithium grease or PTFE lubricant to the axle and swivel bearings after cleaning. Check the wheel tread for flat spots or cracking.
- Annually: do a full replacement assessment. If any caster has a visible crack, a sloppy swivel, or a brake that's getting soft, replace it now rather than waiting for it to fail while the cage is loaded.
One seasonal tip worth noting: if your cage sits on tile or hardwood in a room that gets cold and dry in winter, the grease in caster bearings can stiffen noticeably. You might notice squeaking or stiffness in January that wasn't there in October. A light lubrication touch-up in late fall handles this before it becomes a problem.
Finally, always lock the wheel brakes any time you're cleaning the cage, changing food and water, or doing any other hands-on work with it. To start the process safely, make sure you know how to open the bird cage before you remove or roll anything open bird cage. Brakes exist for a reason, and the more you use them consistently, the quicker you'll notice when one stops holding the way it should. Catching a failing brake early is a lot better than a cage rolling unexpectedly while your bird is inside.
If the wheels are in good shape but you're also dealing with bent or damaged bars, loose doors, or structural issues with the cage frame itself, those are separate repairs worth addressing at the same time since the cage is already emptied and accessible. To repair bird cage bars, you’ll want to identify whether the damage is bent, loose, or a broken weld, then choose the right replacement or reinforcement method.
FAQ
How can I tell if the problem is the wheel bearing versus loose mounting hardware?
Yes. If the cage won’t move smoothly, check each wheel with a flashlight at the point where the wheel meets the housing. Press on the wheel lightly by hand (with the bird away and brakes on) to feel for grinding. Grinding usually means embedded debris or a damaged bearing, while wobbling with clean rotation points more to loose mounting hardware or a worn stem/socket.
Can I disassemble and clean every bird cage wheel, or should I leave some casters alone?
Remove the wheel only when it’s designed to come off cleanly. If the axle looks like a pressed-in pin or the wheel won’t separate without prying, stop and clean from the outside, lubricate accessible areas, and reassess. Forcing a non-disassemblable caster can crack the housing and make replacement more expensive.
What’s the best way to test wheel fixes so the problem doesn’t come back immediately?
Don’t rely on “it spins freely” while it’s off the floor. Test on a hard, level surface and push the cage in multiple directions, because some wobble shows up only when the swivel caster is loaded in motion. Also check that all four casters swivel the same direction range, uneven swivel often signals a bent mounting plate.
What should I do if the wheels spin but the cage still drags on the floor?
If the wheels are quiet but the cage still drags, the issue may be floor contact. Check whether one caster sits slightly higher than the others, then confirm the top plate is seated flat. If tightening alone doesn’t fix it, use a thin washer under the appropriate side to level the caster plate, instead of over-tightening one bolt.
I already used WD-40 before, how do I fix the wheels safely now?
Avoid mixing lubricants. If you previously used WD-40 or another solvent-based product, you may need to re-clean and fully dry the bearing areas before adding grease or PTFE spray, otherwise old residue can attract more debris. A quick wipe of accessible surfaces, then relubrication with the method appropriate for your caster type, usually prevents recurring noise.
Why does my caster keep coming loose after I tighten it?
If one wheel keeps working loose, stop tightening and inspect the stem fit or the bolt-hole condition. Loose stems usually come from a worn socket, and loose bolts can be caused by a stripped hole in the cage frame. The reliable fix is replacing the worn socket, caster assembly, or using the correct reinforcement approach (bigger bolt with nut on the back, or a rivet nut insert).
What if cleaning and tightening still leave a wheel wobbling?
If the wheel wobbles after tightening and cleaning, look for a bent stem or a bent top plate. A bent stem cannot be safely straightened without risking a future snap, so replacement is the correct move. For a bent plate, leveling with a thin washer may help, but if the plate is visibly deformed, replacing the caster is typically faster than repeated adjustments.
Could a brake problem be mistaken for a wheel problem?
Use the brake as a diagnostic too. With the brakes off, confirm the wheel rotates and swivels normally. With the brakes on, make sure the brake actually blocks wheel rotation, not just affects one side of the caster. If the brake feels weak or inconsistent, address the brake mechanism, because an unreliable brake can make a “wheel problem” look like a caster issue.
How much lubricant should I apply, and how do I avoid making the wheels collect more debris?
If you want the quietest result long-term, apply a small amount directly to the axle and, when accessible, the swivel bearing, then wipe off excess immediately. Excess lubricant can fling or collect husks and feathers, causing renewed drag. Recheck after a couple of days of normal cage use to ensure it stayed clean and quiet.
Why do my bird cage wheels get squeaky or stiff in winter even if they were fine before?
Yes, and it’s common. In cold, dry months, grease can stiffen and cause stiffness or squeaks even if nothing is visibly broken. Plan a light touch-up in late fall, then again only if noise returns. If stiffness appears suddenly in winter, first remove packed debris, then lubricate with the same type of product your casters respond to.
Next Article
How to Make Bird Cage Bars Smaller Safely DIY Guide
Safely reduce bird cage bar gaps: measure spacing, choose fixes or upgrades, add barriers or replace sections, and verif