
Most bird cage problems, whether a broken bar, a stiff latch, a wobbly caster, or a gap that's suddenly too wide for your bird's head, are fixable at home with basic tools, the right materials, and a clear safety checklist. This guide walks you through every common repair, from a five-minute door-latch fix to replacing bent bars, adding mesh to tighten spacing, and getting wheels rolling again. I've also included the material safety information that most DIY guides skip, because the wrong metal or coating can poison your bird faster than the original damage would.
How to Fix Bird Cage: DIY Repairs, Safety & When to Replace

Maya Bennett
26 Jul 2026
What this guide covers and who it's for
If you own a parrot, cockatiel, budgie, canary, or any caged bird and something on the cage has broken, bent, jammed, or just stopped working safely, this is the guide for you. It covers: diagnosing the problem before you touch a tool; gathering the right avian-safe materials; step-by-step repairs for doors, hinges, latches, bars, feeders, trays, and wheels; and a clear rule for when a repair isn't worth doing and the cage needs to go. I'm writing this for hands-on bird owners and DIYers who want practical fixes, not vague reassurance.
Quick diagnostic checklist: figure out what's actually wrong
Before you grab a tool, spend five minutes going through the cage systematically. A problem that looks like a bent bar is sometimes a cracked weld underneath it. A door that won't close is often a hinge issue, not a latch issue. Work through this list in order.
- Move your bird to a safe travel cage or a trusted person's hands before inspecting anything.
- Walk around the cage and look for visible deformation: bent bars, cracked welds, missing bars, or sections where the wire mesh has pulled away from the frame.
- Run a gloved finger along every bar and wire joint. A sharp snag means a break or crack, even if the bar still looks straight.
- Open and close every door. Note whether the problem is in the hinge (door droops or swings freely), the latch (doesn't engage or won't release), or the door panel itself (bent, warped, or misaligned).
- Check bar spacing with a quarter (roughly 0.9 in / 23 mm) and a dime (roughly 0.7 in / 18 mm) as quick gauges. If a bar gap has widened past the safe limit for your species, note it for repair.
- Inspect the bottom tray and grate. Cracks and broken grate bars can trap toes.
- Rock the cage gently. If it tips or one corner lifts, check the wheels, leveling feet, and frame corners for damage.
- Look at all metal surfaces for rust, flaking coating, white powder (zinc corrosion on galvanized parts), or discoloration. These affect material safety, not just appearance.
- Check feeder cups and their rings or clips. A broken clip can leave a cup hanging loose, creating a gap a small bird can push through.
- Write down every problem you found before touching anything. Repair order matters: frame and bars first, then doors, then hardware, then wheels.
Tools and materials: what to use and why it matters
The material choices in a bird cage repair are not just a preference issue. Lead and zinc are the two most common metal toxicoses in pet birds, and galvanized hardware is one of the most common zinc sources. Birds chew everything, and even a small galvanized staple or a piece of zinc-plated hardware can cause weakness, green diarrhoea, neurological signs, and death. This is not a scare tactic; it's the documented clinical picture. So when I list a material below, I'm listing it because it's confirmed safe for birds to contact, not just because it's cheap or easy to find.
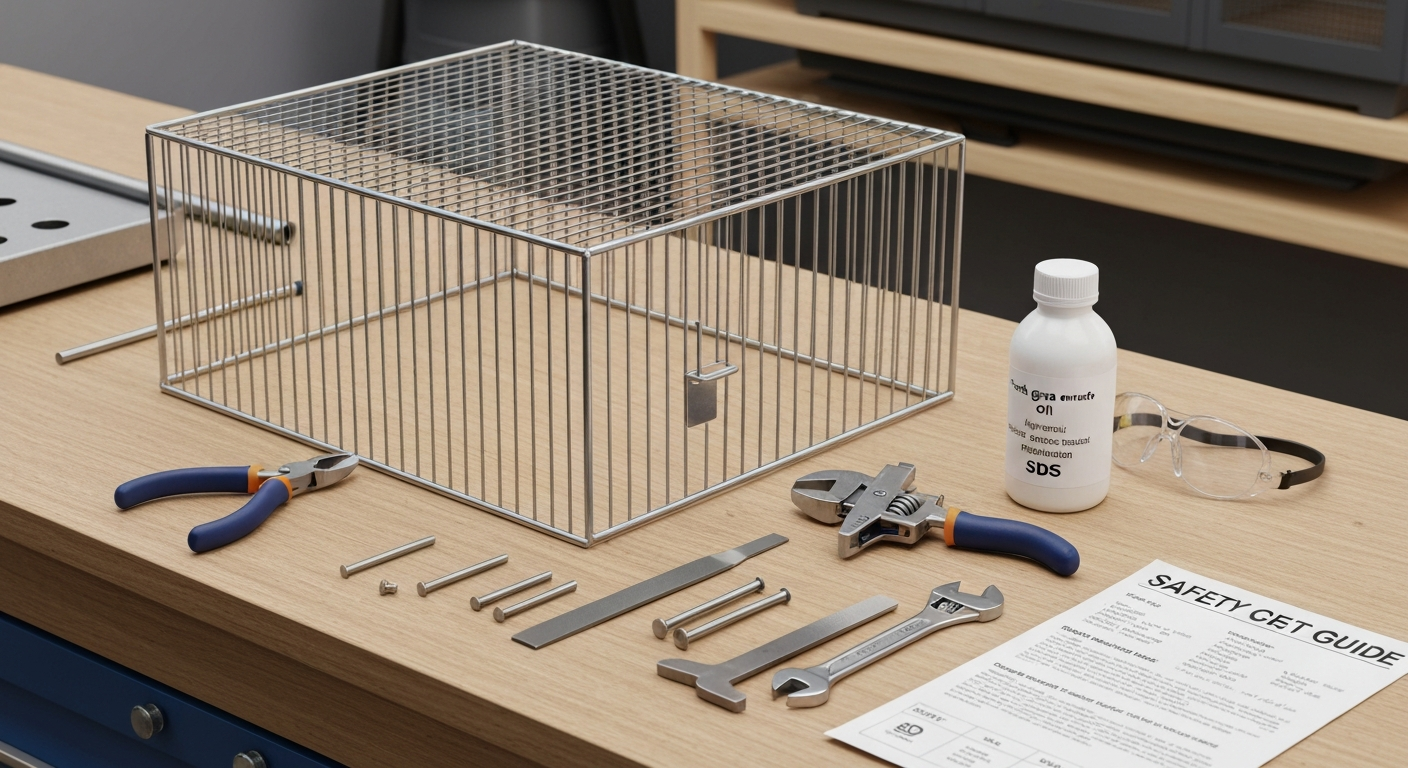
Tool list
- Needle-nose pliers (for closing wire ends and removing old fasteners)
- Wire cutters or bolt cutters (for removing damaged bars or cutting replacement wire)
- Hand file or fine metal file (for deburring cut wire ends — critical to eliminate sharp edges)
- Power drill with metal bits (for pop-rivet or bolt repairs)
- Pop-rivet gun loaded with stainless steel rivets
- Adjustable wrench and socket set (for bolts and nuts)
- Measuring tape and calipers (for bar spacing checks)
- Marker pen or tape (for marking cut lines)
- Stiff-bristle brush and warm water with a bird-safe disinfectant (for cleaning the repair area before reassembly)
- Safety glasses and cut-resistant gloves (for all metal work)
Materials: safe choices only
| Material | Safe for birds? | Notes |
|---|---|---|
| Stainless steel wire / mesh (304 or 316 grade) | Yes | Best long-term choice. Does not leach zinc or lead, resists corrosion, withstands cleaning. |
| Stainless steel fasteners (304/316 bolts, rivets, hose clamps) | Yes | Use nylon-lock nuts to prevent backing out. Avoid plated or zinc-coated fasteners. |
| Properly cured powder-coat paint (from original cage manufacturer) | Yes, once fully cured | Request the SDS from the vendor. Check for full cure and off-gassing before returning bird. |
| Zero-VOC waterborne acrylic paint | Yes, once fully cured and odor-free | Allow manufacturer's full cure time (often several days). Ventilate thoroughly. |
| Neutral-cure silicone sealant | Yes, once fully cured | Avoid acetoxy-cure silicone (vinegar smell) in occupied bird areas during curing. |
| Galvanized wire or hardware | No | Common zinc toxicosis source. Do not use on any cage birds can contact. |
| Zinc-plated screws or staples | No | Even small amounts can cause toxicosis if chewed. |
| Chrome-plated hardware (unknown coating) | Avoid unless certified safe | Hexavalent chromium (Cr(VI)) from some plating processes is toxic and carcinogenic. |
| Acetoxy-cure silicone (vinegar smell) | No — not during cure | Releases acetic acid while curing. Remove bird and ventilate; do not use in occupied areas. |
| Welded or brazed repairs (DIY) | No — not around birds | Welding galvanized metal produces zinc oxide fumes. Stainless welding can produce Cr(VI) fumes. If welding is needed, have a professional do it with birds fully removed from the premises. |
One more rule on coatings: if you're repainting any part of a cage, request the SDS (Safety Data Sheet) from the supplier before you start. Check Section 2 (hazard identification), Section 3 (composition for heavy metals), and Section 9 (physical/chemical properties including VOC levels). Do not return your bird to the cage until it has no detectable odor and the SDS confirms no persistent toxic emissions after full cure.
Safety checks before you start any repair
This section isn't optional. Run through it every single time, even for small repairs.
- Remove and house your bird elsewhere first. A startled bird landing on a repair in progress can be injured by tools, cut wire ends, or loose hardware.
- Quarantine protocol: if you've bought replacement parts or a used cage section, wipe all new metal with a 10% bleach solution, rinse well, and allow to dry completely before attaching. Unknown used parts may carry bacteria, mites, or unidentified coatings.
- Sharp edges: after any cut, deburr every wire end and metal edge with a file until it feels smooth to a bare finger. A 30-second file job prevents a deep laceration to a foot or tongue.
- Toxic coatings check: if any surface is flaking, powdering (white powder on galvanized parts means zinc corrosion is active), or has an unidentified coating, do not complete the repair using those parts. Replace them with certified stainless or verified-safe powder-coated components.
- Load limits: if you are reattaching a feeder, toy hook, or perch mount, confirm the fastener you're using is rated for at least 3x the expected load. A large macaw can apply significant force to a favorite perch mount.
- No hot work around birds: grinding, welding, or torch work on any metal part produces fumes. Move birds to another room, close the door, and ventilate the workspace completely before returning birds. For galvanized or chrome-plated parts, this is critical, the fumes are acutely toxic to birds.
Bar spacing by bird size: what's safe and what's dangerous
Bar spacing is one of the most underestimated safety factors in a cage. Too wide and a bird can push its head through and get stuck, or escape entirely. Too narrow and small species feel trapped with no visual access. The numbers below come from Merck Veterinary Manual guidance and are the maximums, not targets. Always verify that your specific bird cannot push its head through any gap before closing up after a repair.
| Bird size / species examples | Minimum cage footprint | Maximum bar spacing |
|---|---|---|
| Budgerigar, cockatiel, lovebird, parrotlet | 20 × 20 × 30 in | 0.5 in (13 mm) |
| Conure, Poicephalus, caique, miniature macaw | 36 × 24 × 48 in | 0.75 in (19 mm) |
| African grey, Amazon, small cockatoo | 40 × 30 × 60 in | 0.75 – 1.0 in (19 – 25 mm) |
| Macaw, large cockatoo | 48 × 36 × 66 in | 1.5 in (38 mm) |
The Association of Avian Veterinarians adds one more rule that trumps the table: the cage must allow full wing extension in every direction, and width matters more than height for most species. If a repair is bringing a cage down to minimum size, that's a signal to look at an upgrade rather than patch it further.
If any gap on your cage has widened beyond the safe maximum for your bird, you have two repair options: replace the affected panel with matching stainless mesh cut to size and fastened with stainless hose clamps or pop rivets, or attach a secondary layer of appropriately spaced stainless welded wire mesh over the outside of the panel using stainless cable ties or hose clamps. Both are valid DIY fixes. Adding a secondary mesh layer is covered in more detail in the section on making bar spacing smaller, which also addresses full panel replacement.
Opening and securing doors safely
A door that won't open easily is frustrating; a door that opens when it shouldn't is dangerous. Before attempting any repair to a door, latch, or hinge, it helps to understand how your specific door operates. For step-by-step instructions specific to different door types, see our guide on how to open bird cage. Most bird cage doors fall into one of three types: swing-out doors with a simple spring latch, slide-up guillotine doors, and full front-opening doors on larger cages. Each type has a different failure mode.
Opening a stuck or jammed door without forcing it
- Identify the latch type before applying pressure. Spring latches on the side release by pressing inward on a tab; look for the tab before pushing or pulling the door.
- If the latch is stuck, apply a tiny amount of food-grade mineral oil to the latch pin using a cotton swab. Wait 30 seconds, then try again. Do not use WD-40 or standard lubricants near a bird's living area.
- For a swing door that won't open despite a released latch, check whether the hinge has bent, forcing the door panel into the frame. Gentle downward pressure on the door (toward the hinge pivot) while pulling outward usually frees it.
- For a guillotine-style door, check whether the side channels have pinched inward. A light outward press on the channel while lifting the door resolves this in most cases.
- If you cannot open the door without significant force, remove the hinge pin from the outside (see hinge repair section below) rather than bending the door panel.
Securing doors against escape and unauthorized opening
Parrots, especially conures, African greys, and cockatoos, are highly capable of opening simple spring latches. Once you've repaired or replaced a latch, consider adding a secondary lock. A stainless steel carabiner (climbing-grade, not cheap keychain types) clipped through the latch handle is the simplest option and takes about five seconds to open for you while defeating most birds. Stainless quick-links work equally well. Avoid padlocks that require a key near small birds, as lost keys become an emergency if you need fast cage access.
Step-by-step: fixing doors, hinges, and latches
Door hardware failures break down into three categories: the hinge has bent or the pin has slipped, the latch mechanism no longer engages, or the door panel itself has warped or broken. Here's how to handle each one.
Quick fix: latch won't click or won't release
- With your bird removed, clean the latch area with a damp cloth. Seed dust and dried droppings are the most common reason latches stick.
- Work the latch mechanism back and forth 10 to 15 times to break up debris.
- Apply a single drop of food-grade mineral oil to the latch pin and the spring contact point. Wipe off any excess.
- Test the latch 5 times. If it now engages cleanly with an audible click, the repair is done.
- If the latch still doesn't engage, the spring inside the mechanism has likely fatigued. Move on to the full latch replacement below.
Full repair: replacing a broken latch
- Photograph the existing latch from both sides before removing it. You'll need this reference when fitting the replacement.
- Most cage latches attach with one or two small bolts or pop rivets. Remove these with a drill (rivets) or wrench (bolts). If the latch was spot-welded, use a Dremel with a cutting disc to free it, keeping sparks away from your bird.
- Clean the mounting surface with a wire brush and mild soap. Rinse and dry.
- Test-fit the replacement latch (stainless steel, matching or slightly stronger spring rating) before fastening. The strike plate on the door panel must align with the latch pin when the door is fully closed.
- Fasten with stainless steel pop rivets or stainless M3/M4 bolts and nylon-lock nuts. Do not use zinc-plated hardware.
- File any exposed rivet or bolt ends flush to the surrounding surface.
- Test the door 10 times open and closed before returning your bird.
Hinge repair: drooping door or free-swinging door
- A door that droops has a bent or missing hinge pin, or a hinge leaf that has pulled away from the frame. Identify which by opening the door fully and inspecting the hinge while holding the door weight.
- For a bent hinge pin: drive the pin out from below using a punch and hammer, straighten it in a vice if the bend is minor, or replace it with a stainless bolt of matching diameter. Use a nylon-lock nut on the threaded end to keep it from vibrating loose.
- For a hinge leaf that has pulled away from the frame: drill out the old rivets or bolts, reposition the hinge leaf flush to the frame, and refasten with stainless pop rivets. Use at least two fasteners per leaf.
- For a bent hinge leaf that has deformed the door angle: use pliers to straighten the leaf carefully before refastening. If the metal has fatigued and cracked, replace the entire hinge with a stainless equivalent.
- After any hinge repair, check that the door panel swings without rubbing the frame and that the latch still aligns correctly. Adjust the hinge mounting position by 1 to 2 mm if alignment is off.
Wheels and casters: diagnosis, repair, and leveling
A cage on wheels that rolls unexpectedly is a real hazard for birds who hang on the lower bars, and for your own feet. A cage that won't roll at all defeats the purpose of having wheels. Most wheel problems are simpler than they look, and I'll walk through the full diagnostic and repair here. For a deeper dive on caster-specific issues, the companion guide on how to fix bird cage wheels covers edge cases like seized axles and caster plate cracks in more detail.
Diagnosing wheel and caster problems
- With your bird removed and the cage empty, rock it gently on all four wheels. Any wheel that lifts off the floor means the frame or a caster mounting plate has bent, or the wheel itself has collapsed.
- Engage the lock on every locking caster. Push the cage firmly. If it rolls despite engaged locks, the lock lever has broken or the brake pad has worn flat.
- Spin each wheel by hand. A wheel that wobbles side-to-side has a bent axle or a cracked wheel body. A wheel that grinds or resists has a debris-packed bearing or a dry axle.
- Inspect the caster mounting plate and its fasteners. A caster that wobbles in its mount has loose bolts or a cracked plate.
Step-by-step wheel repair and replacement
- Remove the affected caster by unscrewing its mounting bolts (usually 4 bolts through a plate on the cage base). Keep these bolts; you'll need the same thread size for the replacement.
- For a wheel that grinds: remove the wheel from the caster fork by driving out the axle pin. Clean the bearing with a dry cloth, remove any debris (hair, seed husks, and feathers are the usual culprits), and apply a light film of food-grade mineral oil or PTFE-dry lubricant to the axle before reassembling.
- For a wheel with a worn or broken lock: if the lock lever has snapped, the entire caster assembly needs replacement. Bring the old caster to a hardware store and match it by plate size and stem type. Replace with a stainless or heavy-duty zinc-free caster rated for at least twice your cage's fully stocked weight.
- For a bent axle: the axle pin is usually pressed in and not separately replaceable on budget casters. Replace the full caster assembly.
- When fitting the new caster, check that all four mounting holes align before tightening any bolt. Tighten in a cross pattern to seat the plate evenly.
- Leveling after wheel replacement: place a spirit level on the empty cage floor grate after fitting all four wheels. If the cage isn't level, most replacement casters include a threaded stem with an adjusting nut. Raise or lower individual casters in half-turn increments until the level reads flat on both axes.
- Roll the cage a full meter and engage all locks. Verify the cage doesn't creep on a smooth floor before returning your bird.
Repairing or replacing bars and reducing bar spacing
Bent or broken bars are among the most common structural repairs. A single bent bar on a large cage is usually fixable in place. Multiple broken bars, or a section where the weld has failed along a joint, usually means the panel needs replacing rather than patching. Adding mesh to reduce effective bar spacing is a legitimate and widely used technique for situations where a cage's original spacing is too wide for a smaller bird you've added to the household. For a step-by-step walkthrough on how to repair bird cage bars, including replacing bent bars and reinforcing panels, see how to repair bird cage bars.
Straightening a bent bar
- Assess the bend. If the bar is bent less than about 15 degrees and the surrounding welds are intact, it can be straightened in place.
- Place a block of hardwood against the bar's concave side (the inside of the bend) as a backing. Use needle-nose pliers to apply gentle, progressive pressure to the convex side, working along the length of the bend.
- Do not try to straighten more than a few degrees per pass. Over-bending and back-correcting fatigues the metal and creates micro-cracks.
- After straightening, run a finger along the bar. Any roughness or sharp spot means a crack has formed; replace the bar rather than leave it.
- If the bar is bent more than 15 to 20 degrees, or if the surrounding welds have cracked, proceed to full bar replacement.
Replacing a broken or damaged bar
- Cut the damaged bar flush at both weld points using wire cutters or a Dremel cutting disc. File the stub ends smooth.
- Measure the gap and cut a replacement bar from 304 stainless steel rod or wire of the same diameter. Add 10 mm to each end for the attachment overlap.
- Fit the replacement bar in position. Attach each end to the frame or cross-bar using a stainless steel hose clamp, tightened firmly with a screwdriver or socket driver. Do not use wire twist-ties or cable ties as the primary fastener; they degrade and can be chewed.
- Alternatively, drill a small hole at each attachment point and secure the replacement bar with a stainless pop rivet or a stainless bolt and nylon-lock nut.
- File all cut ends and fastener protrusions completely smooth before reassembly.
- Recheck bar spacing on both sides of the new bar with calipers.
Adding mesh to reduce effective bar spacing
If you need to reduce bar spacing across a full panel, the cleanest approach is to attach a layer of stainless welded wire mesh (sometimes called hardware cloth, but make sure it is stainless steel, not galvanized) over the outside of the existing bars. Choose a mesh with spacing appropriate for your bird (see the bar spacing table above). Cut the mesh 2 to 3 cm larger than the panel on all sides, fold the edges back 180 degrees with pliers to eliminate sharp cut ends, and attach it to the cage frame using stainless cable ties at 5 to 7 cm intervals, or stainless hose clamps at the corners. This technique is also useful for bar repairs where you want additional mechanical backing. A full guide to the spacing options and panel-replacement process is covered in the companion article on how to make bird cage bars smaller.
Fixing trays and feeder fittings
Bottom trays crack along the corners under the weight of wet substrate. Feeder cup clips break or lose their spring, leaving gaps in the cage wall. Both are quick repairs.
- Cracked plastic tray: if the crack doesn't extend to the tray wall (just the floor surface), reinforce the underside with a strip of self-adhesive aluminium tape rated for kitchen use, then line the tray with a disposable paper liner so the tape is never directly contacted by your bird. If the wall has cracked, replace the tray; a cracked tray wall creates escape gaps.
- Loose feeder cup ring: if the ring is held by a tension clip and the clip has fatigued, replace the clip with a stainless steel binder ring of the same diameter, secured with a small stainless bolt through the ring and the cage bar.
- Missing feeder cup: a missing cup leaves a hole in the cage wall. Close it immediately with a stainless steel plate the same size as the opening, fastened with stainless bolts, until a matching replacement cup arrives.
- Sticky or stiff feeder door: clean with warm water and a bottle brush, dry completely, and apply a single drop of food-grade mineral oil to the hinge pin.
Repair vs. replace vs. call a pro: making the right call
Not every cage is worth repairing, and not every repair is a DIY job. Here's the decision framework I use.
| Situation | Recommended action |
|---|---|
| Single broken or bent bar, intact frame and welds | DIY repair — replace bar with stainless rod and hose clamps |
| Broken latch or hinge on a single door | DIY repair — clean or replace hardware with stainless equivalent |
| One or two seized or broken caster wheels | DIY repair — replace casters, relevel cage |
| Cracked or flaking coating on bars bird actively chews | Replace affected panel with stainless mesh, or replace cage |
| Multiple broken bars or a panel with failed welds | Replace entire panel with stainless mesh; assess whether the frame is still structurally sound |
| Frame has bent, twisted, or cracked at a corner joint | Replace cage — frame damage compromises the structural integrity of every repair you make on top of it |
| Cage is below minimum size for your species | Replace cage — repairs don't fix a welfare problem caused by inadequate dimensions |
| Galvanized coating is flaking and your bird is showing weakness, green droppings, or neurological signs | Veterinary emergency immediately — do not wait for a repair assessment |
| Welding or brazing is required to fix a structural joint | Call a professional metal fabricator, ensure birds are fully removed from the premises, and request a stainless or confirmed bird-safe material for the repair |
Prevention and maintenance: keep repairs from piling up
Most cage failures I see are gradual. A latch that's been stiff for six months finally breaks. A bar that's been slightly bent for a year finally cracks. A regular inspection schedule catches these before they become emergencies.
- Weekly: check all door latches and locks while cleaning. Apply a drop of food-grade mineral oil to any latch that feels stiffer than usual.
- Monthly: run a gloved finger along every bar and check all visible welds for cracking. Test all wheels and locks.
- Every 3 months: check bar spacing with calipers on any section your bird chews or pushes against regularly. Birds can widen gaps over months of persistent pressure.
- Every 6 months: inspect all coated surfaces for flaking or peeling. Any flaking on surfaces your bird contacts means that section needs replacing or recoating with a verified-safe product.
- After any cage move: recheck leveling, bar spacing, and door alignment. Moving a cage stresses frame joints in ways that aren't always visible until a bar shifts.
Placement, seasonal protection, and a note on upgrades
Once a repair is done, placement matters for keeping it that way. The RSPCA recommends positioning cages where family activity happens but away from kitchens and cooking fumes. Humidity from kitchens accelerates corrosion on any metal cage component, particularly on coated steel bars that have minor coating damage. In humid climates or in winter when heating systems dry the air, metal-to-metal joints can expand and contract enough to work fasteners loose over months. Check your fasteners seasonally if you live anywhere with large temperature swings.
If you've reached the end of a repair and you're thinking about upgrades, the principle from the Association of Avian Veterinarians is worth keeping in mind: prioritize width over height, and buy the largest cage possible for your species. A repaired cage that is fundamentally undersized is still undersized. Repairs are for maintaining a safe, adequate cage, not for indefinitely extending the life of one that was never quite right.
FAQ
What is the first thing I should do when I suspect a cage problem?
Start with a safety diagnostic checklist: (1) Remove the bird to a safe secondary enclosure. (2) Inspect for sharp edges, broken or bent bars, loose welds, missing or damaged fasteners, door/latch failures, tray/feed problems, and unstable wheels/base. (3) Smell for unusual odors (off‑gassing from new coatings). (4) Check for signs of chewing or metal ingestion on bars/fasteners. (5) Note species‑appropriate bar spacing and whether the bird could escape or get trapped. Only proceed with repairs after the bird is safe and the work area is well ventilated.
What tools and materials should I have on hand for safe, avian‑friendly cage repairs?
Basic tool list: needle‑nose pliers, wire cutters, bolt cutters (for thick wire), adjustable wrench, socket set, small hammer, metal file, bench vise or clamp, drill with stainless bits, rivet gun, stainless pop rivets, stainless hose clamps, stainless bolts/nuts/washers (304/316), stainless split rings/quick links, heavy‑duty zip ties (UV‑resistant), stainless mesh or aviary mesh, fine‑gauge stainless wire, sandpaper, deburring tool, and a magnet to test for plating. Avian‑safe consumables: food‑grade/neutral‑cure silicone or fully cured epoxy labeled non‑toxic, avian‑safe powder‑coat only if fully cured per SDS, and stainless steel replacement parts. Avoid galvanized, plated, or unknown metals and solvent‑based paints or uncured finishes while birds are present.
How do I decide whether to repair, perform a quick fix, or replace the cage?
Use this decision guide: Quick fix (temporary): isolated latch stuck, loose tray, small bent bar not load‑bearing, or missing footpad—use temporary stainless clamps/zip ties and rehome bird while planning full repair. Full repair at home: damaged door/hinge, repairable wheels, feeder fittings, or replaceable bars/mesh—use stainless fasteners and follow step‑by‑step methods. Replace or seek pro help: structural frame failure, extensive corrosion/galvanization damage, unknown toxic coatings, large welded repairs requiring hot work, or cage size/safety no longer appropriate for species. If the bird chewed metal that may be zinc/lead, remove source and consult an avian vet immediately.
What species‑appropriate bar spacing and cage size checks should I perform?
Check species against minimums and bar spacing: small parakeets/ parrotlets/ budgies/cockatiels/lovebirds — roughly 0.5 in spacing and suitable min dimensions; medium birds (conures, small Amazons) — ~0.75 in; large parrots/macaws — up to 1.5 in. More important than formulae: ensure the bird can fully extend wings (wingspan rule), cannot fit head or body through multiple adjacent bars, and cannot get feet/neck trapped. Measure horizontal width for flight/runway and confirm perches/toys don’t reduce usable space.
How do I safely inspect for toxic metals or coatings?
Visually inspect for shiny plating, flaking/zinc‑white residue, and labels/SDS from manufacturer. Use a magnet: stainless (304/316) is only weakly magnetic or non‑magnetic; galvanized or some plated steel will be magnetic. If you suspect galvanization, zinc, lead, or unknown coatings: remove bird, do not let bird chew the area, and either replace suspect parts with certified stainless steel or consult an avian vet if ingestion is suspected. Never heat or grind galvanized/plated parts while birds are nearby as fumes are hazardous.
How do I repair a stuck, misaligned or damaged door and latch — step by step?
Quick steps: (1) Remove bird to safety. (2) Unlock and open door fully; remove door if necessary. (3) Inspect hinge pins, hinge holes, and latch parts for wear/bend. (4) File burrs and deburr edges; replace hinge pins with stainless equivalents if worn. (5) If latch does not hold, replace with a stainless sliding bolt or spring‑loaded avian‑safe latch; fit with stainless bolts and nylon‑lock nuts. (6) Test repeatedly with finger and a weighted object simulating bird pressure to ensure it won’t open under normal use. (7) Reinstall door and observe for correct operation for several days.
Next Articles
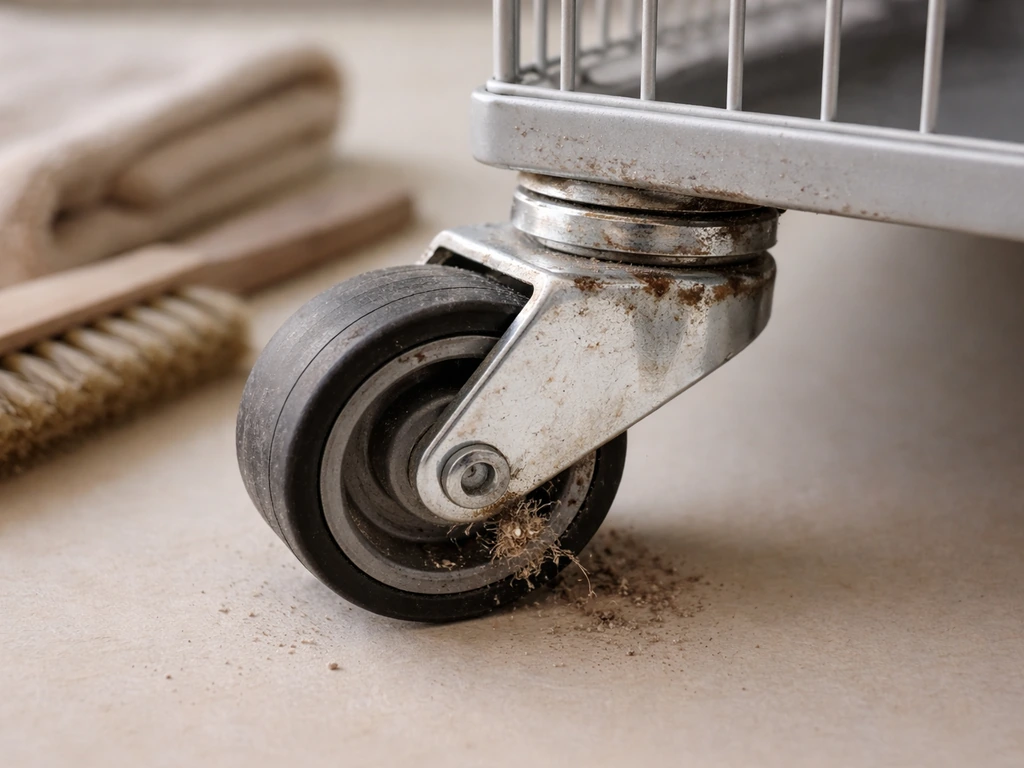
How to Fix Bird Cage Wheels: Wobbling, Stuck, or Noisy
Step by step guide to fix wobbly, stuck or noisy bird cage wheels by clearing debris, tightening, realigning and replaci
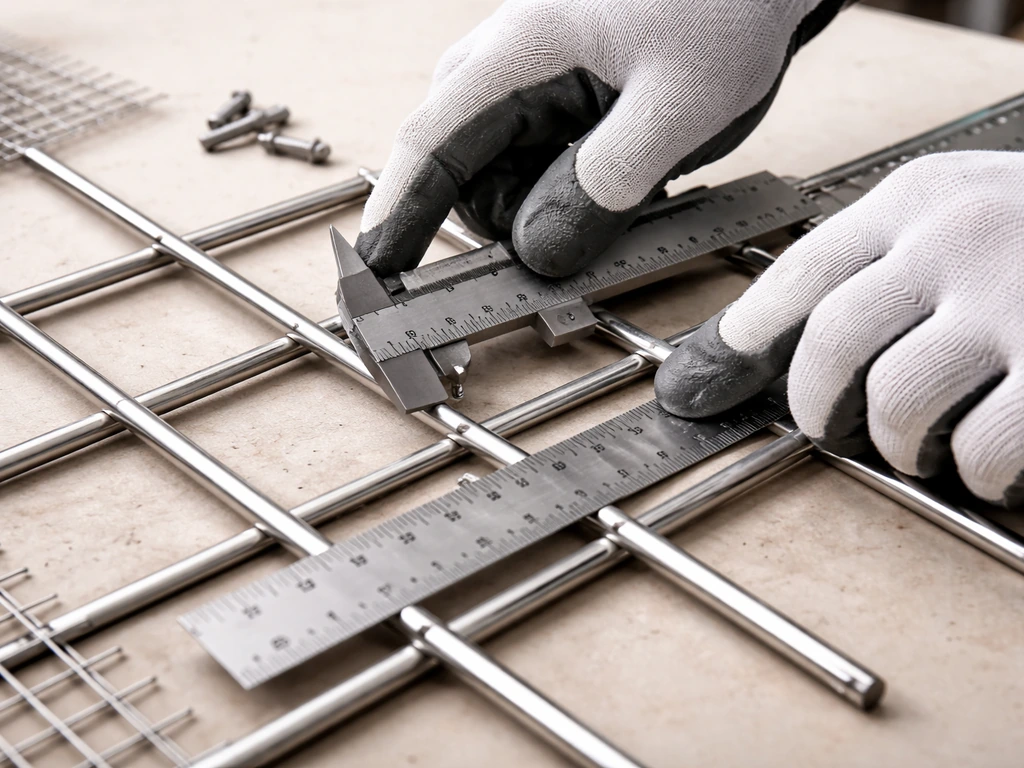
How to Make Bird Cage Bars Smaller Safely DIY Guide
Safely reduce bird cage bar gaps: measure spacing, choose fixes or upgrades, add barriers or replace sections, and verif
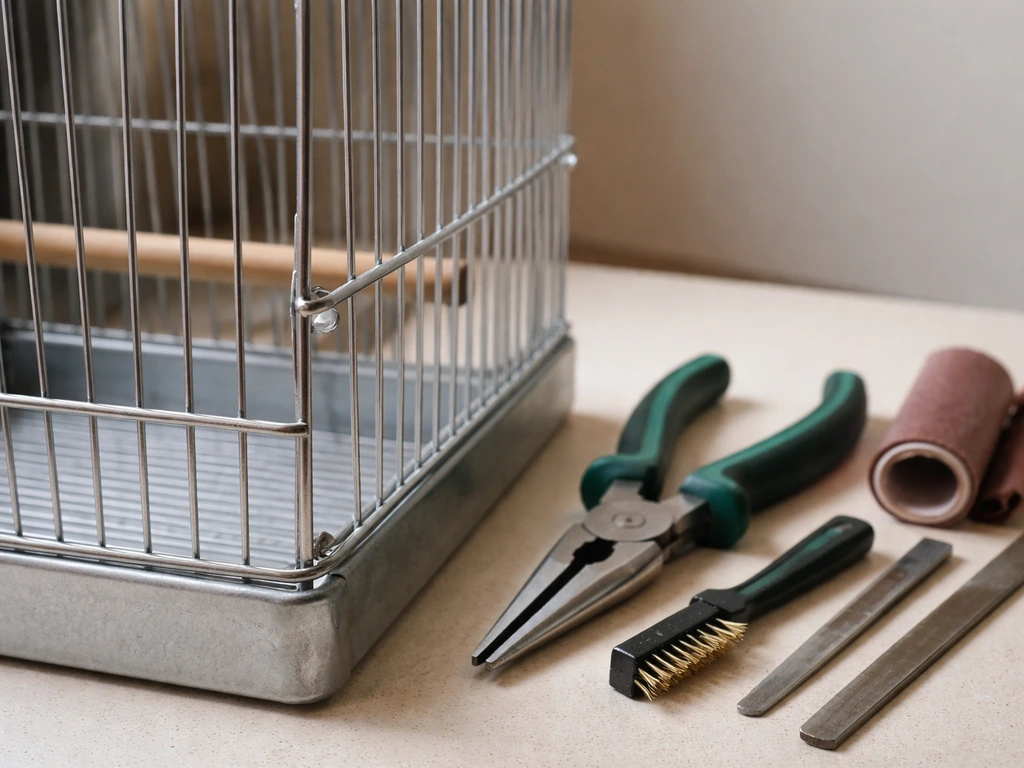
How to Repair Bird Cage Bars: Safe Step by Step Fixes
Safe, step by step fixes for bent, rusted, broken, or loose cage bars, with spacing, tools, and final safety checks.