The fastest way to raise humidity in a bird room is to run a cool-mist evaporative or ultrasonic humidifier sized to the room, keep it clean, and aim for a steady 40–60% relative humidity (RH). That range covers most common pet birds comfortably without tipping into the mold-friendly zone above 60–65%. If you are noticing dry, flaky skin, ragged feathers, or frequent sneezing in your birds, there is a good chance your RH is sitting below 35%, which is very common in centrally heated homes in winter. The fix is measurable, affordable, and something you can sort out in an afternoon with the right gear.
How to Increase Humidity in Bird Room: Safe DIY Guide

Maya Bennett
7 Aug 2026
Quick-start checklist: signs of low humidity and what to check first
Before you buy anything, do a quick audit of your bird room. Low humidity leaves clues on your birds and in the room itself. Run through this checklist and note what you find.
- Dry, flaky, or itchy-looking skin around the face and feet
- Feathers that look brittle, frizzy, or slow to complete a molt cleanly
- Frequent sneezing or clicking sounds when breathing (without obvious infection)
- Birds scratching or over-preening more than usual
- Static electricity when you handle birds or open cage doors
- Your hygrometer (if you have one) reading below 40% RH consistently
- Cracked wooden cage components or perches — wood dries out fast in low humidity
- Houseplants in the room wilting or dropping leaves quickly despite watering
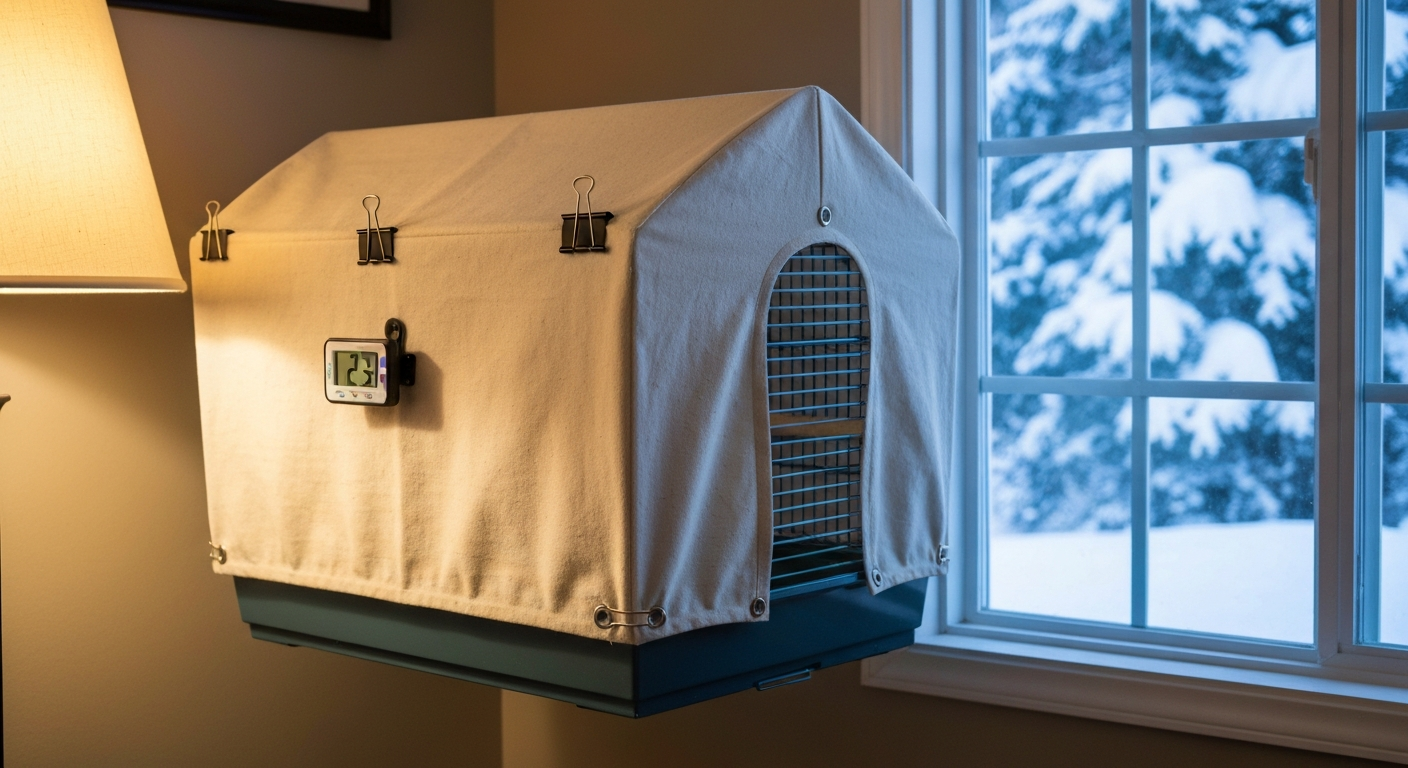
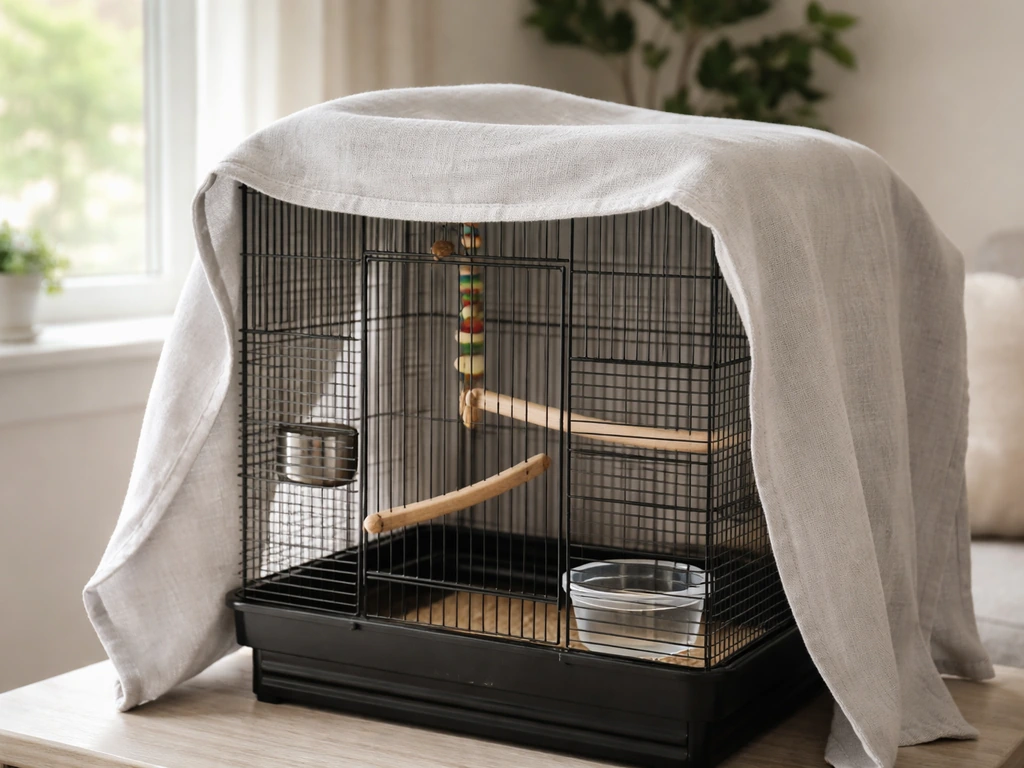
Once you have spotted two or more of these, grab a hygrometer before doing anything else. You need a baseline reading to know how far you need to raise things. I will cover hygrometer choice in the next section. Also check whether your central heating is the main driver, heated air holds less relative moisture, so winter is almost always when this problem peaks. If you are already using cage covers at night to retain warmth, keep in mind that breathable covers are better for airflow than solid blankets, which can trap stale, potentially damp air directly around the cage.
Species-specific humidity ranges for common pet birds
The 40–60% RH band is a practical working target for most companion psittacines kept indoors. UK government advisory standards state that for healthy adult domestic birds, relative humidity (RH) within about 40–80% is typically appropriate and recommend, where no species-specific data exist, replicating the wild climate and avoiding large, rapid swings (Advisory standards for the care and accommodation of animals bred, supplied or used for scientific purposes, GOV.UK) Advisory standards for the care and accommodation of animals bred, supplied or used for scientific purposes — GOV.UK. That said, some species genuinely prefer the higher end of that range, and a few are more tolerant of drier conditions. The general principle from avian veterinary guidance is to replicate the bird's wild climate as closely as practical, and to avoid large, rapid swings in RH regardless of the target value.
| Species | Recommended RH Range | Notes and caveats |
|---|---|---|
| Budgerigars (budgies) | 40–55% | Originate from arid Australian grasslands; tolerate moderate dryness but still benefit from regular misting and baths |
| Cockatiels | 40–55% | Similarly arid-zone birds; handle slightly drier conditions but should not drop below 35% for extended periods |
| Parakeets (various) | 40–60% | Broad group — target mid-range and observe individual response |
| African Greys | 50–60% | Rainforest origin; more sensitive to low RH; dry air is linked to feather-destructive behaviour and respiratory irritation in this species |
| Amazon parrots | 50–60% | Tropical/subtropical origin; benefit from higher end of the band and regular misting |
| Macaws | 50–65% | Large body surface area but still vulnerable to low RH; lean toward upper range especially for South American species |
| Conures | 45–60% | Most come from diverse South American habitats; mid-range works well |
| Lovebirds | 40–55% | African origin, semi-arid areas; mid-range is appropriate |
| Eclectus | 55–65% | Rainforest species; among the most humidity-sensitive common pet parrots; push toward the higher end |
| Canaries and finches | 40–60% | Fairly adaptable; consistent range matters more than exact value |
A couple of important caveats: these ranges assume the room is well ventilated, because high humidity in a poorly ventilated space dramatically increases the risk of Aspergillus and other fungal growth. Aspergillosis is a serious respiratory disease in birds, and the spores thrive when organic material (bedding, food, droppings, feather dust) sits in warm, humid, stagnant air. Good airflow is not optional. Also watch for individual variation, an African Grey that has lived in a dry home for years may show stress if you suddenly jump from 35% to 60% overnight. Raise humidity gradually, over a week or two if possible.
How to measure room humidity properly
Choosing a hygrometer
A digital capacitive hygrometer is your best everyday option. Most decent consumer digital models advertise accuracy around plus or minus 2–3% RH, which is good enough for bird care. Avoid cheap analog (needle-dial) hygrometers: they can drift by 5–10% and give you false confidence. I have used a couple of the popular wireless sensor models that link to a phone app, and they are genuinely useful because you can check overnight readings without walking into the room and disturbing the birds.
Before you trust any hygrometer reading, do a salt test to verify its accuracy. Seal the hygrometer in a zip-lock bag with a small container of saturated sodium chloride (table salt dissolved in water until it stops dissolving, with a little standing liquid visible). After 6–8 hours at room temperature, a correctly calibrated hygrometer should read close to 75% RH. If yours reads 68% or 82%, note the offset and apply it to all future readings. This is a validated method used by instrument suppliers and costs nothing to do.
Where to place hygrometers in a bird room
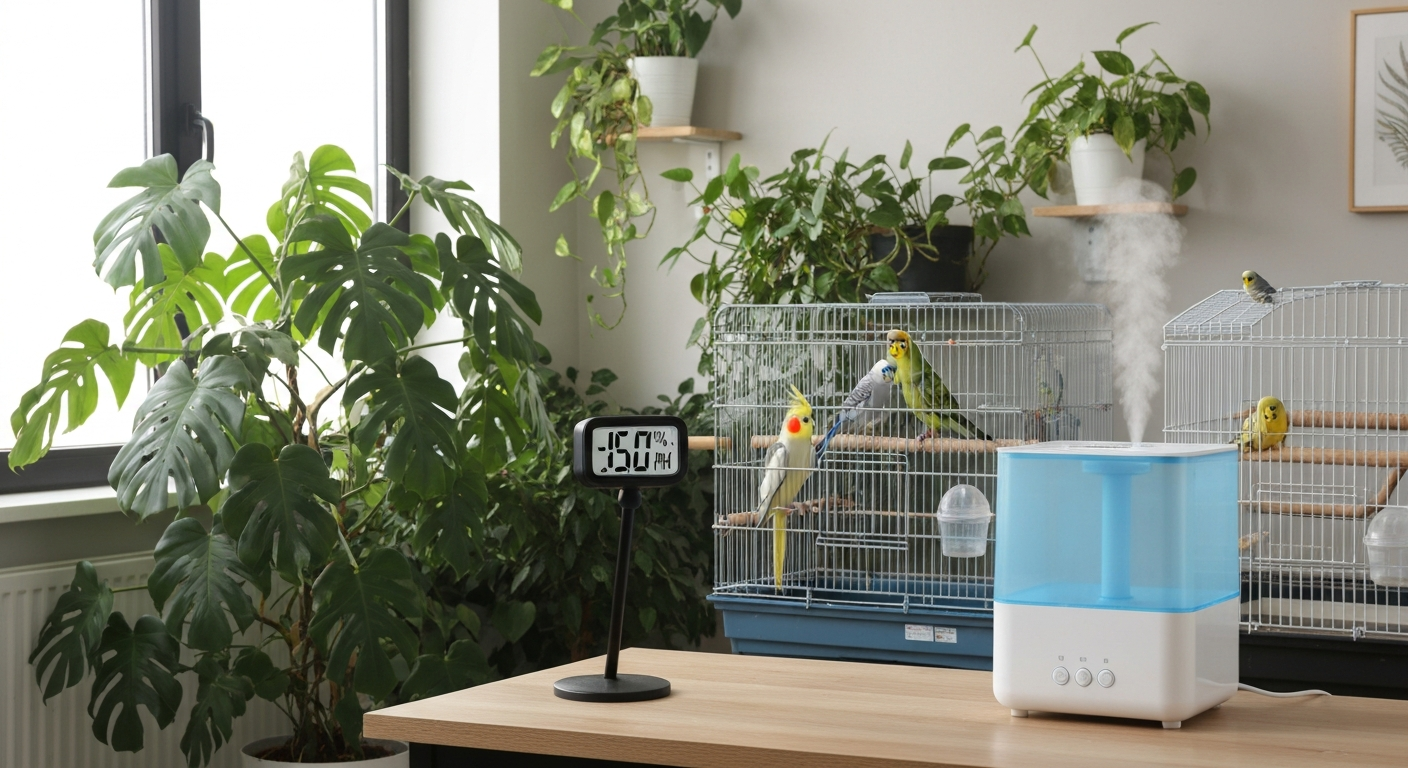
Placement matters more than most people realise. Put the sensor at roughly the height where the birds spend most of their time, which is usually cage mid-level. Keep it away from: HVAC supply vents (they create a false low reading), cold exterior walls or windows (cold surfaces condense moisture and give a false high), directly beside the humidifier output (obviously false high), and in direct sunlight. For a large bird room or one with multiple cages, add a second sensor near the cage furthest from the humidifier. The reading right next to the humidifier can easily be 15% higher than the far corner of the room.
Prioritising your approach: match the solution to the problem
Not every bird room needs a serious whole-room humidifier. Here is a simple decision framework to help you choose where to start, based on how low your humidity is, the size of your room, and what you want to spend.
| Current RH | Room size | Budget | Recommended starting point |
|---|---|---|---|
| 35–45% | Small (under 12 m² / 130 sq ft) | Low | Water trays near (not on) cages, regular misting, wet towels on radiators |
| 35–45% | Small | Medium/High | Compact ultrasonic or evaporative humidifier (1–2 L/day output) |
| Below 35% | Small | Any | Evaporative or ultrasonic humidifier — water trays alone will not get you there fast enough |
| 35–45% | Medium (12–25 m²) | Low | Multiple water trays, houseplants, misting; expect modest gains |
| 35–45% | Medium | Medium | Mid-range evaporative humidifier (2–4 L/day output) |
| Below 35% | Medium | Any | Evaporative humidifier as primary; supplement with misting/baths |
| Below 35% | Large (over 25 m²) | Any | Whole-room evaporative humidifier (4+ L/day); consider console-style unit or two medium units |
The key principle: passive methods (trays, towels, plants) raise humidity slowly and by a modest amount, typically 3–8% in a heated room. If you are more than 10% below your target, you need a powered humidifier. If you are already close to target and just want to fine-tune, passive methods are a reasonable low-cost supplement.
Room humidifier options: which type is right for a bird room
Evaporative (wick) humidifiers
An evaporative humidifier draws air through a wet wick or filter. As air passes through, it picks up water vapor. The clever thing about this type is that it is self-limiting: once the air reaches saturation, evaporation slows down naturally, which makes it hard to accidentally over-humidify a space. Minerals from tap water are trapped in the wick rather than being misted into the air, so there is no white dust problem. The wick does need regular replacement (usually every 1–3 months depending on water hardness) and the reservoir must be cleaned weekly to prevent bacterial and mold growth. For bird rooms, evaporative units are my first recommendation because of the self-limiting property and lower aerosolization risk.
Ultrasonic humidifiers
Ultrasonic units use a vibrating plate to produce a very fine cool mist. They are typically the quietest option, which matters a lot in a bird room where you do not want to stress the birds with noise. The downside is that they aerosolize everything in the reservoir, including dissolved minerals and any bacteria or contaminants. If you use tap water, you will see white dust settling on surfaces. More seriously for birds, a contaminated reservoir can mist pathogen-laden particles directly into the room. If you go ultrasonic, you must use distilled or demineralized water and clean the unit every 2–3 days. The EPA specifically flags this risk for humidifiers in spaces with vulnerable occupants.
Cool-mist impeller humidifiers
Impeller units use a spinning disc to fling water droplets that break into a mist. Similar pros and cons to ultrasonic: quiet, no heat, but they will aerosolize minerals and contaminants from the tank. Distilled water and frequent cleaning are essential. They are often cheaper than ultrasonic units and are fine for bird rooms with those conditions met.
Warm-mist (steam) vaporizers
Warm-mist vaporizers boil water to produce steam, which kills most microorganisms in the process. That sounds appealing for a bird room, but the burn and scald risk from the hot steam output is a real problem around birds. Hot steam near a cage can startle birds into the bars, and the localized heat output can create uncomfortable temperature spikes. These units also use noticeably more electricity. For most bird room setups, the risks outweigh the microbial benefit, especially since a well-cleaned cool-mist unit is already safe. Keep these out of rooms with birds.
Comparing humidifier types side by side
| Feature | Evaporative (wick) | Ultrasonic | Cool-mist impeller | Warm-mist (steam) |
|---|---|---|---|---|
| Typical output (L/day) | 2–8 | 2–6 | 2–5 | 2–5 |
| Area covered | Medium to large rooms | Small to medium rooms | Small to medium rooms | Small to medium rooms |
| White dust risk | None (minerals trapped in wick) | High (use distilled water) | Moderate to high | None (steam only) |
| Microbial aerosolization risk | Moderate (wick traps some) | High if tank not cleaned | High if tank not cleaned | Low (boiling kills microbes) |
| Burn/scald risk | None | None | None | Yes — keep away from birds |
| Noise level | Low fan noise | Very quiet | Low to moderate | Low (slight bubbling) |
| Filter/wick replacement | Every 1–3 months | None (membrane cleaning) | None | None |
| Tank cleaning frequency | Weekly | Every 2–3 days | Every 2–3 days | Weekly |
| Water type needed | Tap water acceptable | Distilled strongly recommended | Distilled recommended | Tap water acceptable |
| Recommended for bird rooms? | Yes — first choice | Yes, with conditions | Yes, with conditions | No — burn risk |
| Run time per fill (typical) | 12–24 hrs | 8–16 hrs | 8–16 hrs | 8–16 hrs |
When buying, look for units with wide-mouth tanks (easy to reach in and clean), detachable wicks or filters, and a built-in humidistat that lets you set a target RH and have the unit cycle on and off automatically. A humidistat-controlled unit is by far the easiest way to stay in the 40–60% range without constantly checking and adjusting. For large bird rooms (over 25 m²), check the manufacturer's coverage area spec and size up generously: manufacturers rate coverage under ideal conditions, and a room full of cages, perches and bird dust is not ideal conditions.
Step-by-step setup for whole-room humidification
- Measure your room first. Note the floor area in square metres and check whether the room has any HVAC supply or return vents — these affect how humidity moves through the space.
- Choose your humidifier type using the comparison table above. For most bird rooms, start with an evaporative unit. Buy one rated for slightly more than your room size to give yourself headroom.
- Before first use, clean the unit thoroughly with a solution of white vinegar and water (1:1 ratio), rinse completely, and check the reservoir for any manufacturing residue. Never add essential oils, fragrance, or any additive to the reservoir — these can be acutely toxic to birds.
- Position the humidifier at least 1 metre (3 feet) from any cage. Output directed at a cage can create a cold, damp microclimate right where the bird sits, which risks chilling and respiratory issues. Aim the mist output toward an open area of the room.
- Place it elevated off the floor if possible — on a stable shelf or stand at roughly 60–90 cm height. Ground-level mist settles on the floor rather than distributing through the room air.
- Keep it away from electrical sockets and extension leads to the extent possible — humidifier output near electrical equipment is a fire and shock risk. Route cords safely and use a surge-protected extension if needed.
- Fill with distilled or demineralized water if using an ultrasonic unit. For evaporative units, tap water is generally fine but check water hardness in your area — very hard water will foul wicks faster.
- Set the humidistat to your target RH (start at 45–50% and adjust based on bird response over a few days). Place your calibrated hygrometer at cage height, away from the humidifier, and record readings at morning, midday and evening for the first three days.
- After 72 hours of operation, check the tank interior for any sliminess or discoloration — both signs of bacterial growth. Clean immediately if found. Set a weekly cleaning reminder.
- Watch the birds. Improved feather condition, reduced sneezing and more active bathing behaviour are positive signs. If you see any new respiratory symptoms after starting humidification, turn the unit off and clean it thoroughly before resuming — the most likely cause is a contaminated reservoir.
Misting, baths, water trays and bird bathing protocols
Why bathing and misting also help humidity
Misting and bathing do double duty: they directly add local humidity around the cage and they support feather and skin health behaviourally. The Association of Avian Veterinarians endorses regular misting and bath access as part of standard enrichment and husbandry. It is not a replacement for whole-room humidification in a very dry space, but it is a meaningful supplement and something every bird owner should be doing anyway.
Misting technique and safety
Use a clean, dedicated spray bottle, never one that has held cleaning products or any chemical. Fill with lukewarm water, not cold. Cold misting in a warm room is fine for the room air, but cold water sprayed directly on a bird can cause chilling, especially in a drafty space or right before a cool evening. Mist above the bird so droplets fall like light rain rather than blasting directly at the face or nares. The spray pattern should be fine and diffuse, not a jet. Never mist directly into the nares or eyes.
Frequency by species
- African Greys, Amazons, Eclectus, Macaws: daily misting is well tolerated by most individuals and strongly beneficial; aim for morning so feathers dry before the cooler evening
- Cockatiels and budgies/parakeets: 2–4 times per week is a good baseline; some individuals love daily misting, others prefer baths
- Conures and lovebirds: 3–5 times per week; many conures are enthusiastic bathers
- Canaries and finches: 2–3 times per week; shallow dish baths are often preferred over spray misting
Shallow bath dishes
A shallow ceramic or stainless dish with about 1–2 cm of lukewarm water placed on the cage floor or hung from a door gives birds control over their own bathing. Many birds, especially those who are wary of spray bottles, will use a bath dish readily once they get used to it. Change the water after every use, a used bath dish is a contamination risk if left sitting. Do not use plastic containers that have held food, soap or any chemical. Dedicated bird bath dishes are cheap and widely available.
Water trays for passive humidity
Placing shallow trays of water around the room (not inside the cage) increases the evaporative surface area and gently raises ambient humidity. This works best in warmer rooms where evaporation is faster. A tray placed near a gentle heat source, like a warm radiator shelf (not on the radiator itself), evaporates faster. The limitation is that a single 30 cm tray might add 2–4% RH to a small room at best. Use multiple trays, refresh them daily, and scrub them weekly to prevent algae and bacterial growth. Never place water trays where birds can access them unsupervised, a bird that falls into a tray can drown.
Passive and DIY methods to supplement humidity
If your budget is tight or your humidity deficit is modest (under 10% below target), passive methods can meaningfully supplement a humidifier or serve as a temporary measure while you source equipment.
- Houseplants: transpiration from large-leaved tropical plants (pothos, peace lilies, spider plants) adds measurable humidity. A cluster of 6–10 medium plants in a bird room can contribute a few percentage points of RH. Check that every plant is non-toxic to birds before placing it anywhere near the cages.
- Wet towels on radiators: a damp towel draped over a radiator adds significant evaporative surface area and can raise room RH noticeably in a small, closed space. Remove before the towel fully dries to prevent a musty smell.
- DIY sponge-fan rig: mount a large damp sponge or wet filter media in front of a small USB or desk fan. Air passing through the wet surface picks up moisture. Replace or thoroughly clean the sponge every 2–3 days.
- Leaving bowls of water near (not on) heat sources: same principle as trays, just using whatever containers you have. Clean them every other day.
- Reduce air exchange temporarily: if you are losing humidity rapidly through open windows or heavy ventilation, closing the room more during the coldest and driest parts of the day can help retain what humidity you add. But do not sacrifice ventilation to the point of stagnant air — this raises Aspergillus risk.
How heating, cage covers, and winter conditions affect humidity
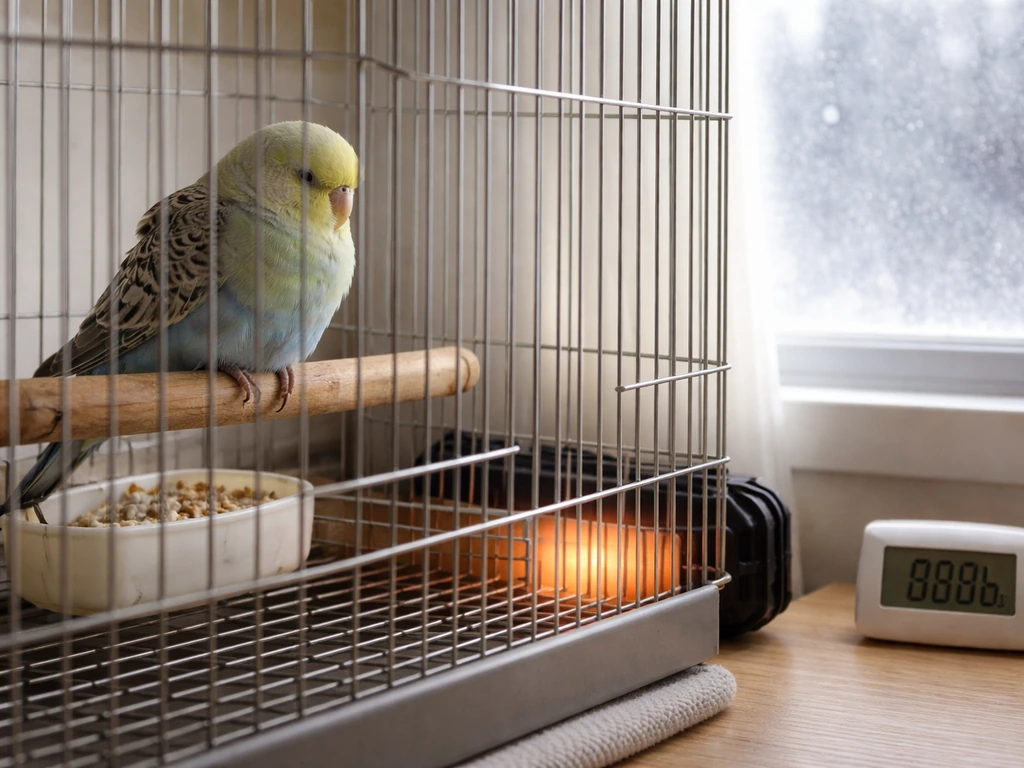
Central heating is the main reason bird rooms go dry in winter. For safe methods and precautions for warming a bird's enclosure, see how to heat bird cage. Forced-air and radiator heating both reduce relative humidity substantially as air warms up, because warm air can hold more moisture but the total water content of indoor air does not increase, so RH drops. A room that sits at 55% RH in summer can easily drop to 25–30% RH in a heated winter room with the same air. This is where humidification becomes non-negotiable for species like African Greys.
Cage covers used at night help birds sleep and retain some cage-level warmth, but they also affect airflow around the cage. A breathable fabric cover allows air to circulate and does not trap moisture against the cage bars. A heavy, non-breathable blanket can trap humidity inside the cage, and if the bird's droppings or water dish are adding moisture, a sealed-off microclimate can become damp and poorly ventilated overnight, a genuine Aspergillus risk. For guidance on selecting and using covers safely in cold weather, see how to cover bird cage in winter. If you are covering cages to retain heat in a cold room, a purpose-made breathable cover is the safer choice. For more detail on whether covering a bird cage keeps it warm and safer alternatives, see does covering a bird cage keep it warm. For detailed guidance on whether and how to cover a cage safely, see "Can I cover my bird cage with a blanket?" which explains breathable covers, risks of heavy blankets, and safer alternatives. For detailed guidance on whether and how to cover cages overnight, see should you cover a bird cage at night for advice on breathable covers, timing, and safety.
Safety checklist: mold, bacteria, chemicals and electrical risks
Getting humidity right is about more than hitting a number. The safety side of humidification is where most problems happen, and almost all of them are preventable with a simple routine.
- Never exceed 60–65% RH consistently in a bird room: above this threshold, mold on surfaces, cage wood, and stored food becomes a genuine risk. If your hygrometer reads above 65% regularly, reduce humidifier output and increase ventilation.
- Clean humidifier reservoirs every 2–3 days for ultrasonic/impeller units, weekly minimum for evaporative units. Use a dilute white vinegar solution (never bleach near birds) and rinse thoroughly before refilling.
- Use distilled or demineralized water in ultrasonic units. Tap water white dust contains mineral particles that, in a bird room with already significant airborne particulate (feather dust, dander), adds unnecessary respiratory load.
- No essential oils, aromatherapy additives, or scented products anywhere near the humidifier or bird room. These are toxic to birds even in small concentrations.
- No Teflon-coated items near heat sources in a bird room — heated non-stick coatings emit PTFE fumes that are acutely lethal to birds. This includes some humidifier heating elements, so check product materials before buying a warm-mist unit.
- Inspect cage wood, perches, and soft furnishings weekly for mold spots if you are running humidity at the higher end of the range.
- Check all electrical connections regularly — humidifiers near cages mean possible water splash or bird interference with power cords. Use cord covers or route cables out of beak reach.
- Ventilate the room daily, even briefly: open a window for 10–15 minutes each morning to exchange air and prevent stagnant conditions. This matters more as humidity rises.
- Maintain a written log of your hygrometer readings for at least the first month. This helps you spot trends (RH drops overnight when heat comes on, spikes after misting) and adjust accordingly.
Troubleshooting: when humidity is still wrong
| Problem | Likely cause | Fix |
|---|---|---|
| RH stays below target despite humidifier running | Humidifier undersized for room, too much air exchange, heater cycling too hard | Upsize humidifier output, close room more during humidification, add passive evaporative supplements |
| RH spikes above 65% overnight | Humidifier has no humidistat, room sealed too tightly, cool temperatures reducing air capacity | Add a humidistat controller, ventilate briefly before sleep, reduce overnight humidifier setting |
| White dust settling on cage and surfaces | Ultrasonic unit with tap water | Switch to distilled water or replace with evaporative unit |
| Musty smell in the bird room | Mold growth in humidifier, on cage components, or in room corners | Deep clean humidifier, inspect all cage wood and soft materials, increase ventilation |
| Hygrometer reading seems inconsistent | Sensor placed near vent, window or humidifier; or sensor is drifting | Reposition sensor and run the salt calibration test |
| Birds sneezing more after starting humidifier | Contaminated reservoir aerosolizing bacteria or mold | Turn off unit, clean reservoir thoroughly, refill with distilled water; consult vet if sneezing persists |
| Wick fouls quickly and becomes hard/crusty | Hard tap water with high mineral content | Use filtered or demineralized water; replace wicks as needed (every 4–6 weeks in hard-water areas) |
Maintenance schedule to keep everything running safely
- Daily: refill humidifier reservoir, check hygrometer reading, remove and replace bird bath water if used.
- Every 2–3 days: fully rinse and wipe out ultrasonic or impeller humidifier reservoir with white vinegar solution, rinse clean, refill with fresh distilled water.
- Weekly: full clean of evaporative humidifier tank and housing; inspect wick for discoloration or crust buildup; wipe down cage bars and nearby surfaces for early mold signs; scrub passive water trays.
- Monthly: run the salt calibration test on your hygrometer to confirm it has not drifted; inspect electrical cords and connections; check cage wood and perches for soft spots or mold.
- Every 1–3 months: replace evaporative wick/filter depending on water hardness and manufacturer guidance.
- Seasonally (start of winter): measure baseline RH after heating comes on, resize humidifier approach if needed, review cage cover choices for cooler nights.
FAQ
What RH (relative humidity) should I aim for in a bird room for parakeets, cockatiels and parrots?
Aim for a broad target of about 40–60% RH for most companion psittacines (budgerigars/parakeets, cockatiels, small and larger parrots). This reduces dryness-related issues while keeping mold risk moderate. Some species from humid native ranges can tolerate or benefit from the upper end of that band (50–60%); avoid sustained RH above ~60–65% to limit mold and bacterial growth. For species‑specific adjustments consult species humidity profiles (internal link: /species-humidity-profiles).
How should I measure humidity in the bird room and where do I place hygrometers?
Use one reliable digital hygrometer per room (±2–3% consumer capacitive type) and additional sensors near each cage in large rooms. Calibrate a device with the saturated salt test if accuracy is critical. Place sensors at bird breathing/eye height, away from direct sunlight, HVAC vents, humidifier outlets, and cold exterior windows. Log daily readings (morning and evening) for the first 1–2 weeks to learn patterns.
What humidifier types are best for a bird room—cool‑mist, warm‑mist, ultrasonic or evaporative?
Evaporative (wick) humidifiers: pros—self‑limiting output, lower white‑dust risk; cons—replace wicks, regular cleaning. Ultrasonic/cool‑mist: pros—quiet, responsive; cons—can aerosolize minerals and microbes (use distilled water), may produce white dust. Warm‑mist (steam): pros—boils water so fewer live microbes leave the unit; cons—scald risk and localized hot plumes—generally less recommended in bird rooms. Choose based on room size, noise sensitivity, and your willingness to maintain/clean the unit; for many bird rooms a properly maintained evaporative or ultrasonic (with distilled water and frequent cleaning) is a good choice.
Which methods should I prioritize to raise humidity (step‑by‑step, prioritized)?
1) Measure baseline RH with calibrated hygrometers. 2) For predictable control, add a sized humidifier (evaporative or ultrasonic with distilled water). Size by room volume—check manufacturer GPD or mL/hr ratings and aim to meet estimated moisture load. 3) Add behavioral/room methods: regular supervised misting or bathing (species‑appropriate), shallow baths, and water trays placed on heat-safe stands to increase evaporation. 4) Use houseplants (several, grouped) and pebble trays to increase background humidity. 5) For short‑term boosts, run humidifier during waking hours or overnight as needed—avoid continuous high RH. Always monitor and maintain units. If budget is tight, combine low‑cost DIY trays + frequent misting and a single hygrometer until you can add a dedicated humidifier.
How do I size a humidifier for my bird room?
Match humidifier output (mL/hr or gallons/day) to room volume and air exchange: as a rule of thumb, small rooms (~50–150 ft³) often need units rated for ‘small room’ (several hundred mL/hr); medium rooms (~150–400 ft³) need 300–600 mL/hr; larger rooms require higher output or two units. For accuracy, consult manufacturer capacity charts or HVAC/ASHRAE guidance—account for open doors, HVAC airflow, and colder winter air which lowers relative humidity for the same absolute moisture. Monitor with a hygrometer and adjust.
What DIY humidification options work and what materials/tools do I need?
Low‑cost options: 1) Water trays/pans placed on heat‑safe racks or near radiators to increase evaporation. 2) Wet towels hung to dry on racks. 3) Fan‑and‑sponge rig: shallow basin, clean sponge or microfiber, small clip fan to blow air over a wet surface (increases evaporation). Tools/materials list: shallow stainless or ceramic trays, heat‑safe stands, distilled water (recommended), clean sponges/microfiber towels, small USB fans, hygrometers, thermometer. Take photos of placement (show tray on stand, sponge rig, and hygrometer placement) and label for safety. Clean and replace water daily for trays; sanitize sponges frequently.