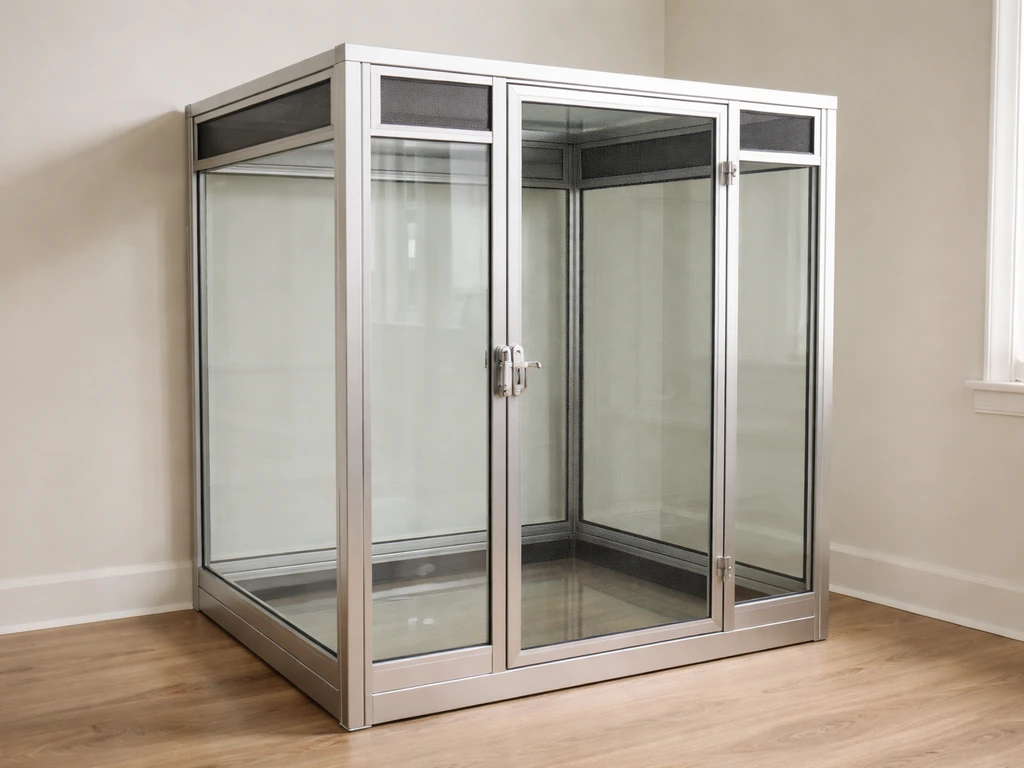
You can build a safe temporary bird cage today using zip-tied wire storage cube panels, a sturdy plastic storage bin with a mesh lid, or a basic wood-and-hardware-cloth frame. The key is matching bar spacing to your bird's species (0.5 inch for budgies, parakeets, cockatiels, and lovebirds; up to 0.75 inch for African greys or small cockatoos), keeping all materials non-toxic, and securing every door and seam so there's no escape risk. Done right, a temporary enclosure is genuinely safe for days to a couple of weeks.
How to Make a Temporary Bird Cage Step by Step

Maya Bennett
11 Jul 2026
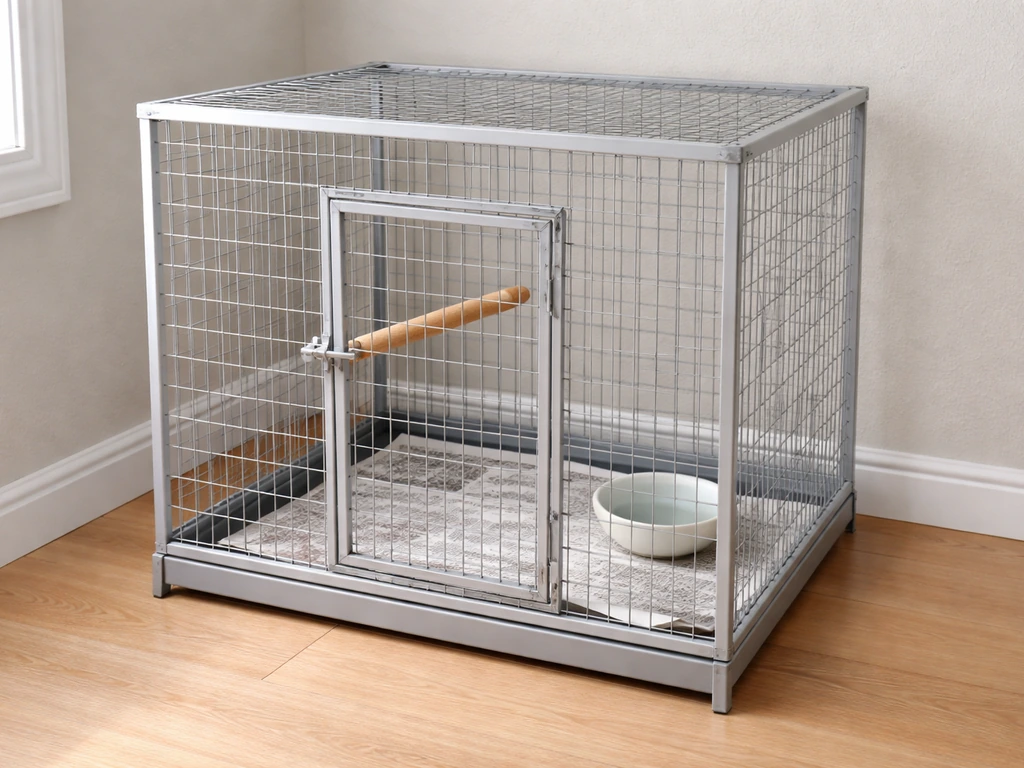
When you actually need a temporary cage (and what 'temporary' can safely mean)
Temporary cages solve a handful of real problems: your permanent cage is being deep-cleaned or repaired, you're transporting a bird for a vet visit or move, a new bird is in quarantine before joining the flock, or a bird is recovering from illness or injury and needs a smaller, easier-to-monitor space. Each situation has a different time horizon. A travel situation might last a few hours. A quarantine period typically runs 30 days. A recovery setup might go two to four weeks. 'Temporary' does not mean cutting corners on safety, it just means you're not building a forever home and can prioritize function over aesthetics. If you are trying to make a fake bird cage for decor or a costume, use this same safety-first approach to keep any birds you add protected.
The most important rule is this: a temporary cage still has to meet the same welfare standards as a permanent one. The bar spacing, ventilation, perch quality, food and water access, and materials safety requirements don't relax because the setup is short-term. What can be simplified is the finish, the decor, and the time you spend sourcing perfect components.
Choosing a safe design: size, bar spacing, materials, and what to avoid
Minimum cage sizes by species
Bigger is always better, but here are the minimum floor dimensions you shouldn't go below, even temporarily.
| Species | Minimum Cage Size (L x W x H) | Bar Spacing |
|---|---|---|
| Budgie (single) | 18" W x 18" D x 18" H | 0.5 inch |
| Budgie (pair) | 30" x 18" x 18" | 0.5 inch |
| Parakeet / Cockatiel / Lovebird / Parrotlet | 20" x 20" x 30" | 0.5 inch |
| Cockatiel (PetMD reference) | 24" x 24" x 30" | 0.5 inch |
| African Grey / Amazon / Small Cockatoo | 40" x 30" x 60" | 0.75 inch |
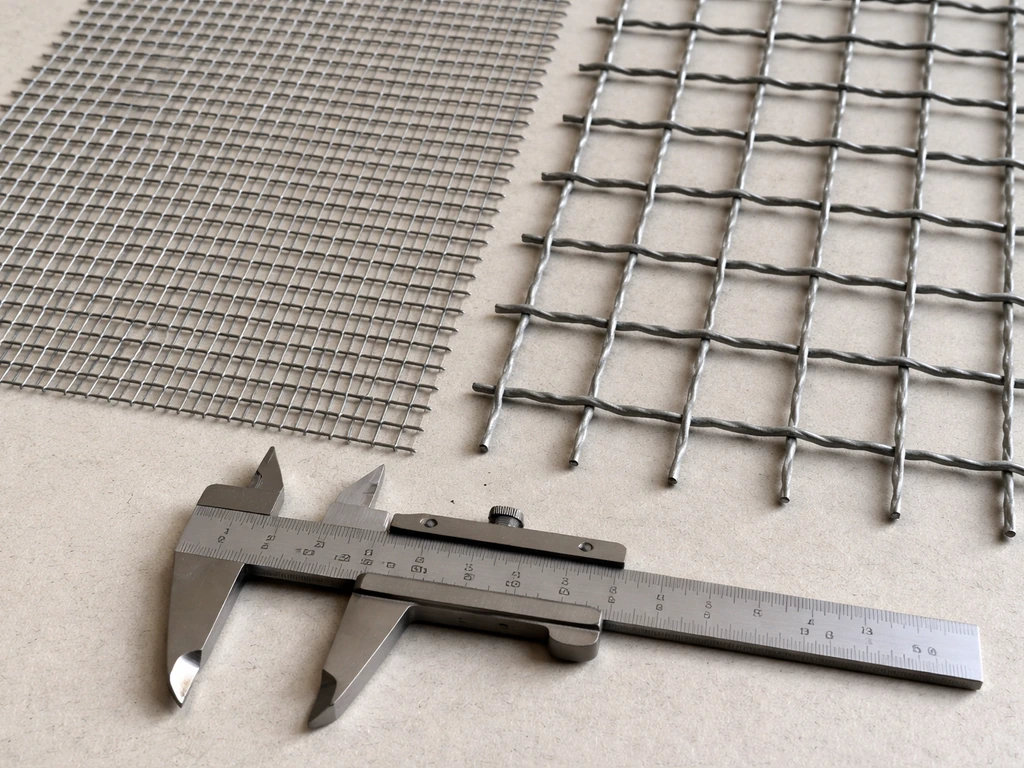
Bar spacing is the single most critical measurement. Too wide and a bird can force its head through and get stuck, which is a life-threatening entrapment. Too narrow and smaller species can catch a toe or beak. The 0.5-inch figure for small birds is the standard from the Merck Veterinary Manual and is the one to use for budgies, cockatiels, parakeets, lovebirds, and parrotlets. Medium and larger parrots move up to 0.75 inch.
Safe materials and what to skip
Stainless steel hardware cloth or wire mesh is the gold standard. It's non-toxic even if chewed, easy to sanitize, and structurally reliable. The Association of Avian Veterinarians specifically names stainless steel as the safest choice for bird environments. If you can't source stainless, powder-coated wire panels (check that the coating is fully intact with no chips) are a reasonable short-term substitute for non-chewers.
Galvanized (zinc-coated) metal is a real risk. Zinc is toxic to birds and the danger scales with how much your individual bird chews or licks metal surfaces. If you know your bird is a heavy chewer, don't use galvanized wire at all. For a calm bird that doesn't mouth cage bars, galvanized hardware cloth can work for a very short-term build, but watch closely. The California Avian Fanciers and the AAV both flag galvanized sources as a common cause of zinc toxicity in pet birds.
- Safe: Stainless steel hardware cloth, powder-coated wire panels (intact coating), untreated natural wood (for frames), food-safe plastic storage bins
- Use with caution: Galvanized hardware cloth (only for non-chewers, short duration)
- Avoid entirely: Chicken wire (openings too large and too pliable), painted or varnished wood with unknown finishes, any wire with sharp cut ends left exposed, lead-containing or zinc-heavy solder
One more materials note: blank" rel="noopener noreferrer">never use fresh paint, sealants, or adhesive sprays near an assembled bird enclosure. If you are trying to do a simple acrylic bird cage, keep adhesives and finishes away from the enclosure area until everything is fully cured and safe to ventilate. Birds have extremely sensitive respiratory systems and fumes that seem mild to humans can be fatal. If you're building a framed enclosure, cut and paint the wood before assembly, let it fully off-gas outdoors for at least 24 to 48 hours, then put it together.
Three quick DIY builds you can do today
Option 1: Wire cube panel cage (fastest build, 20 to 30 minutes)
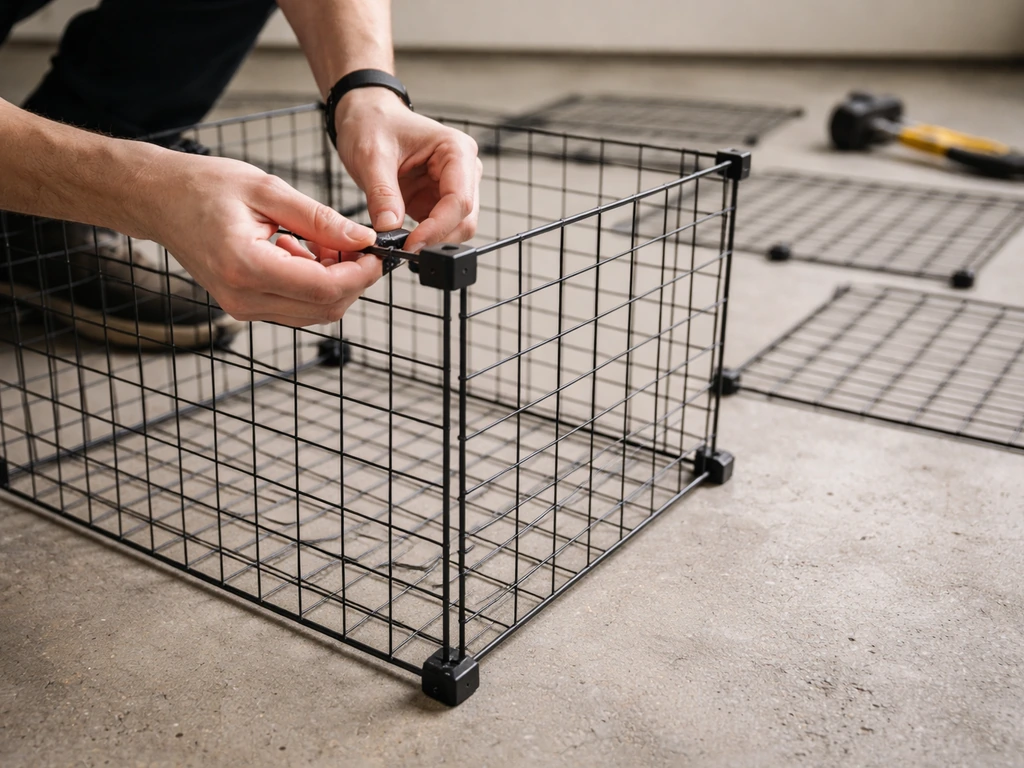
Wire storage cube panel sets are sold at most big-box stores and online retailers. If you want an even more specific approach for how to make bird cage fronts, use these three quick DIY builds you can do today as a related option and adapt the front panels accordingly. The panels typically measure 14 x 14 inches and connect with plastic clips or zip ties. The grid spacing on standard cubes is about 1.5 inches, which is fine for medium parrots but too wide for small birds. For budgies, parakeets, or cockatiels, line the interior walls with 0.5-inch hardware cloth attached with zip ties before assembling the cube structure.
- Lay out the number of panels needed for your target footprint. For a cockatiel, you need at least a 2-panel x 2-panel floor footprint and 3 panels tall (roughly 28 x 28 x 42 inches).
- If your bird needs 0.5-inch spacing, cut hardware cloth to panel size and zip-tie it inside each wall panel before assembly.
- Connect wall panels using the included clips or heavy-duty zip ties at every connection point, at least 3 per edge.
- Build the floor panel the same way, placing it on a tray or sheet of plywood for rigidity.
- Leave one full panel as a door. Attach it with two zip ties on one side as a hinge and a carabiner clip on the opposite side as a latch.
- Fold all cut wire edges inward or cover with folded duct tape so there are no sharp points.
- Check every panel connection by applying gentle outward pressure before placing the bird inside.
Option 2: Plastic storage bin with hardware cloth lid (best for small birds, 15 minutes)
A large clear plastic storage bin (the kind with a snap-on lid) works surprisingly well for budgies, finches, or canaries for a short-term setup, as long as you create proper ventilation. Do not use a solid lid. Cut out the center of the lid, leaving a 2-inch border, and zip-tie 0.5-inch hardware cloth over the opening. Then drill or cut ventilation holes on two opposing side walls, about 1 inch up from the floor, and cover those with hardware cloth as well. The clear sides let you monitor the bird easily. This works best for one or two small birds and is not suitable for larger parrots who can stress-chew plastic.
Option 3: Basic wood-frame hardware cloth cage (most durable, 1 to 2 hours)
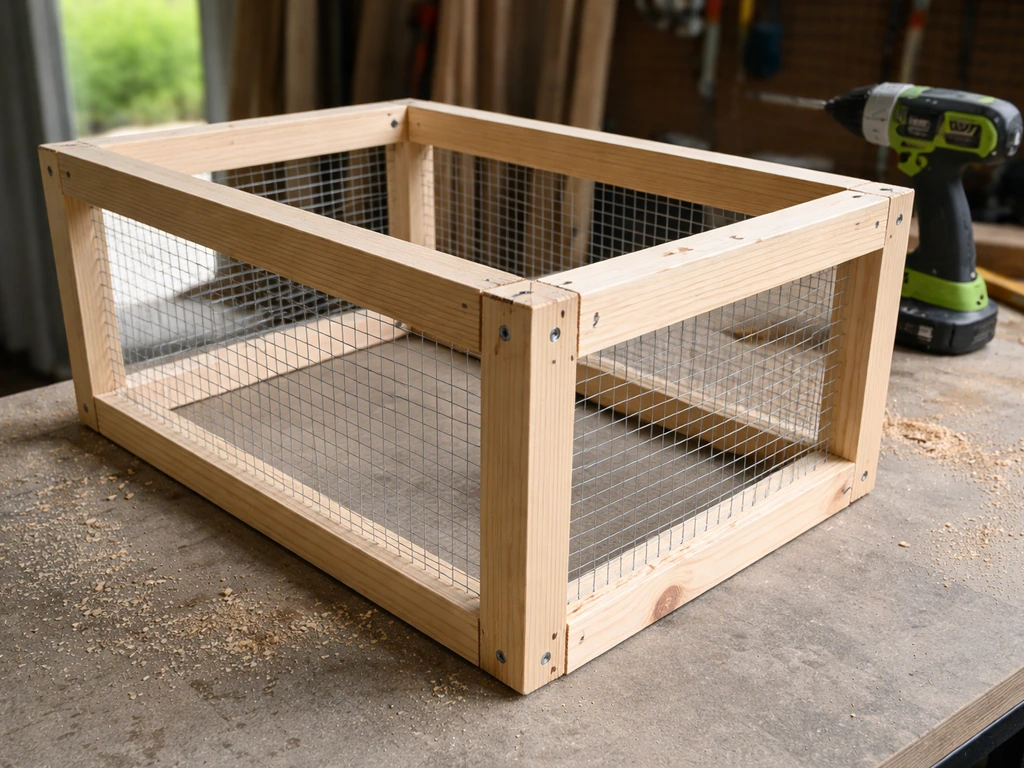
This is the most effort but produces the most solid result. Use untreated 1x2 or 2x2 lumber for the frame. Cut it to your target dimensions, assemble with wood screws at the corners, and staple hardware cloth (stainless or properly selected galvanized) to the outside of the frame. Build a hinged door into one face using a small piano hinge and a spring-loaded latch or barrel bolt. Sand all wood edges smooth. This kind of build is closer to what some DIYers do when building permanent cage fronts, and the framing approach is the same.
- Tools needed: drill, saw (or ask a hardware store to cut wood to length), staple gun with 1/4-inch staples, wire cutters, safety glasses
- Materials: 1x2 untreated lumber, 0.5-inch stainless steel hardware cloth, wood screws, piano hinge, barrel bolt latch, zip ties or extra staples
Adding the essentials: perches, food, water, floor liner, and ventilation
Perches
Use natural wood dowels or small-diameter branches (untreated, from bird-safe tree species like apple, willow, or elm). Diameter should match the bird's foot: for a budgie or parakeet, about 0.5 inch in diameter is right so the toes wrap around about 75 percent of the circumference. Never use concrete or sandpaper perches, even for a temporary setup. Both cause abrasion that contributes to bumblefoot (pododermatitis), and the risk doesn't disappear just because the stay is short. Install at least two perches at different heights so the bird can move around. Keep them away from each other to prevent droppings falling into the lower food or water setup.
Food and water placement
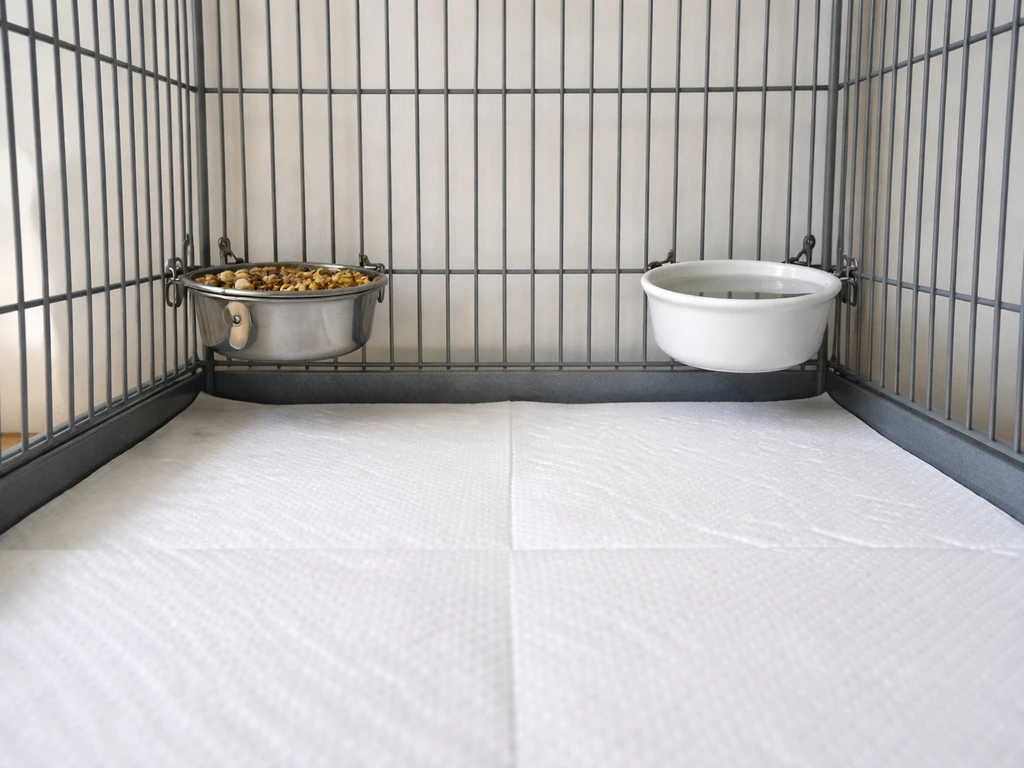
Clip small stainless or ceramic dishes to the cage wall at about mid-height. Don't place them too deep or they'll be hard for small birds to reach. Critically, never position a perch directly above a food or water dish. Bird waste will contaminate the dish constantly, which is a hygiene problem that compounds in any small temporary setup. If you're using a storage bin build, you can hang small ramekins from the wire lid or prop them against the wall using a non-toxic adhesive strip or binder clip.
Floor liner
Line the floor with newspaper or plain white paper towels, changed daily. That's it. Don't use sandpaper cage liners sold in pet stores: birds pick at the sand coating, which causes gastrointestinal obstruction. Don't use wood shavings, which can harbor mold and dust. If you have a wire floor panel, cover it completely with a layer of towels first (to protect feet), then put the paper layer on top. The soft towel layer directly under a bird that can't perch (such as a post-surgery recovery bird) prevents bumblefoot from developing on a hard wire surface.
Ventilation and latch safety
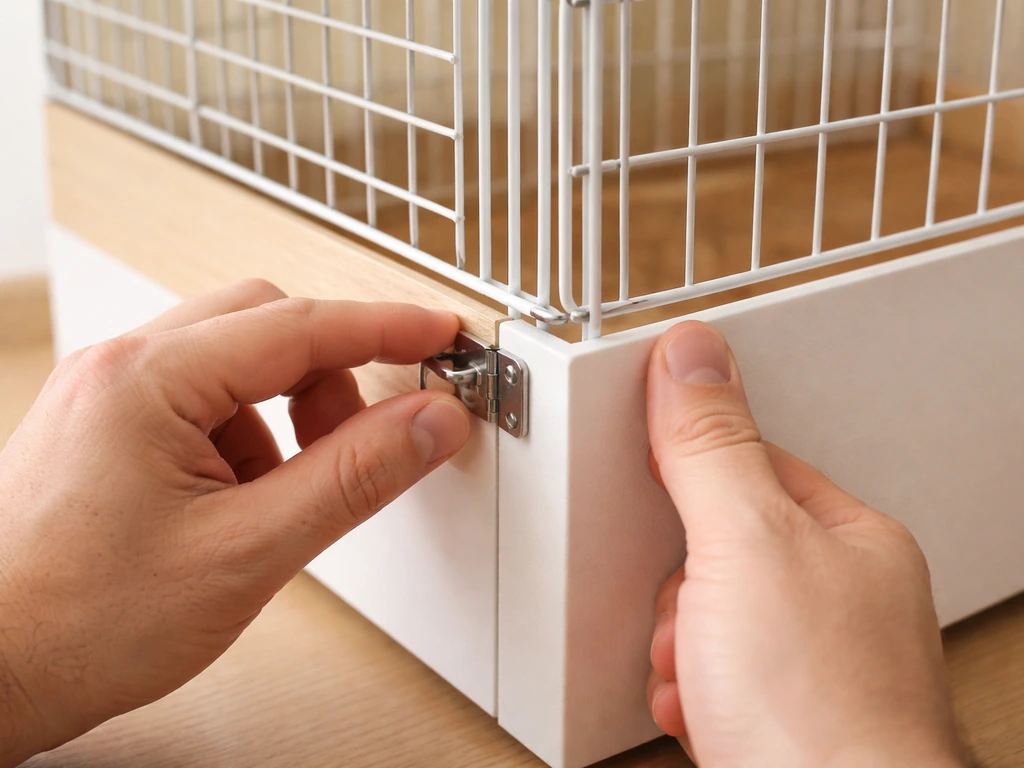
Any enclosed build needs cross-ventilation: openings on at least two sides to allow air exchange without creating a direct draft across the bird. A draft and ventilation are not the same thing. Ventilation is gentle air circulation. A draft is a directed airflow hitting the bird directly, and that's what damages their health. Position the cage so no vent, fan, or open window sends air straight through it. For latches, use carabiner clips or barrel bolts. Simple wire hooks and single-piece clasps are not sufficient, especially for cockatiels and parakeets who will work at a latch if bored or motivated.
Placement, weather, and cover rules for short-term setups
Indoors is almost always the right call for a temporary cage. Outdoors introduces too many variables: temperature swings, predator stress (even seeing a hawk through a window can send a small bird into shock), direct sun with nowhere to escape, and humidity. If you must keep the cage outdoors briefly, it needs to be in a shaded, sheltered spot with only 25 to 30 percent of one side exposed to any breeze, and you need to be monitoring it constantly.
Indoors, keep the cage away from windows that get direct afternoon sun (the interior can overheat fast), away from kitchen fumes, and away from any HVAC vents. A room that stays between 65 and 80 degrees Fahrenheit is ideal. If the room gets cold at night, move the cage to an interior wall position rather than cranking up a space heater aimed at it. Merck Veterinary Manual also advises that if the room gets cold, you should increase the room temperature or move the cage away from drafty windows or vents when using temporary housing. Rapid temperature shifts stress birds more than a slightly cool stable temperature.
For covering: a light breathable cloth (like an old pillowcase or cotton sheet) draped over two or three sides of the cage at night reduces stress and helps the bird settle. Never cover all sides completely with a thick fabric, as that kills ventilation. Leave at least one side fully open. Do not use plastic sheeting as a cover.
Safety checks and troubleshooting common problems
Escape risk
Before putting your bird in, do a hands-on inspection of every seam and connection point. Apply firm outward pressure to every wall panel. Test the door latch five times. Check that no wire end is sticking inward. For zip-tie connections, clip the tail flush after cinching so there's no plastic tag for the bird to pull at. If anything flexes or shifts, add more zip ties or replace with hardware. A cockatiel or parakeet will find a weak point within minutes.
Chewing and entanglement
Watch your bird for the first 15 to 20 minutes in any new temporary enclosure. Parrots of all sizes will mouth and test surfaces when they're exploring. If you're using galvanized wire and your bird is actively chewing the bars, that's a problem you need to solve immediately, either by replacing the wire with stainless or removing the bird to a different setup. Soft plastics (like storage bin walls) are not safe for heavy-chewing species. When you make a plexiglass-style bird cage, focus on the same safety essentials like non-toxic materials, escape-proof doors, and plenty of ventilation Soft plastics (like storage bin walls) are not safe for heavy-chewing species.. Also check that no perch or wire is positioned in a way that could allow the bird to get a toe or wing tip caught.
Mess control
Temporary cages often have less integrated mess-catching than commercial cages. A simple fix is to slide a plastic boot tray or a sheet pan under the cage floor to catch seed husks and droppings. Pull and replace the paper liner daily. Position the food dish at cage-wall level, not on the floor, to reduce contamination from droppings and kicked debris. If you're using a wire cube design, you can zip-tie a second plastic sheet to the lower 8 to 10 inches of the exterior to act as a seed skirt.
Pests
Red mites and feather mites can move into any cage quickly, especially if the enclosure has wooden components or is stored in a shed or garage before use. Before building with any reclaimed wood, inspect and clean it thoroughly. Change the floor liner daily so there's no buildup of organic material. Keep the cage area clean and don't leave food sitting overnight. If you're using the cage outdoors even briefly, inspect the bird's feathers each day. Never spray any pesticide anywhere near the bird or the cage, as even mild insecticide fumes are a documented respiratory hazard for birds.
How long is too long, and when to switch to a proper cage
For a healthy bird in a well-built temporary setup, a few days to two weeks is a reasonable window. A recovery cage for a bird healing from an injury might stretch to three or four weeks if the enclosure is genuinely meeting all the welfare requirements. Quarantine for a new bird typically runs 30 days, but at that point you should really be using a purpose-built quarantine cage, not a zip-tied wire cube.
Switch to a proper cage sooner if you notice any of these signs: the bird is feather-plucking or bar-chewing excessively (stress), the enclosure is difficult to clean and hygiene is slipping, the bird is lethargic, fluffed up, or sitting on the floor rather than perching, or you're struggling to maintain stable temperature and ventilation. Any signs of illness, including labored breathing, discharge from the nares, or significant weight loss, mean the bird needs an avian vet, not a cage upgrade.
When you're ready to build something more permanent, the same material principles apply. Stainless steel hardware, correct bar spacing for your species, and proper framing are the foundation of any good build, whether you're constructing a basic cage front, a full glass-panel enclosure, or an acrylic display cage. The temporary build you make today is good practice for understanding exactly what your bird actually needs in a long-term setup.
FAQ
How can I tell if my temporary bird cage is safe to leave unattended for a couple of hours?
For short-term use, aim for a setup that allows safe feeding and air exchange while you monitor your bird. Before you leave the room, do a quick “shake and squeeze” check on all seams, verify the door latch cannot be pushed open from the inside, and confirm there is no exposed galvanized metal, fresh adhesive, or sharp wire ends. If you cannot reliably watch for the first hour and re-check latches after 30 minutes, it is better to delay or use the permanent cage with partial sections blocked for access.
What signs mean I should take my temporary cage apart and rebuild it, even if it was fine yesterday?
Replace perches or the liner immediately if you see splintering, frayed hardware cloth, rust spots, loose zip ties, or any odor or residue from adhesives or paint. Also swap the paper lining at least daily, and remove any wet food or droppings right away. If the bird is a heavy chewer, check bar surfaces more frequently, because damage can progress fast even within a few days.
Can I keep a new bird in a temporary cage for the full 30-day quarantine?
No, you should not use the temporary cage as a substitute for a proper quarantine setup after the initial period. Quarantine has specific handling, separation, and monitoring goals over 30 days. If you are building something for an incoming bird, use a purpose-built quarantine enclosure when you get past the first few days, and limit contact with other birds until the vet or your quarantine protocol says it is safe.
How should a temporary bird cage differ for a post-surgery or injury recovery bird?
If the bird is recovering, keep the cage simpler and easier to clean, but keep welfare essentials intact. Focus on soft, non-abrasive footing, perches that match the bird’s grip ability, and dishes positioned so waste cannot fall into them. Avoid any materials that can shed fibers or create dust, and if the bird cannot perch, use a lower, protected floor setup rather than relying on wire bottoms.
Can I use my temporary bird cage near a window or fan if I keep it covered at night?
Yes, but only if the cage construction supports airflow without heat traps. Make sure there are openings on at least two sides and that the bird cannot face a direct breeze from a window, fan, or HVAC vent. Use consistent indoor temperature, and if you need to relocate the cage at night, do it gradually rather than blasting it with a heater targeted at the cage.
What’s the safest way to cover a temporary cage at night?
Choose covering based on ventilation. A breathable cloth over two or three sides can help the bird settle, but you must keep one side fully open for airflow. Avoid plastic sheeting, and avoid wrapping the cage tightly because trapped humidity and reduced oxygen exchange can make the bird stressed or sick quickly.
How do I choose a good size for a temporary cage, especially for two small birds?
Use the right cage size target for comfort and monitoring, not just floor minimums. Too small increases stress and makes it harder for the bird to choose different micro-areas for temperature and rest, especially if you have to add multiple perch heights and food access. If you are using the bin method, stick to one or two small birds and add ventilation walls covered in hardware cloth rather than relying on the plastic lid for airflow.
What cleaning products are safest for maintaining a temporary cage day to day?
Do not clean with fumes or harsh residues. Ventilate the area well, use bird-safe cleaners only, and fully rinse any surfaces so no detergent film remains. Let the enclosure dry completely before returning the bird, and never spray air fresheners, disinfectants, or cleaners near the cage while the bird is inside.
Can I add DIY upgrades to a temporary cage, like extra liners or shelves, without changing the safety level?
Yes, some “temporary” modifications can accidentally create hazards. For example, stapling or zip-tying hardware cloth too loosely can leave sharp edges, and adding plastic liners that don’t sit flat can create foothold snags. If you add extra panels, re-check bar spacing, ensure the door latch still locks securely, and confirm no perch is positioned so droppings fall directly into food or water.
What should I watch for during the first 20 minutes after putting the bird in?
A common mistake is delaying the first inspection after the bird starts exploring. During the first 15 to 20 minutes, watch for bar-chewing, toe or wing contact with wire ends, and any attempt to manipulate latches. If the bird tests weak points, strengthen or replace parts immediately, because a motivated parakeet or cockatiel can find a failure within minutes.
Next Article
How to Make a Glass Bird Cage: Step-by-Step DIY Guide
Step-by-step DIY for a safe glass bird enclosure: materials, escape-proof design, ventilation, assembly, and maintenance