Yes, you can safely paint a bird cage, but only if you use the right paint, keep your bird completely out of the area during painting and curing, and give the finished cage enough time to fully off-gas before your bird goes back in. The non-negotiables are: no lead, no zinc, no chromate, and as close to zero VOCs as you can get. Get those right and follow the steps below, and you'll end up with a refreshed cage that's safe for your bird.
Is It Safe to Paint a Bird Cage? Step-by-Step Guide

Maya Bennett
4 Jul 2026
When painting is (and isn't) safe for birds
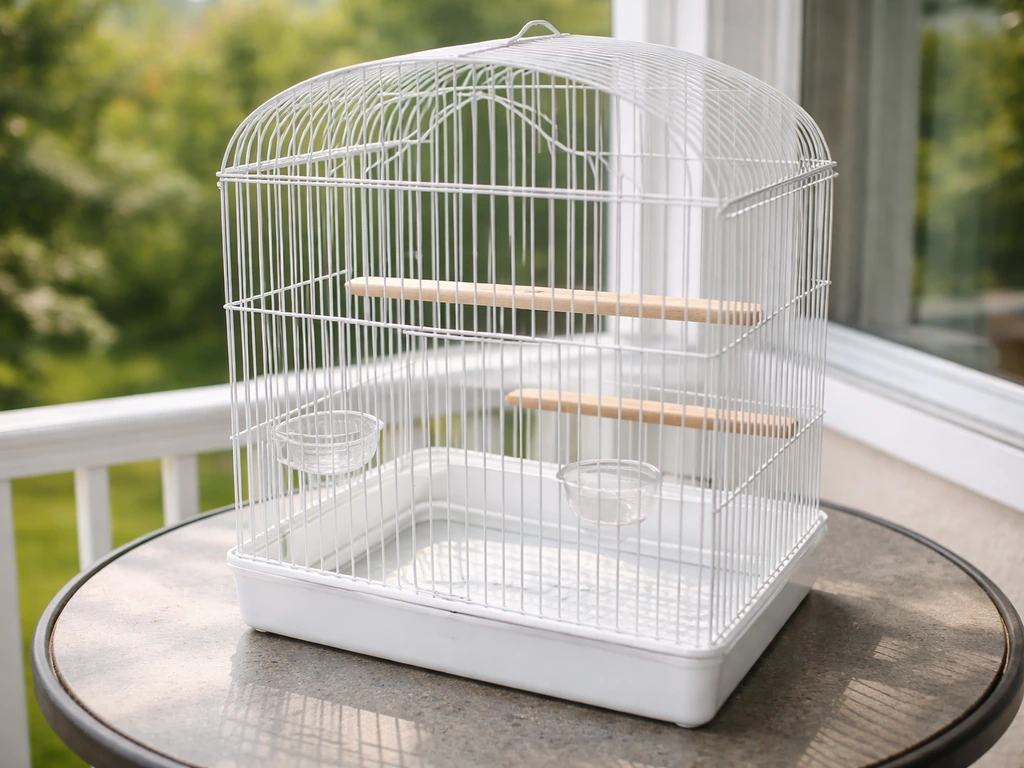
Painting is a reasonable DIY project when the cage has minor surface rust, the existing finish is stable (not flaking or peeling), and you're willing to do the prep properly. It's also a solid move if you've inherited a cage with an unknown coating history and want to start fresh with something you can verify as safe.
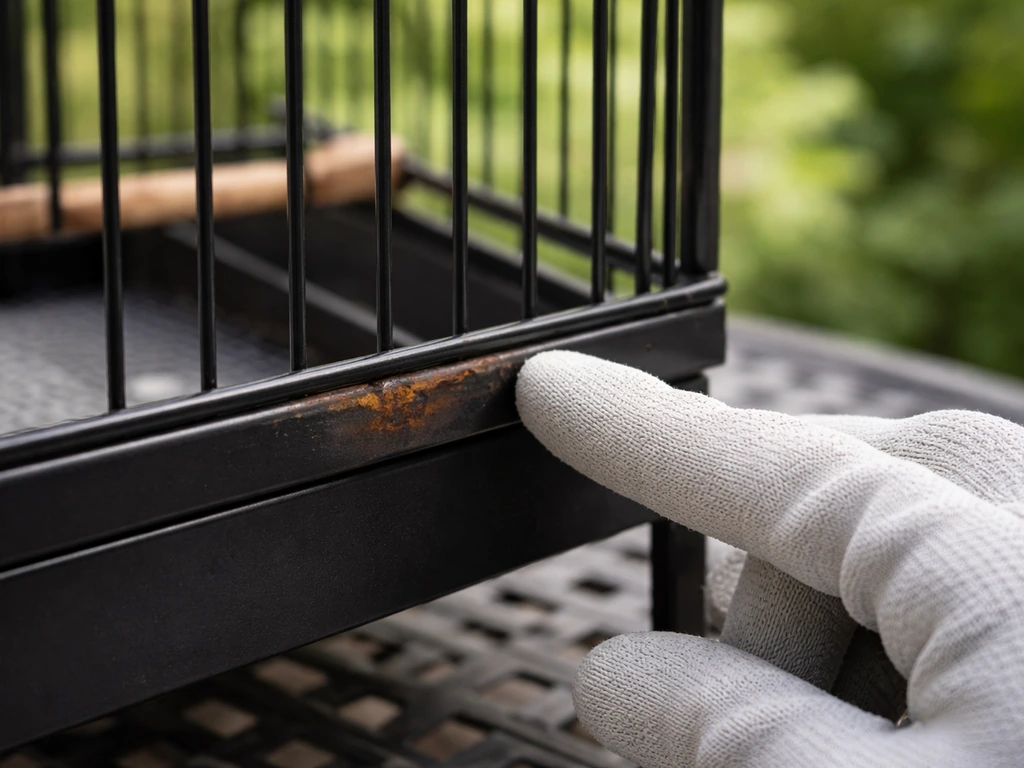
There are situations where you should pump the brakes, though. If the old finish is already chipping badly and flaking into the cage tray, your bird may already be ingesting particles. That's a 'get your bird out now and address it immediately' situation, not a 'I'll paint over it this weekend' one. If the cage is showing heavy structural rust that's pitting the metal rather than just surface oxidation, painting over it won't hold and the cage itself may need to be replaced. And if you genuinely can't identify what the original coating is, especially on older or secondhand cages from before modern safety standards, the safest path is to strip it entirely before repainting.
The reason all of this matters so much is that birds have extraordinarily sensitive respiratory systems. Fumes that barely register for a human can cause severe breathing difficulty, neurological effects, and in the worst cases sudden death in birds. Even slow off-gassing from freshly applied coatings, the kind you can barely smell after a day or two, can still present a real risk. This isn't an area where 'it smells fine to me' is a reliable test.
Materials and paint types to choose and avoid
The safest choice for a bird cage is a water-based, zero-VOC paint that is explicitly free of lead, zinc, and chromate, and rated for use on metal. Some manufacturers, like ECOS Paints, produce lines specifically marketed for pet dwellings including bird cages, which takes a lot of the guesswork out. Those are worth considering because the formulation has been designed with animal respiratory sensitivity in mind.
One important caveat: the EPA has confirmed that 'low-VOC' and 'zero-VOC' labels don't always tell the full story. Products can still emit compounds that aren't captured under standard VOC definitions, and certification standards vary. That means even a product labeled zero-VOC still needs full curing time and proper ventilation before your bird goes near it. The label is a starting point, not a guarantee.
| Paint/Coating Type | Bird Safe? | Notes |
|---|---|---|
| Water-based acrylic, zero-VOC, lead/zinc/chromate-free | Yes, with proper cure time | Best DIY choice; lower fume risk, easier cleanup |
| Powder coating (professional) | Yes, once fully cured | Factory or shop-applied; not easily DIY but very durable |
| Oil-based enamel or solvent-based paint | No | High VOC, slow off-gassing, strong fumes; avoid |
| Spray paints (aerosol cans) | No | Aerosolization increases inhalation risk; avoid around birds |
| Paints containing lead, zinc, or chromate | No | Directly toxic; avoid entirely |
| Rust converters with unknown chemistry | Avoid unless verified | Check SDS carefully; many contain zinc or other toxicants |
| Paints with added fragrances or essential oils | No | Natural does not mean safe for birds; essential oils can be toxic |
When in doubt, pull the Safety Data Sheet (SDS) for any product you're considering. Look specifically for lead, zinc compounds, and chromate in the ingredients list. If those aren't listed and the product is water-based with low or zero VOC, you're in much better shape. Products like Rust-Oleum's CombiColor Non Zinc line, for example, are explicitly formulated without lead and chromate, which is the kind of specificity you want to see.
Preparing the cage and protecting your bird
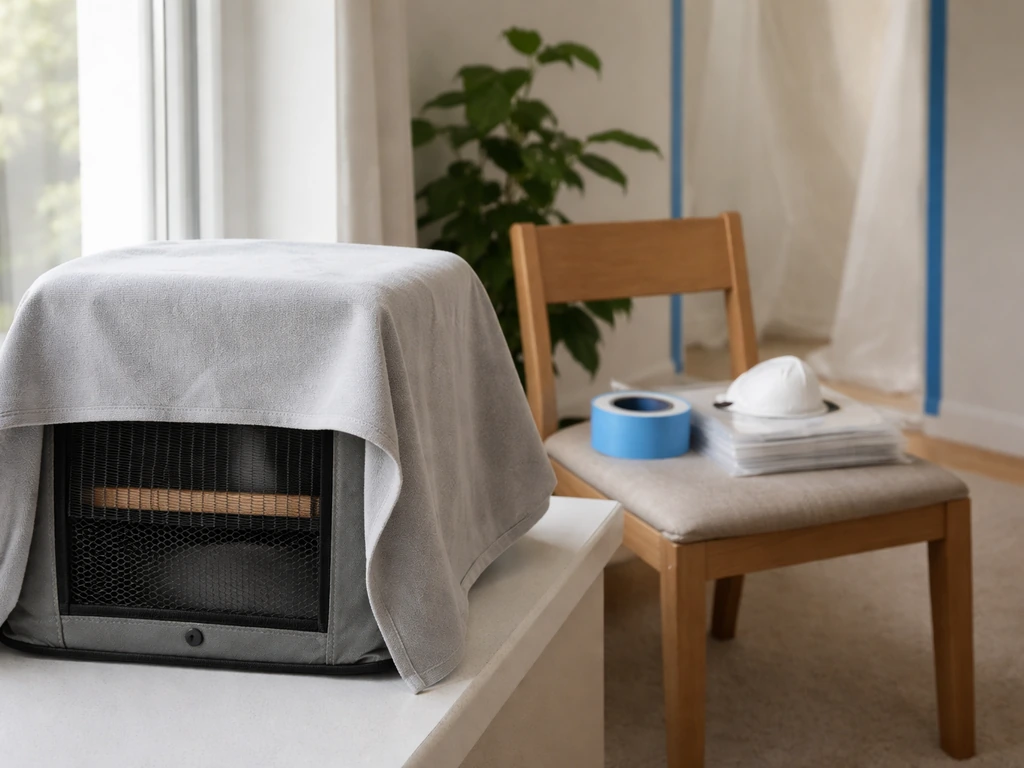
Before you do anything with paint, your bird needs to be somewhere else entirely. Not just in another room, out of the house or in a space with completely separate airflow. This applies during prep, during painting, and during the initial cure. Set up a temporary cage in a bedroom with the door closed and windows cracked, or have a trusted person keep your bird for a few days.
Once your bird is safe, start assessing the existing cage surface. If the current finish is intact, wash the whole cage with warm water and a mild dish soap, rinse thoroughly, and let it dry completely. If there's surface rust, you need to deal with it before painting or the new coat won't adhere properly and will peel fast. Light rust can be sanded off with 220-grit sandpaper or a wire brush. For heavier rust that's pitting the metal, sand down as much as you can, and consider whether a rust-inhibiting primer (verified lead/zinc/chromate-free) is warranted.
If the old finish is chipping or peeling, you have to remove all of it in the affected areas. Leaving flaking paint under a new coat means you'll be back here in six months with a worse problem. Wet scraping is the safer method here, as dry scraping generates fine dust that can carry residues into the air. Work outdoors if possible, wear a respirator and gloves, and bag the debris properly. Suspected lead-containing coatings, common on older secondhand cages, should be treated with extra caution.
- Move your bird completely out of the area before starting any prep work
- Disassemble the cage as much as possible so all surfaces are accessible
- Wash with mild dish soap and warm water, then rinse and dry fully
- Sand or wire-brush any rust down to bare or stable metal
- Wet-scrape all loose, flaking, or peeling old finish
- Wipe the whole cage with a clean damp cloth to remove dust and residue
- Let the cage dry completely before applying any paint
Step-by-step safe painting process
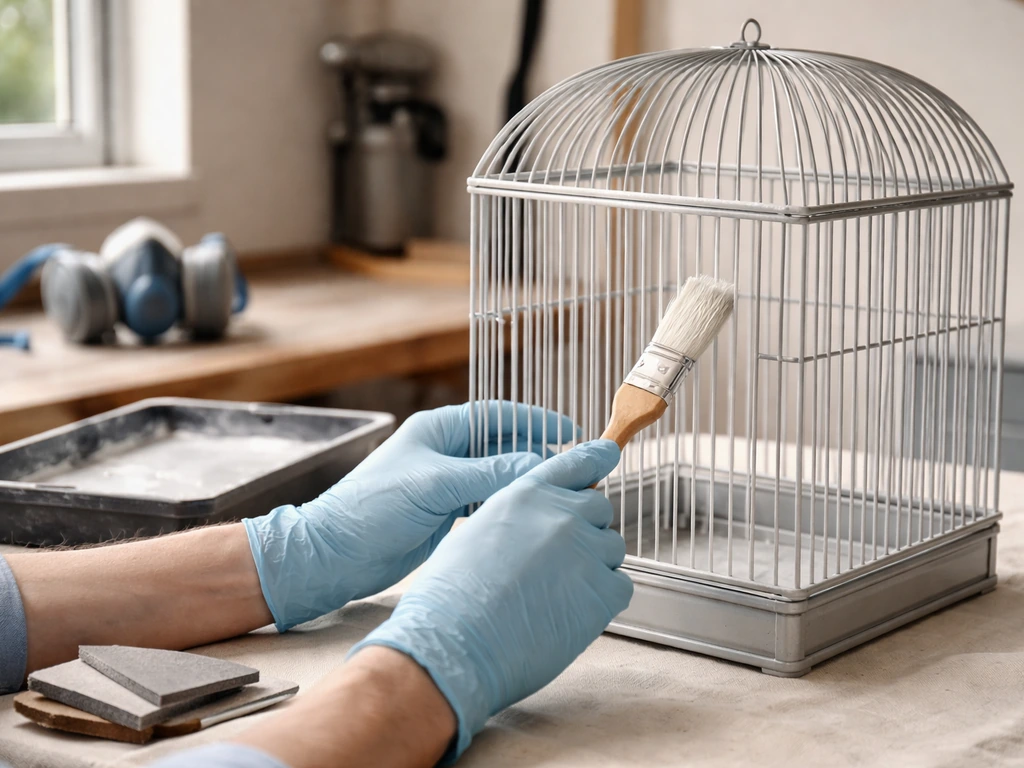
Do this outdoors or in a well-ventilated garage with the doors open. Inside a closed room is not ideal even with a zero-VOC product because you want to minimize any accumulation of fumes in the space. Lay the cage on a drop cloth or old cardboard and have your supplies ready: your chosen zero-VOC, metal-rated water-based paint, a small foam roller or a quality synthetic brush, painter's tape if needed for any areas you want to keep bare, and a respirator (even for water-based products, wear one during application).
- Tape off any areas you want to keep unpainted, such as locks, hinges, or food dish hooks
- Stir the paint thoroughly; never shake it as that can introduce air bubbles that affect adhesion
- Apply a thin first coat using a foam roller for flat bars or a brush for tighter areas; a roller gives the most even coverage and minimizes drips
- Work systematically: start at the top and work down so any drips land on unpainted sections
- Let the first coat dry according to the product label; for most water-based paints, you're looking at 1 to 2 hours before recoating
- Apply a second thin coat the same way; two thin coats always outperform one thick coat for adhesion and durability
- Inspect for missed spots, drips, and uneven areas once the second coat is dry to touch
Avoid aerosol spray cans entirely, even if the product itself is otherwise acceptable. Aerosolization significantly increases the amount of material that becomes airborne and dramatically raises inhalation risk. A brush or roller gives you control and keeps product where you want it.
Drying, curing, ventilation, and when to reintroduce your bird
Dry time and cure time are two very different things. A water-based paint might feel dry to the touch in under an hour and be ready for a second coat in two, but full cure, where the paint hardens completely and off-gassing essentially stops, typically takes much longer. A typical water-based acrylic might reach full cure in around 12 hours under ideal conditions, but avian vets recommend leaving the cage empty for at least a couple of weeks after painting so the finish has time to fully harden and any residual off-gassing is complete.
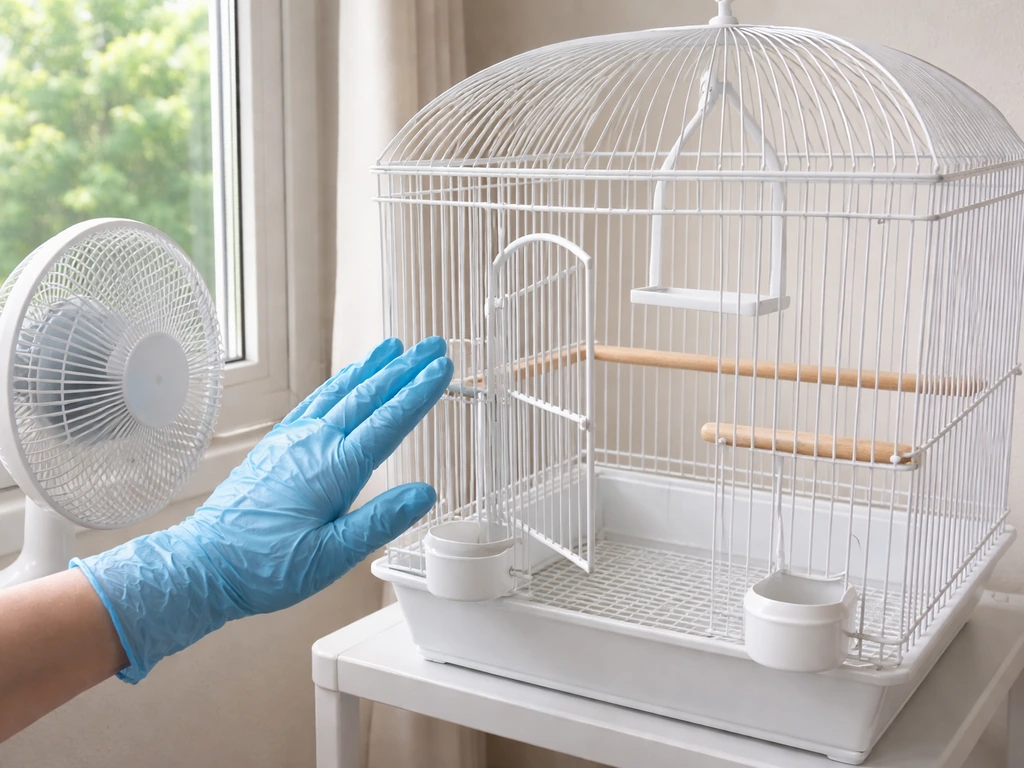
During that curing period, keep the cage in a well-ventilated space away from your bird. Outdoors in dry weather is ideal. If it's indoors, keep windows open and run a fan to move air through the space. The EPA suggests at minimum two to three days of ventilation after painting a room before re-occupying it, but that baseline is for adult humans, not birds with highly sensitive respiratory systems. For bird cages, the safer target is the two-week range that avian vets recommend.
Even after that waiting period, do a sensory check before reintroduction. If you can still detect any chemical smell at all, wait longer. 'Zero VOC' labeled products can still emit compounds that aren't captured by standard definitions, so the smell test is a useful but not fully reliable indicator. When there's no detectable odor and the minimum recommended time has passed, you're in good shape.
Cleaning, testing for fumes and residue, and troubleshooting mistakes
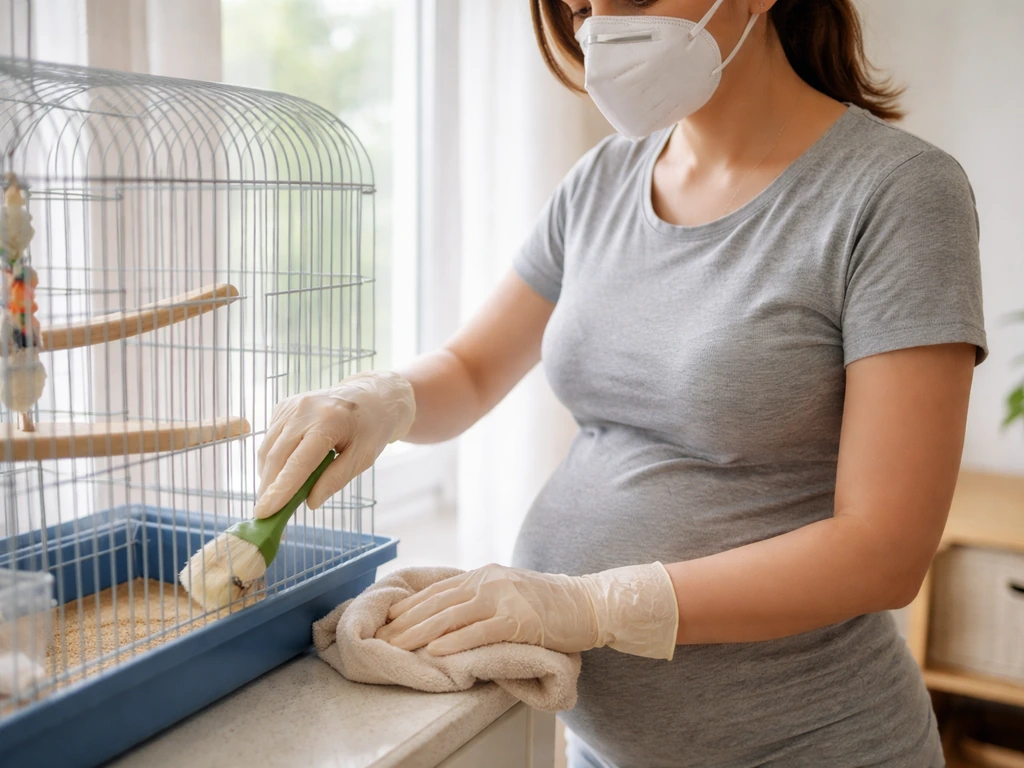
Once the cage has cured, give it a final wipe-down with a damp cloth to remove any surface dust or residue that accumulated during the curing period. If you’re wondering whether you can clean your bird cage while pregnant, follow the same safety steps and avoid exposing yourself or your bird to harsh fumes or residue can i clean my bird cage while pregnant. Rinse lightly with clean water and let it dry again fully before putting any perches, toys, or food dishes back in. This step isn't about removing paint; it's about removing any particles or debris that settled on the surface while it was curing.
Before reintroducing your bird, check the painted surface closely. Run a fingernail across a few areas: the paint should feel hard and smooth, not tacky, rubbery, or soft. Tacky paint means it hasn't fully cured and should not be near your bird yet. Also look for any areas where the paint is already bubbling, cracking, or lifting from the metal, as those spots will fail quickly and may end up being ingested if your bird chews the bars.
If your bird shows any signs of respiratory distress after reintroduction, including labored breathing, tail bobbing, clicking sounds, or unusual lethargy, move them to fresh air immediately and contact an avian vet. These are emergency symptoms, not 'wait and see' symptoms.
Common problems and how to fix them
| Problem | Likely Cause | Fix |
|---|---|---|
| Paint still tacky after 24+ hours | Coat too thick, high humidity, or wrong product for metal | Increase ventilation, wait longer; if it doesn't resolve, strip and restart with thinner coats |
| Peeling or bubbling soon after application | Surface wasn't clean or dry before painting, or old coating wasn't fully removed | Sand back the affected area, clean thoroughly, let dry completely, and recoat |
| Uneven coverage or streaks | Using a brush on large flat areas, or paint was not stirred properly | Lightly sand smooth once dry and apply a thin additional coat with a foam roller |
| Strong odor persists after several days | Higher VOC product than expected, or coat was too thick | Continue ventilation, extend curing period well beyond two weeks before any bird contact |
| Rust appearing through new paint within weeks | Rust wasn't fully addressed before painting, or primer wasn't used | Sand back to bare metal, apply rust-inhibiting primer (verified bird-safe), then repaint |
Finishing touches and longer-term cage care
Once your bird is back in the cage and everything looks good, shift focus to protecting that new finish so you're not doing this again in a few months. The biggest enemies of a painted cage are moisture and physical damage. If the cage sits in a humid room or near a kitchen or bathroom, add a daily habit of wiping down any moisture you notice. Prevue, one of the major cage manufacturers, specifically recommends touching up chips and scratches immediately before rust can get underneath the fresh paint. Catching a small chip early means a tiny touch-up with a cotton swab; ignoring it means sanding and repainting a whole section.
If your cage lives anywhere near a window or gets moved outdoors occasionally, UV exposure will degrade paint over time. A cage cover can help protect the finish when the cage isn't in active use, reduce dust accumulation, and help your bird sleep in darker, quieter conditions. Just make sure any cover is made from untreated, unscented fabric without dyes that could be problematic if chewed. The topic of where you place your cage has a real impact on how quickly the finish deteriorates too, so it's worth thinking about placement and environmental factors alongside your paint maintenance plan. Where to put your bird cage in the house affects airflow, temperature, and how long fumes can linger, so placement matters after painting.
For future re-coats, you won't necessarily need to strip back to bare metal every time as long as the existing paint is still fully adhered, clean, and intact. A light sand with 220-grit to create some surface texture for adhesion, a wipe-down, and a fresh coat of the same product will extend the life of the finish significantly. Plan to do a condition check on the finish every three to six months, and keep a small amount of your original paint stored (labeled with date and product name) for quick touch-ups.
Decorating the cage with accessories like natural wood perches, bird-safe rope toys, and stainless steel food dishes is a great way to customize without adding any new coating risk. Stick with items specifically made for pet birds and avoid anything that has been painted, lacquered, or treated with unknown finishes. The safest decorating rule is the same one that applies to paint: if you can't verify what's in it, don't put it in the cage.
FAQ
What should I do if the cage has chipping paint already?
If the cage is already flaking, you should stop and remove the loose material first, because birds can ingest particles as they forage. Only repaint after the surface is clean and stable, and if you suspect older coatings contain lead or other prohibited compounds, consider professional stripping rather than sanding or covering over.
Is it okay to put my bird back in after the paint is dry to the touch?
You still need the full cure window, and you should keep the cage away from the bird longer than you would for humans. Even if the paint feels dry quickly, water-based coatings can continue off-gassing as they harden, so plan for about a couple of weeks of separation.
Can I put a cage cover on while the paint is curing?
Do not use a cover to trap fumes during curing, and do not put the cage under a scented or treated cover. For curing, prioritize open airflow (outdoors in dry weather is best). A cover is mainly for later protection from dust and UV damage after everything is fully cured.
How reliable is “zero VOC” labeling for bird safety?
Don’t rely only on “low odor” or “zero VOC” claims. Instead, use the SDS to confirm the ingredients (no lead, zinc compounds, or chromates) and follow the longer bird-safe ventilation timeline, since birds can be affected by trace emissions your nose may not detect.
Why does the article advise avoiding aerosol spray cans even if the product is zero-VOC?
Stick to brush or roller application. Sprays increase airborne material and make it harder to control where the coating lands, including on surfaces your bird may contact later. Also avoid getting overspray on the floor or surrounding area during application and cleanup.
What if my bird already breathed the paint fumes, what should I watch for?
If the bird has been exposed to fumes already, first remove the bird to fresh air and monitor closely for breathing difficulty, tail bobbing, clicking sounds, or sudden lethargy. Contact an avian vet right away if any respiratory symptoms appear, rather than waiting for the smell to fade.
What should I do if the painted bars feel tacky or look like they are lifting?
If you discover the cage coating is bubbling, lifting, or soft/tacky during the reintroduction checks, keep the bird out and let the paint cure longer, then re-evaluate. If those issues persist, it usually means prep or compatibility problems, and you may need to strip and repaint the affected areas.
Can I spot-paint small chips instead of repainting the whole cage?
For touch-ups, you can apply a small amount on isolated chips only if the surrounding paint is intact and you can keep the repair compatible with the original coating. Match the same product type if possible, and cure and separate from your bird using the same conservative timeline, at least until it is no longer tacky and odor-free.
Do I need to rinse or wipe the cage again right before putting my bird back in?
If a rinse leaves residue, it can transfer dust back onto the bars after curing. Use a damp cloth wipe as recommended, then allow complete drying before reassembly, and make sure perches and dishes are rinsed and fully dry too.
Does pregnant cleaning or painting change the safety steps for the bird cage?
Yes, but the safe approach still depends on what fumes and residues could be present, not just your own comfort. Keep the bird out of the area during prep and curing, ventilate heavily, and avoid sanding dust by using wet scraping methods if you must remove flaking coating.
For future repainting, do I always have to strip to bare metal?
You generally do not need to strip to bare metal if the old coating is fully adhered, clean, and not flaking. Plan for a light scuff with 220-grit, wipe down thoroughly, and repaint with the same product, then perform the cure and reintroduction checks before the bird returns.
Next Articles
Can I Use a Bird Cage for My Rats? Safety Guide
Learn if a bird cage is safe for rats: bar spacing, ventilation, size, wire injury fixes, and chewer-proof mods.
Can I Clean My Bird Cage While Pregnant Safely? Guide
Pregnant and want to clean a bird cage safely? Get step-by-step cleaning, PPE, cleaner dos and donts.
What Paint to Use for Bird Cage: Safe Step-by-Step
Choose truly bird-safe paint for your cage, prep and apply step-by-step, avoid toxic fumes, and know when it’s safe for