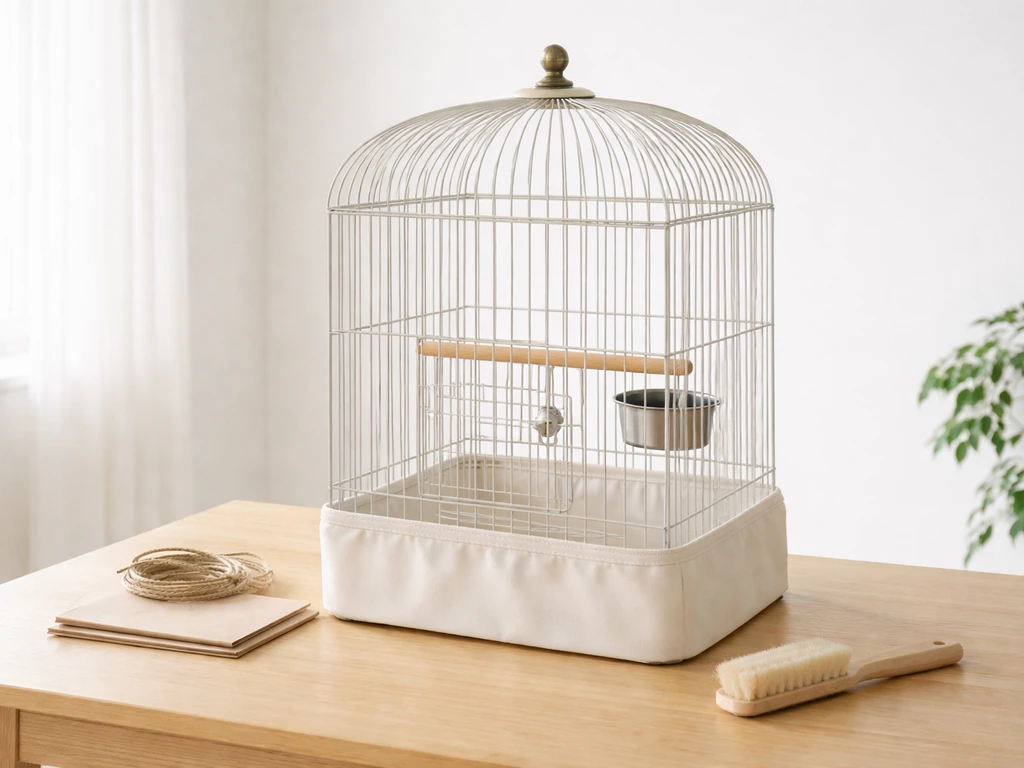
You can make a bird cage look genuinely beautiful without putting your bird at risk, but the key is knowing which materials, attachment methods, and decorative ideas are actually safe. The short version: stick to non-toxic, rust-proof hardware and finishes on the exterior and any cage-adjacent surfaces, keep all attachments flush so there are no pinch points or gaps where a head or foot could get stuck, and make sure every decoration you add can be removed or wiped down easily when cleaning day comes.
How to Make Decorative Bird Cages That Are Safe

Maya Bennett
17 May 2026
What 'Decorative' Actually Means When a Bird Is Involved
Before you pick a color palette or a theme, it helps to draw a clear line between decorations that live on the cage and those that live inside it. For a decorative project, most of your changes will be exterior or cage-adjacent: wraps, skirts, panel overlays, hanging ornaments near the top, and themed perch arrangements visible through the bars. Interior additions like new perches or enrichment toys follow a slightly different safety checklist, but the core principles overlap.
The main welfare risks with decorative upgrades are toxicity (from paints, glues, or coated metals off-gassing near your bird), entrapment (gaps or loops where a toe, wing, or neck can get caught), and maintenance failure (decorations that trap droppings, hold moisture, or block airflow turn into hygiene problems fast). Nail those three, and you have a lot of creative freedom.
- Non-toxic and fully cured before the bird is near it: paints, sealants, and glues can off-gas toxic fumes even after they look dry
- No sharp edges, protruding wire ends, or rough cut surfaces within beak or foot reach
- No loops, rings, or fabric openings large enough for a toe or head to pass through
- Nothing that blocks the cage doors, ventilation panels, or your hand access for cleaning
- Exterior ornaments secured so they can't fall into the cage if the bird pushes against the bars
Plan First: Measure the Cage and Think About Your Bird's Species
Get your tape measure out before you buy a single supply. Sketch the cage dimensions: overall height and width, door placement, bar spacing, and the footprint of the base tray. These numbers determine what will actually fit and what will interfere with daily use.
Bar spacing matters here even for exterior decorations because any overlay panel or wrap you attach has to clear the bars evenly without creating new gaps. As a quick safety check borrowed from avian housing guidance: blank" rel="noopener noreferrer">if your finger fits between the bars of a mesh overlay or panel you're considering, the spacing is likely too wide for smaller birds and could trap a curious beak or claw. For parakeets and cockatiels, bar spacing around 0.5 inches is standard. For conures, closer to 0.75 inches. For larger parrots like African greys or cockatoos, up to 1 inch is typical, but wider than that raises entrapment risks regardless of the decorative intent.
Also think about species-specific behavior. Heavy chewers like macaws and cockatoos will absolutely test any attachment within beak reach, so cage skirts, fabric wraps, and exterior ornaments need to be mounted well outside the bar line or secured in a way that cannot be grabbed. Smaller birds are less destructive but more likely to squeeze into gaps, so check every corner of any overlay panel.
| Species | Bar Spacing | Chew Risk | Main Design Constraint |
|---|---|---|---|
| Budgies / Parakeets | 0.4–0.5 in | Low | Avoid small loops and threads near bars |
| Cockatiels | 0.5–0.75 in | Low–Medium | Watch fabric fraying; bird may nibble edges |
| Conures | 0.75 in | Medium–High | Keep all attachments outside bar reach |
| African Greys | 0.75–1 in | High | Assume anything near bars will be tested |
| Cockatoos / Macaws | 1 in | Very High | Metal-only exterior hardware; no fabric on bars |
Choose Your Materials: Non-Toxic, Rust-Proof, and Chew-Safe
This is where most decorative bird cage projects go wrong. Galvanized metal hardware cloth and chicken wire are popular DIY building materials, but both carry real zinc and lead poisoning risks for birds. Stainless steel (grade 304 or 316) is the gold standard for anything that touches or could be touched by your bird. For purely exterior decorative elements that stay outside the bar perimeter, powder-coated steel and anodized aluminum are solid, affordable options as long as the coating is intact and fully cured.
For paints and finishes, water-based acrylics labeled non-toxic and VOC-free are the safest choice for cage frames and decorative panels. The critical step most people skip is cure time: a paint that smells dry is not necessarily safe. Let painted surfaces cure in a well-ventilated space, away from the bird, for at least 48 to 72 hours minimum, and longer in humid conditions. Sealants and varnishes need the same treatment. When in doubt, check that your product is confirmed bird-safe by the manufacturer or your avian vet before introducing it near the cage.
For fabric elements like cage skirts, decorative covers, or themed wraps, choose tightly woven cotton or canvas with no loose threads. Avoid anything with a synthetic coating, and skip fabrics with elastic loops or drawstring openings that could entangle a toe. If you're adding natural wood elements for decoration, untreated hardwoods (manzanita, java wood, birch, or maple) are safe. Avoid pressure-treated lumber, MDF, and any wood that's been stained with unknown products.
| Material | Safe for Exterior Use | Safe Near Bars / Bird Contact | Notes |
|---|---|---|---|
| Stainless steel (304/316) | Yes | Yes | Best choice for any hardware or mesh |
| Powder-coated steel | Yes | Conditionally | Safe only when coating is intact and fully cured |
| Galvanized metal | No | No | Zinc/lead poisoning risk; avoid entirely |
| Water-based VOC-free acrylic paint | Yes | Yes after full cure | Cure 48–72 hrs minimum away from bird |
| Untreated hardwood (birch, manzanita) | Yes | Yes | Natural perches and panel accents |
| MDF / particle board | No | No | Off-gasses formaldehyde; not bird-safe |
| Tightly woven cotton canvas | Yes (exterior) | Monitor for fraying | No loose threads or elastic loops |
| Chicken wire / hardware cloth | No | No | Galvanized; zinc risk and sharp cut edges |
Tools and Materials Checklist
You don't need a fully equipped workshop for most decorative cage projects. Here's what covers the majority of upgrades from quick exterior wraps to custom panel overlays.
- Tape measure and pencil
- Stainless steel zip ties or stainless steel cage clips (for attaching panels or ornaments to bars)
- Wire cutters with smooth-jaw finish (to cut zip ties flush so no sharp tail is left)
- Drill with small bit set (for pilot holes in wood or acrylic panels)
- Stainless steel screws or bolts with washers
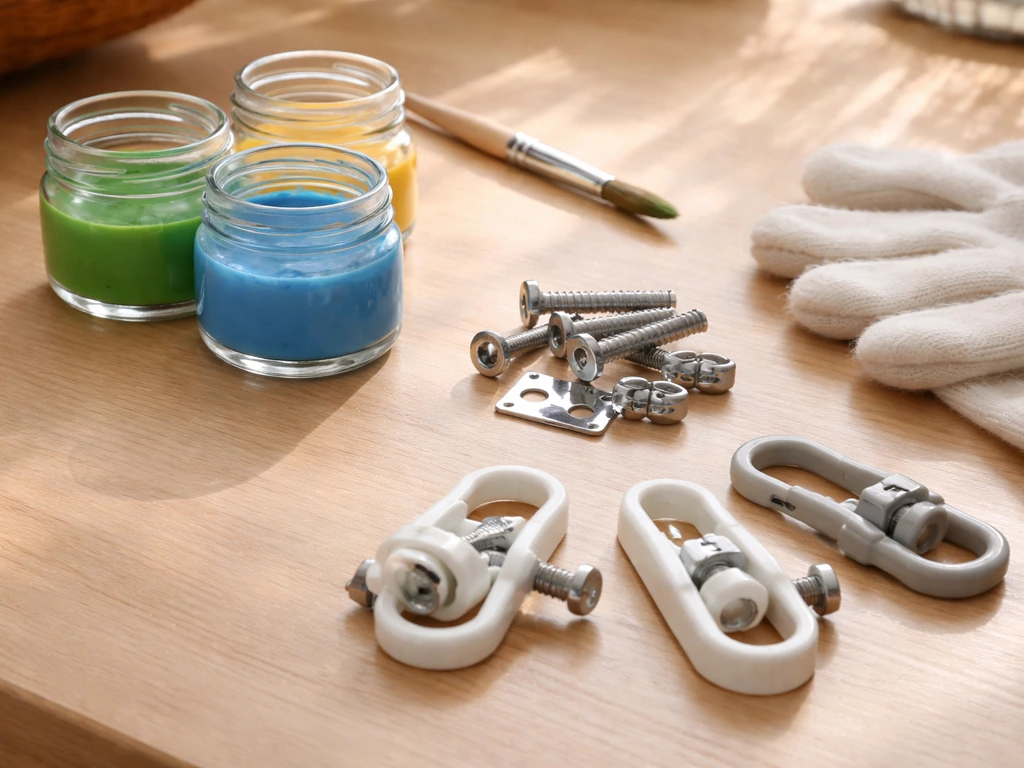
- VOC-free, water-based acrylic paint and a soft brush or foam roller
- Fine-grit sandpaper (220 grit) for prepping wood surfaces
- Non-toxic wood sealant or beeswax finish for natural wood pieces
- Scissors and a ruler for cutting fabric
- Fabric hem tape or a basic sewing kit for finishing fabric edges
- Safety gloves and eye protection for cutting metal or drilling
- A clean, well-ventilated workspace away from the bird
Step-by-Step: How to Install Cage Decorations
- Move your bird to a safe temporary housing before you start any project involving paint, adhesives, or drilling. This is non-negotiable.
- Measure the cage in full: height, width, depth, door location, base tray footprint, and bar spacing. Write everything down.
- Plan your attachment points. Decorations attach to the outside of the bar structure using zip ties or cage clips at a minimum of two points to prevent swinging or falling. Never run attachment hardware through bar gaps in a way that could create a pinch point inside.
- Cut and prep all decorative panels or fabric pieces to size before bringing them near the cage. Sand any wood edges smooth and wipe clean.
- Apply paint or finish in a separate ventilated area. Let it cure fully (48–72 hours for paint, longer for sealants) before returning it to the cage area.
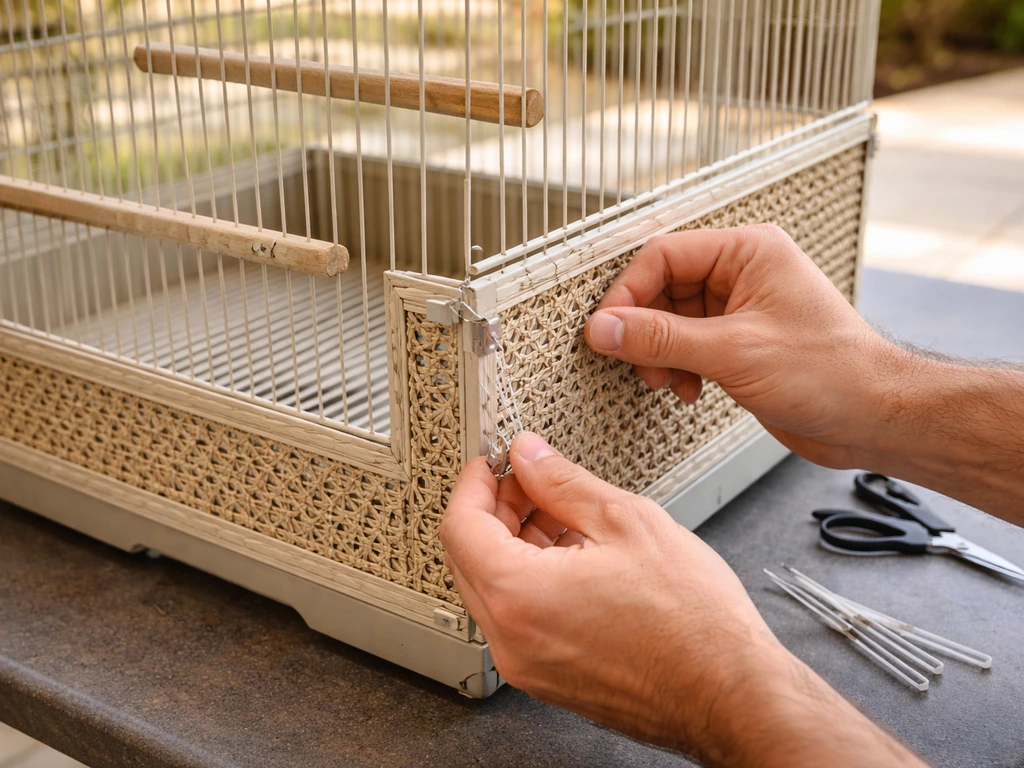
- Attach exterior panels or ornaments using stainless steel zip ties, clips, or screws. Pull each attachment firmly to confirm it won't shift. Clip all zip tie tails flush with wire cutters so no sharp stub is left.
- Hang any cage skirt or fabric wrap so the bottom hem clears the base tray by at least 2 inches. This prevents the fabric from wicking droppings or water.
- Reinstall the bird only after all materials are fully cured, securely attached, and you've done a complete safety walk-around (see the testing section below).
Decoration Ideas That Won't Make Your Life Harder
The best decorative upgrades look intentional and hold up to daily cleaning. Flower decorations can be safe if you use bird-safe, non-toxic materials and attach everything in a removable, washable way outside the bar area. Here are ideas that consistently work well, organized from quickest to more involved.
Quick Exterior Upgrades (Under an Hour)
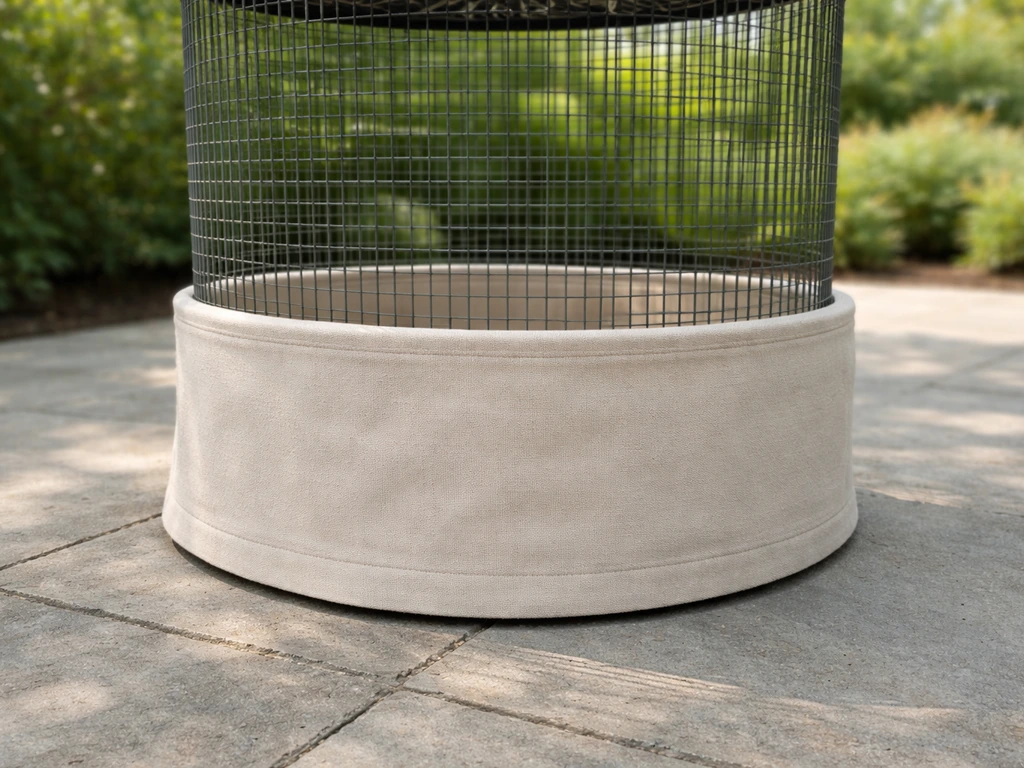
- Cage skirt or base wrap: A fitted fabric panel around the base hides the mess zone and gives the cage a polished look. Use tightly woven cotton or canvas, finish all edges with hem tape to prevent fraying, and attach with small stainless clips to the lowest bar ring.
- Themed cage cover with cutouts: A custom cover (same safe fabric rules apply) with decorative edge stitching or a simple print adds a lot of visual impact. Cut ventilation panels into the sides rather than relying on a single open top.
- Decorative cage stand wrap: The stand is completely outside the bird's reach, so this is your most flexible decorating surface. Chalk paint, decoupage, or fabric wraps all work well here.
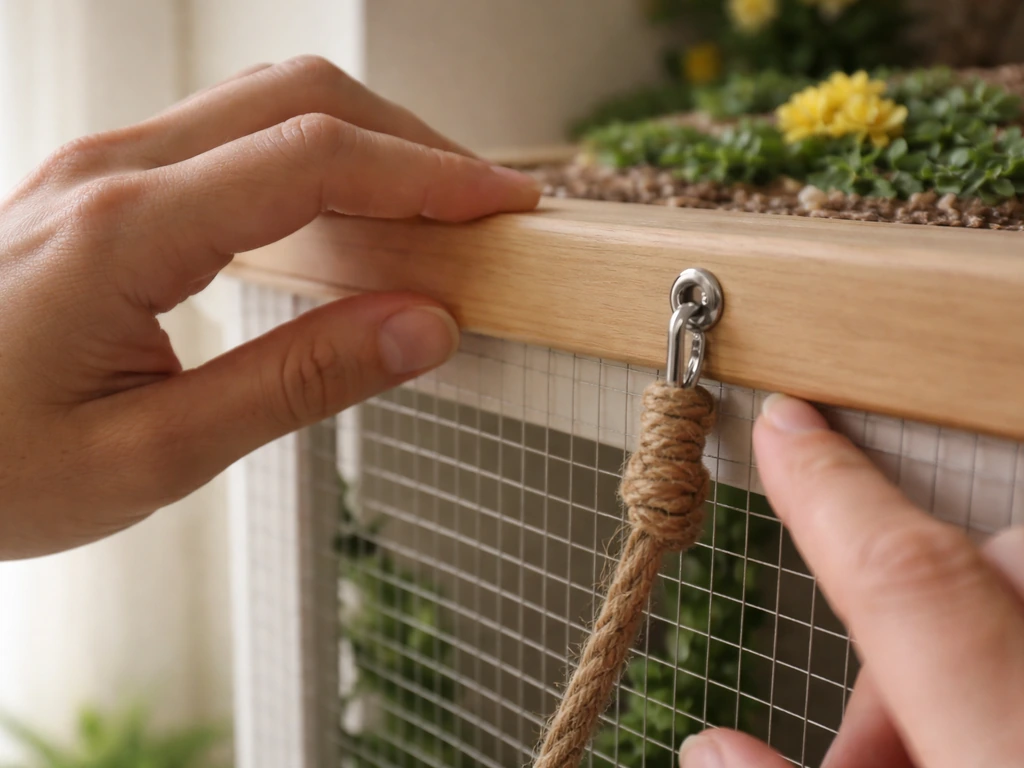
- Exterior hanging ornaments: Lightweight stainless or powder-coated ornaments attached to the top exterior rails look great and pose no risk as long as they're secured so they can't fall inward.
More Involved Projects (Weekend Builds)
- Custom decorative panel overlay: Cut a panel from powder-coated steel mesh or sealed hardwood to fit one or two sides of the cage exterior. Attach with stainless clips at regular intervals. This creates a completely different visual profile without altering the interior.
- Painted or stenciled cage frame: Strip any existing finish, sand, repaint with bird-safe VOC-free acrylic in your chosen color, seal with a beeswax or water-based sealant, cure fully, and reassemble. This is the most dramatic single change you can make.
- Natural branch perch arrangement (visible through bars): Selecting and positioning hardwood branches at different heights creates a naturalistic look and doubles as enrichment. Use untreated manzanita, java wood, or birch; sand the cut ends smooth.
- Decorative top canopy or arch: A shaped metal or sealed wood arch fitted to the cage top with stainless hardware adds height and elegance. Keep all attachment points exterior and make sure the arch clears the door swing.
If you're interested in decorating for specific seasons or holidays, the same material and attachment rules apply but you need to be especially careful with small ornaments and tinsel-style decorations that can fall into the cage. When you decorate bird cages for Christmas, treat ornaments, tinsel-style pieces, and any holiday wraps like other exterior decorations by keeping them securely mounted and easy to remove for cleaning how to decorate bird cages for christmas. Decorating an outdoor cage setup brings in an additional layer of weather-proofing considerations worth thinking through on its own. If you want a specific step-by-step approach for outside setups, focus first on weather-proof, non-toxic materials and attachments that are easy to inspect and clean decorating an outdoor cage setup.
Test Everything Before Your Bird Goes Back In
A safety check isn't just a nice idea, it's the step that separates a good decorative project from a dangerous one. Do this walk-around every time, even for small changes.
- Finger-gap test: Run your fingers along every attachment point and every edge of any added panel or overlay. If your finger fits through a new gap, your bird's head or foot might too. Close the gap or remove the element.
- Tug test: Pull every zip tie, clip, and hanging ornament firmly in multiple directions. Nothing should shift, swing more than a few millimeters, or detach with moderate force.
- Smell test: If you can still detect any chemical or paint smell, the material hasn't finished off-gassing. Give it more time in ventilation before the bird returns.
- Door and tray clearance: Open every cage door fully and slide the base tray out completely. Confirm that no decoration interferes with either action.
- Airflow check: Hold a piece of tissue near the ventilation areas of the cage. It should move freely. If a panel or wrap is blocking airflow, reposition or trim it.
- Cleaning access check: Simulate your normal cleaning routine. Can you reach the perches, the tray, the food and water stations, and the interior corners without removing decorations every single time? If not, redesign the attachment so cleaning stays practical.
Troubleshooting: Pests, Mess, Moisture, and Seasonal Wear
Decorations that look great in week one can become hygiene problems by week three if they're not designed for the reality of bird ownership. Here's how to handle the most common issues.
Droppings and Mess Buildup
Horizontal surfaces on exterior decorations collect droppings fast. Keep any decorative ledges, rails, or panel tops angled slightly (even 10 to 15 degrees) so droppings slide off rather than accumulating. For cage skirts and fabric elements, choose machine-washable fabric and plan to launder them weekly, the same rotation as cage covers.
Moisture and Rust
Humidity from misters, steam cleaning, or naturally humid climates accelerates rust on any metal that isn't stainless or properly sealed. Inspect all metal attachments monthly. If you see any rust spotting on a stainless zip tie or clip (usually a sign it wasn't actually stainless grade), replace it immediately. Powder-coated surfaces should be inspected for chips: a chipped area on an exterior frame can rust underneath and, if your bird gets access to it, creates a sharp edge and a possible toxicity point.
Pests
Fabric cage skirts and decorative covers can become hiding spots for mites if they're left in place too long without washing. Red mites in particular hide in fabric folds during the day and come out at night. If your bird is scratching more than usual or seems restless at night, pull all fabric elements and wash them on a hot cycle, then inspect the cage bars and corners with a flashlight. This is also why fabric decorations should never be tucked into bar gaps where they're harder to remove quickly.
Seasonal and Outdoor Considerations
If the cage spends time outdoors or near a window with seasonal temperature swings, wood panels can warp and painted surfaces can peel. Reapply sealant to exterior wood pieces at the start of each season and do a full inspection after any extended exposure to rain or direct sun. For indoor cages near heating vents in winter, fabric elements can dry out and fray faster than normal: check edges monthly and re-hem as needed.
Breakable plastic decorative elements are worth avoiding entirely. Purdue's avian husbandry guidance specifically flags breakable plastics as a hazard because shards create sharp edges and small pieces become choking hazards. If you want a plastic-look finish, powder-coated metal gives you the same clean aesthetic without the fragility.
Keep It Personal and Keep Iterating
The best decorative cage setups evolve over time. Start with one change, live with it for a week, watch how your bird interacts with the cage, and then decide what to add or adjust next. A cage skirt and a fresh coat of bird-safe paint on the frame can transform a basic setup in a single weekend. From there, a decorative panel overlay or a custom canopy can take it further. The point isn't to do everything at once but to build something that works for your bird's daily routine and still makes you happy to walk past it every morning.
FAQ
Can I use ribbon, string, or fabric ties to make decorative bird cages look nicer?
Yes, but treat them as interior risks even when they are “decorative.” Avoid wrapping wire, ribbon, or rope around bars or across the cage in ways a bird can grab. If any part can be reached from inside, it should be made from bird-safe, chew-resistant materials and mounted so there are no loose ends or loops.
What if my cage already has galvanized parts or peeling paint, can I just decorate over them?
If the cage already has galvanized or painted components, do not decorate by covering over suspect areas without checking condition first. For safety, remove loose flaking coating, then use bird-safe, VOC-free finishes after fully curing outside the bird’s room. If you cannot ensure the original coating is intact and non-flaking, replace the cage hardware rather than decorating over it.
Is it safe to glue decorations onto a bird cage?
For most projects, glue is a problem area because it can release fumes while curing and can fail when birds chew. Prefer mechanical attachments (screws outside the bar line, clamps, or removable brackets) designed to be inspected. If you must use adhesive, only use a manufacturer-labeled bird-safe product, apply sparingly, let it cure completely in a separate ventilated space, and keep the bonded area unreachable from beaks.
How do I know if my decorative additions will actually be easy to clean?
Do a “cleaning test” before you commit. Choose decorations you can wipe with warm water and a mild, bird-safe cleaner, or remove weekly for washing. If the decoration hides droppings or prevents you from reaching corners and perches, it will eventually become a hygiene and mite risk even if the materials are safe.
Can I use outdoor paint or sealant products for a bird cage decoration?
Not always. Some outdoor-safe coatings can be “water resistant” but still not safe for birds if they off-gas or are not fully cured. Use only products that are confirmed bird-safe by the manufacturer, allow extended cure time in fresh air, and inspect for odor before reintroducing the bird. Weather and sunlight can also accelerate breakdown, so plan for more frequent checks and touch-ups.
How should I monitor my bird after adding a new decorative cage feature?
Start with a removable system, so you can lower the decoration out of the cage cleaning zone. When you test, watch for scratching, chewing, and any change in posture around the added parts. If you see increased tail flicking, restlessness, or repeated attempts to investigate attachments, remove the decoration and simplify the design before continuing.
What’s the best way to check for gaps or pinch points after installing a decorative panel overlay?
Yes, and it’s worth extra caution for smaller birds. Bar-adjacent decorations can create micro-gaps even when the design “looks flush.” After mounting, run a fingertip along every edge and verify nothing can be pulled into the cage. Use removable panels that you can take off to thoroughly check for gaps and trapped debris.
How often should I inspect decorations, and what signs mean I should remove them?
If any part becomes sharp due to chips, fraying fabric edges, or broken plastic, remove it immediately. For fabric, check seams and hem integrity monthly and repair before fibers loosen. For metal, look for coating chips and replace attachments at the first sign of rust or sharp edges.
Are holiday decorations like tinsel and ornaments safe on bird cages?
Avoid tinsel, loose glitter, and any breakable novelty plastics. Even “big” ornaments can shed tiny pieces, and those pieces can be ingested or create sharp edges. Stick to durable, washable materials mounted outside the bar line, with all parts secured so they cannot fall inside during normal cage movement.
Can I use painted or stained wood for decorative elements on the cage?
Not as a default. Decorative bird cages often need different chemistry and airflow around them, and wood finishes can be risky if not specifically bird-safe. If you want wood for aesthetics, use untreated hardwoods intended for animal-safe use, and keep any wood pieces fully sealed, dry, and reachable only in areas the bird cannot chew.