You can make a bird cage look genuinely nice by combining a deep clean, bird-safe paint or finish on any bare metal, thoughtfully arranged perches and accessories inside, and smart room placement outside. The key constraint is that everything you use has to be safe for your bird, which rules out a surprising number of common DIY materials. Get that part right first, and the aesthetic upgrades are straightforward.
How to Make a Bird Cage Look Nice Safely

Maya Bennett
28 Jun 2026

Bird-safe basics: what 'nice' can never compromise
Before you buy a single can of paint or a decorative piece, it helps to understand why birds are so sensitive to materials that humans handle without a second thought. Birds have incredibly efficient respiratory systems, which means fumes, off-gassing finishes, and aerosolized cleaners that seem harmless to you can be dangerous to them. That sensitivity shapes every decision in this guide.
Here are the hard no's when it comes to cage materials and finishes:
- Paints containing zinc, lead, or chromium — these metals are toxic to birds even in small doses from chewing or flaking
- Oil-based paints and solvent-based stains — the fumes and curing off-gas are dangerous, and some never fully stop off-gassing in a closed room
- Non-stick coatings (PTFE/Teflon) on any accessory or nearby cookware — heated PTFE releases fumes that can kill birds rapidly
- Scented sprays, air fresheners, or essential oil diffusers used near the cage — birds are far more sensitive to aerosolized particles than mammals
- Galvanized metal treated with zinc — fine for outdoor fencing, not fine inside a cage where birds chew the bars
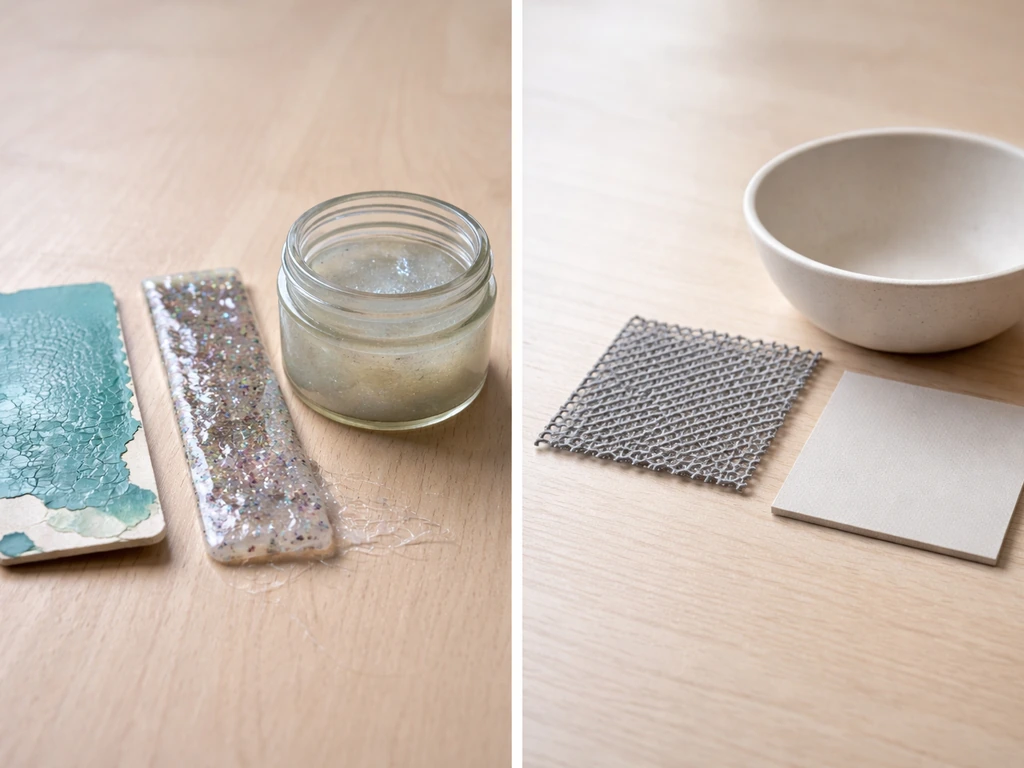
- Cheap imported decorative items with unknown finishes — if you can't verify the coating, skip it
Safe choices center on stainless steel hardware, untreated natural wood perches, water-based paints that are fully cured before the bird returns, and cleaning products that are explicitly labeled bird-safe or thoroughly rinsed off. When in doubt, plain hot water and unscented dish soap are your safest baseline. Always move your bird to a separate room during any painting, cleaning with disinfectants, or drying time, and ventilate the space fully before bringing them back.
Deep clean and refresh: tackling rust, grime, and odors
No amount of decoration makes a cage look good if it smells or has visible rust and buildup. A real deep clean is the foundation of every aesthetic upgrade, and it's something most cages genuinely need before you do anything else.
What you'll need
- Stiff-bristle scrub brush and an old toothbrush for tight corners
- Plastic or metal scraper for caked-on droppings
- Unscented dish soap or a bird-safe habitat cleaner
- White vinegar (for mineral deposits and light rust)
- Bird-safe disinfectant (look for products specifically labeled as safe for bird habitats)
- Clean cloths or paper towels
- Rubber gloves
Start by removing everything from the cage: the bird, all perches, toys, food dishes, and the tray liner. Scrape off any dried droppings with the plastic scraper first, this step matters because disinfectants don't penetrate organic material well, so you're not actually disinfecting if you skip it. Then scrub every bar, corner, and tray with hot water and dish soap, working section by section. When you are ready to disinfect after cleaning soiled areas, Petco recommends cleaning with a bird habitat cleaner or a hot solution of dishwashing liquid and rinsing well before applying any disinfectant, and then thoroughly following the label directions for bird-safe disinfectants scrub every bar, corner, and tray with hot water and dish soap.
For rust spots, apply undiluted white vinegar directly to the affected area, let it sit for 10 to 15 minutes, then scrub with a stiff brush. Vinegar is effective at loosening mineral deposits and light surface rust, but it's not a disinfectant, so you still need to follow up with a proper bird-safe cleaner if there's any concern about bacteria.
A Reddit commenter also cautions that vinegar and water alone may not be enough for a deeper clean and highlights using disinfectant products appropriately while not spraying near the bird Vinegar is effective at loosening mineral deposits and light surface rust. Rinse the entire cage extremely thoroughly, any residue from cleaning products is a problem, and rinsing is one step most people rush.
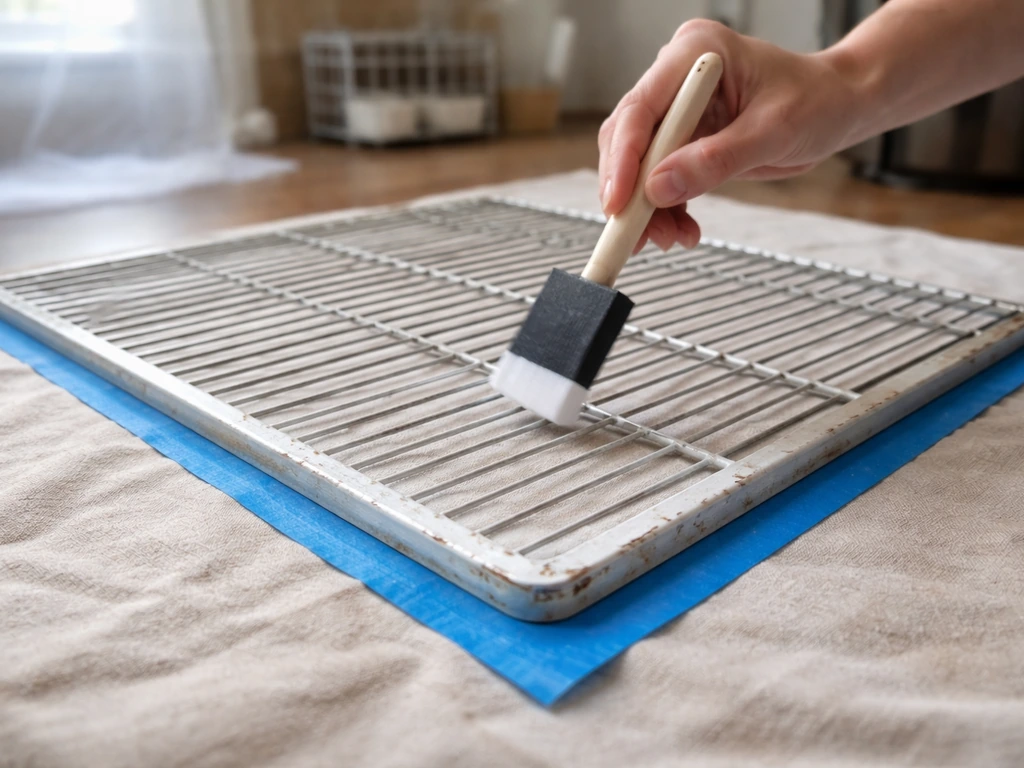
For heavy rust that doesn't respond to vinegar, use fine steel wool or a wire brush to remove as much as possible, then dry the area completely before sealing it with a bird-safe paint or finish. Any bare or compromised metal should be addressed before you move on to decorating. Let the cage air dry fully in a ventilated space before your bird goes back in.
Odor control comes down to consistent cleaning frequency, not deodorizing sprays. The daily routine should include removing droppings, swapping the liner, and refreshing food and water. A full scrub-down once a week keeps odors from building up in the first place. That weekly routine is also the best time to catch any new rust spots or damage before they become a bigger problem.
Safe aesthetic upgrades: paint, finishes, liners, and covers
Painting and refinishing the cage
If your cage has patchy rust, chipped finish, or just looks tired, repainting it can genuinely transform it. The key is choosing the right paint and following curing time strictly. The safest options are water-based, zero-VOC (volatile organic compound) paints that are fully cured, meaning dried and aired out for at least 72 hours, ideally a full week, before your bird is anywhere near the cage.
Rust-Oleum makes a few water-based formulas that work well on metal cages, and some bird owners use appliance epoxy in neutral colors. Whatever you choose, check that it contains no zinc, lead, or chromate pigments. Apply in thin coats, let each coat dry completely, and always paint in a well-ventilated area far from where your bird is housed. Sand lightly between coats for a smoother finish. Once the final coat is done, let the cage cure in a ventilated space before reassembly.
If you're not sure about a paint's safety, contact the manufacturer directly and ask if it is non-toxic when fully cured for use around birds. Some brands that are labeled 'non-toxic for children' still contain compounds unsafe for birds, so don't assume.
Liners that look good and clean up fast

The cage tray liner is one of the most visible parts of the cage from certain angles, and it's also changed daily, so it's worth getting right. Unbleached paper, plain kraft paper, or newspaper (with soy-based ink) are all safe and easy to cut to size. Avoid scented cage liners, cedar shavings, or any substrate treated with pesticides or aromatic oils. Some owners cut a week's worth of liners at once and stack them in the tray, pull one off each day and the fresh layer is already underneath.
Cage covers: function meets presentation
A well-fitted cage cover does two things: it helps your bird sleep by blocking light and reducing noise, and it makes the cage look intentional and finished in the room. If you want your bird cage decoration to look intentional, plan the layout and materials around bird-safe guidelines first. Look for covers made from breathable, unbleached cotton or linen, these allow airflow while still keeping the cage dark.
Avoid polyester fleece or heavily dyed fabrics that may off-gas or shed fibers. A cover in a neutral color or a pattern that works with your room's palette can dramatically improve how the setup looks without any structural changes to the cage itself. Make sure any cover you use still allows ventilation from at least one side, especially in warmer months.
Customizing the inside layout for a cohesive look
A cluttered cage with randomly placed toys and mismatched accessories always looks chaotic. A few simple decisions about layout create a much cleaner, more intentional appearance while also improving your bird's quality of life. For weddings, you can keep the same bird-safe approach while choosing colors and placement that match the event theme and photo style.
Perch placement and variety
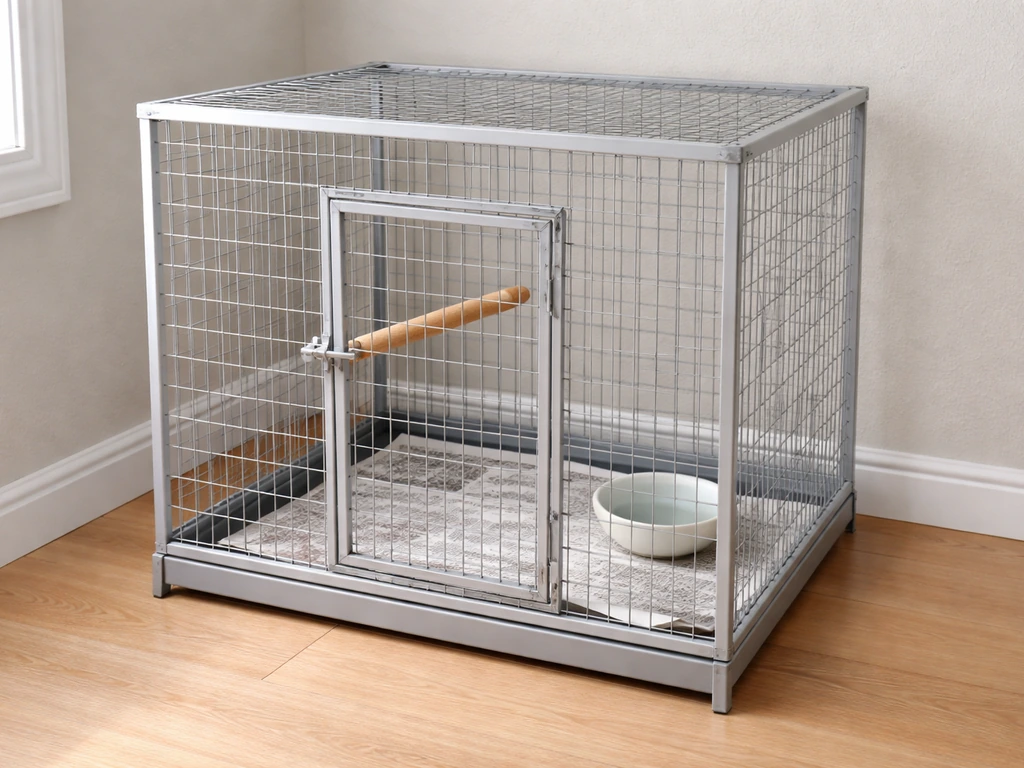
Perches at different heights and diameters serve your bird's foot health and give the cage visual structure. Aim for two or three perches arranged so your bird can move between levels without stepping through food or water dishes. Natural wood branches (apple, willow, manzanita) look far better than plain dowel perches and provide the varied grip diameter that keeps feet healthy. Cut them to fit snugly between the bars or use wing nuts to secure them. For larger cages, a corner-mounted platform perch or a rope perch can add visual interest and break up the geometry of the bars.
Toys: edit for a cleaner look
More toys is not always better aesthetically. Rotate a small selection rather than cramming everything in at once, two or three toys that your bird actually uses will look better and be safer than a cage so full that your bird can barely move. Stick to a loose color palette when you can. Natural materials like untreated wood, seagrass, cork, and leather (vegetable-tanned, no dyes) keep the look cohesive and are safer than cheap plastic pieces with unknown coatings. Hang toys at varied heights and stagger them so they don't all swing into each other.
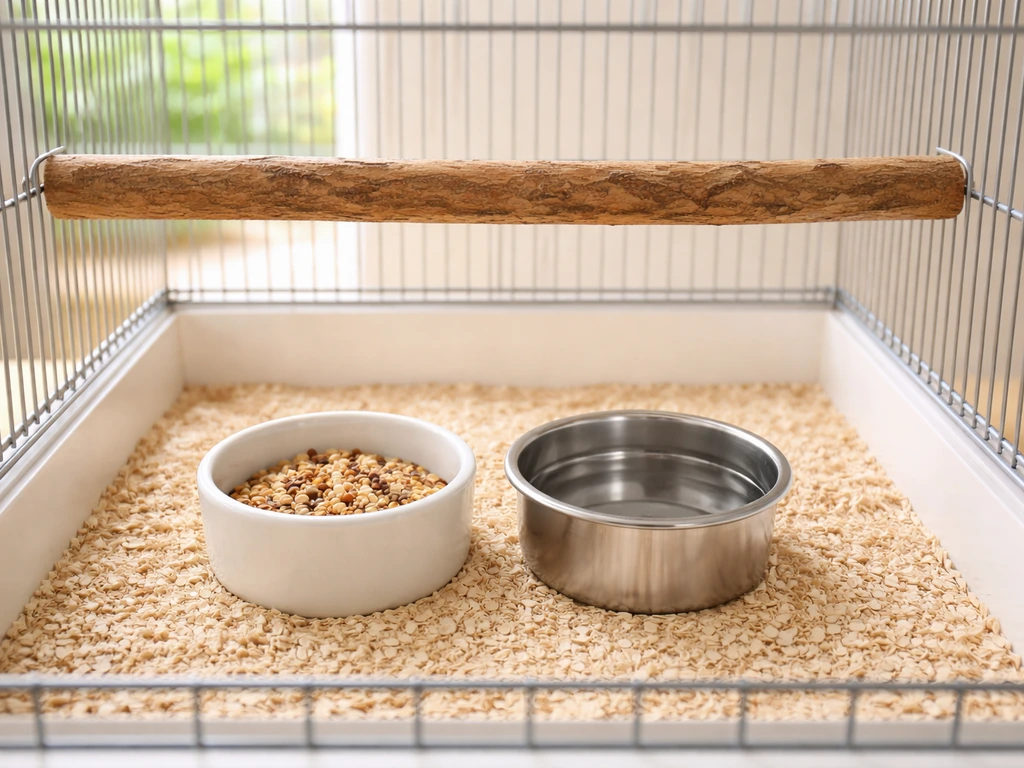
Food and water stations
Stainless steel or ceramic dishes look cleaner than plastic and are easier to keep actually clean. Position food and water dishes so they're accessible but not directly under a perch where droppings fall in constantly. If your cage supports it, a water bottle or side-mounted feeder keeps the floor area cleaner and reduces one visible mess source. Matching dishes (same material, same style) create a more put-together look than a mismatched collection.
Placement, lighting, and cage stands for room presentation
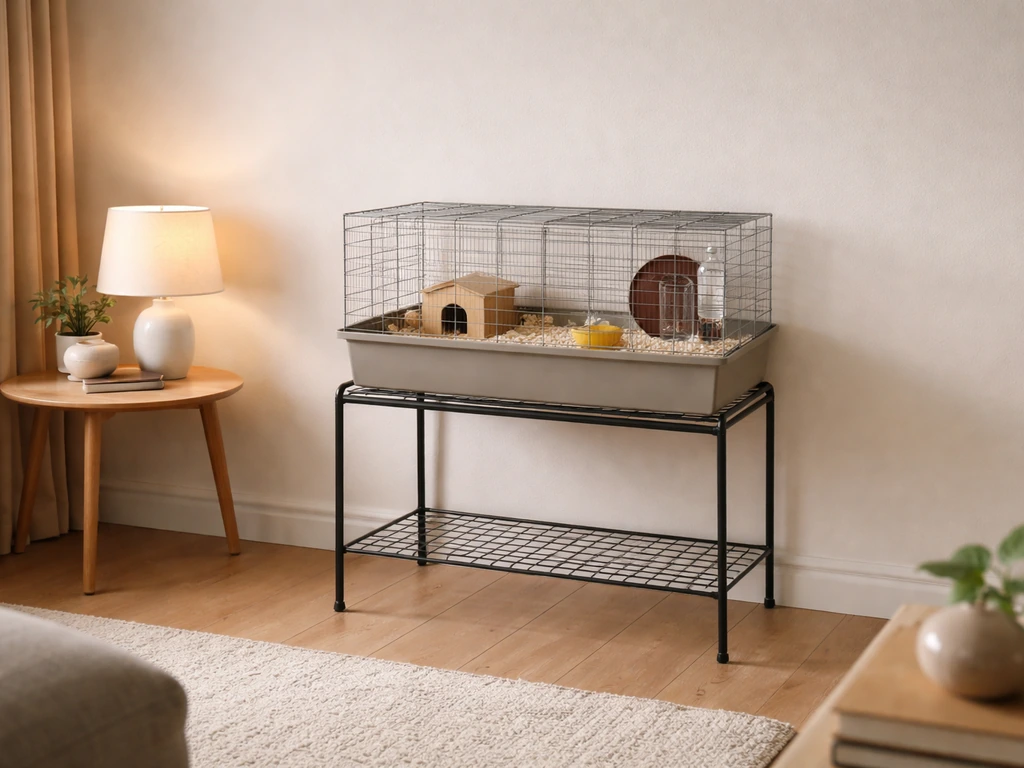
Where and how you place the cage in the room has as much impact on how it looks as anything you do to the cage itself. A cage on the floor in a cluttered corner will never look great, regardless of how well you've styled it.
Place the cage at roughly eye level or slightly below, against a wall or corner for a sense of backing and security. Birds feel safer with at least one solid wall behind them, and from a design perspective, a cage floating in the middle of a room looks awkward. A dedicated cage stand elevates the setup considerably, both literally and visually. Wrought iron or wooden stands with a matching or complementary finish to the cage look intentional. Some stands include a bottom shelf for storage, which helps keep supplies nearby without creating visual clutter.
Lighting makes a significant difference. Natural light from a nearby window is ideal, but avoid direct midday sun on the cage, which can cause overheating. A small, adjustable daylight-spectrum lamp positioned near (not shining directly into) the cage can improve how the cage looks in photos and in person while also supporting your bird's circadian rhythm. Avoid placing the cage near vents, drafts, or kitchens, fumes from cooking are a serious hazard.
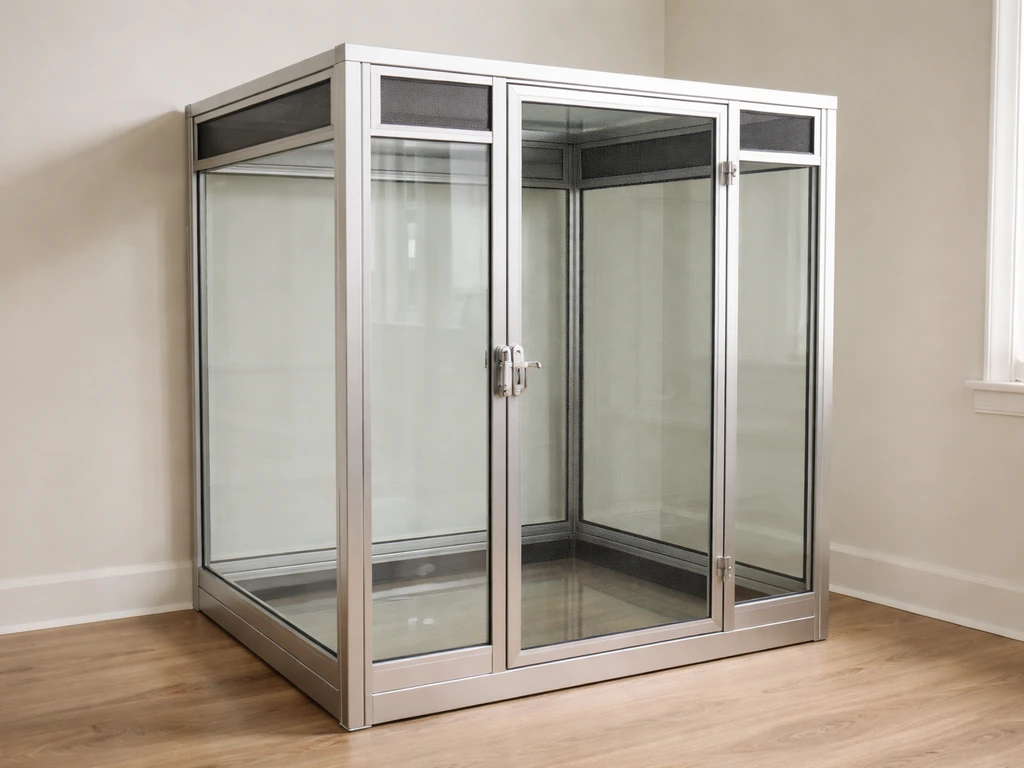
If you have a large cage, the styling approach has more scope and the placement choices carry even more visual weight, the principles are the same but scale up considerably. If you are working with a large bird cage, prioritize creating a clear inside layout and then scale up safe decor choices like perches, toys, and liners. For purely decorative contexts like empty decorative cages used as room accents, the material and finish options are much broader, though that's a separate use case from a live bird's habitat.
Maintenance plan: keeping it looking good long-term
The biggest threat to a nice-looking cage is neglect, and the fix is a realistic schedule you'll actually stick to. Here's the framework that works in practice:
| Frequency | Tasks |
|---|---|
| Daily | Remove droppings from perches and bars, swap the tray liner, refresh food and water, wipe any obvious spills with a damp cloth |
| Weekly | Full scrub of bars, tray, and dishes with hot water and bird-safe soap; inspect for new rust spots or chipped finish; rotate toys |
| Monthly | Soak and scrub all accessories (perches, dishes, toys) separately; check all hardware for corrosion; wipe down the cage stand and surrounding area |
| Every 3-6 months | Full disassembly if possible, deep scrub with bird-safe disinfectant, thorough rinse and full dry before reassembly; assess whether any surfaces need touch-up paint |
Rust prevention comes down to keeping moisture from sitting on bare metal. Dry the cage thoroughly after every wash, a clean towel first, then air dry in a ventilated spot. If you live in a humid climate, a thin coat of coconut oil on the outside bars (not inside where the bird contacts it constantly) can slow surface oxidation, though this isn't a substitute for a good paint or powder coat finish. Any spot where the finish is chipped should be touched up promptly before rust takes hold.
Troubleshooting common DIY problems
Mess keeps coming back immediately
If you're cleaning daily but the cage looks messy again within hours, the issue is usually feeder placement or an overloaded toy setup. Move food dishes away from high-traffic perch areas. Use a seed catcher skirt around the base of the cage (fabric or clear acrylic versions are available and look cleaner than DIY plastic sheeting). Reduce the number of toys temporarily to identify which ones are generating the most debris.
Rust keeps returning after treatment
Surface rust that returns quickly means the underlying metal wasn't fully prepared before finishing. You need to remove all rust mechanically (wire brush or steel wool), treat with a rust converter product (check that it's safe to use in proximity to birds once cured), let it cure completely, then apply your bird-safe topcoat in at least two thin layers. Skipping any of those steps means the rust just comes back under the new coating.
Pests appearing in or around the cage
If you're seeing mites, gnats, or ants around the cage, the root cause is almost always food residue or substrate that hasn't been changed frequently enough. Strip everything down, do a full deep clean, and switch to daily liner changes. For mites specifically (particularly red mites that hide in cage joints and crevices), the weekly scrub needs to reach every seam and corner. Avoid pesticide sprays anywhere near the cage. Diatomaceous earth can be used around the outside base of a stand to deter crawling insects but should never go inside the cage where the bird can inhale it.
DIY add-ons that caused problems
Common DIY mistakes include attaching accessories with hardware that contains zinc (galvanized wire, zinc-plated bolts), using craft paints or chalk paints not tested for bird safety, adding natural branches without baking them first to kill mites and bacteria (bake at 250°F for 30 minutes, let cool completely before use), and using porous materials like untreated rope or fabric that harbor bacteria and are hard to clean. If you added something and your bird seems lethargic, is chewing at it obsessively, or you notice any respiratory changes, remove it immediately and consult a vet. When in doubt about any material, check with an avian vet before it goes in the cage.
The cage looks cluttered no matter what you do
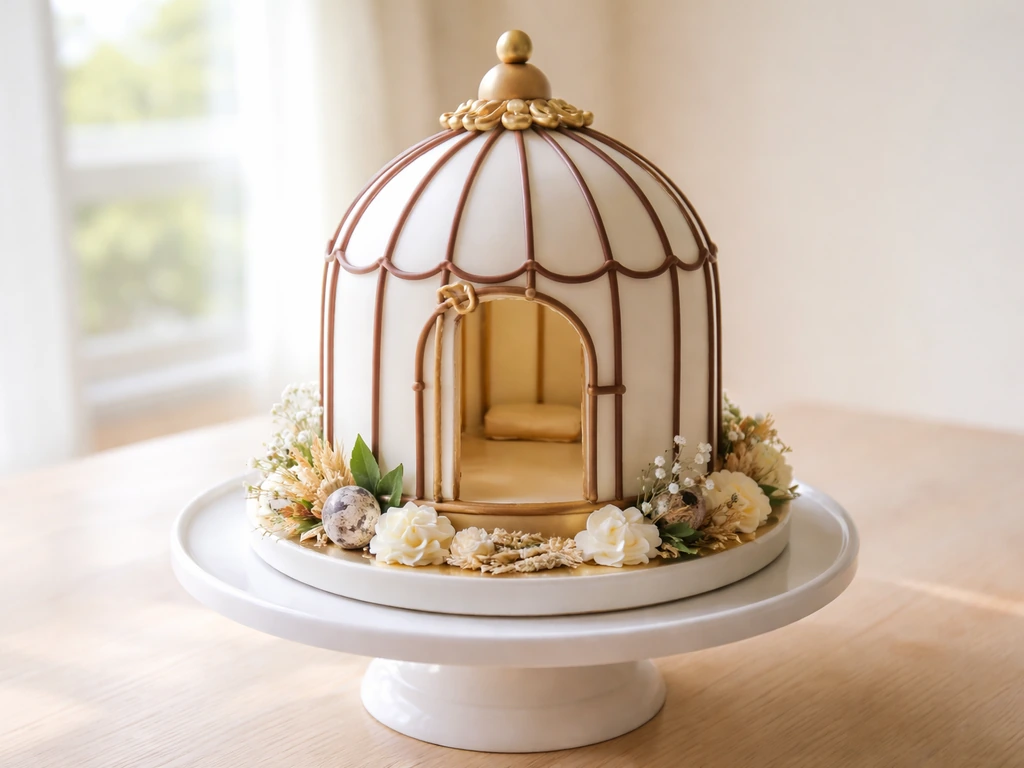
This is almost always a 'too much stuff' problem. Pull everything out of the cage and only put back in what your bird actively uses and what genuinely looks good. A single beautiful manzanita branch, two well-chosen toys, and matching stainless dishes will always look better than six plastic toys, three wooden ladders, and a swinging mirror. Edit ruthlessly. A cleaner layout is also easier to maintain, which is a practical bonus on top of the aesthetic one. If you want a fun cake version of this look, you can also use the same bird-cage theme with a bird cage cake design.
FAQ
Can I paint or powder-coat my bird cage to make it look nicer?
Yes, but only if you choose the right type and finish. Use water-based, non-toxic when fully cured coatings intended for metal or specifically labeled bird-safe for cured use, and let the cage air out at least the minimum cure window before the bird returns (72 hours as a baseline, ideally longer). Avoid any “spray paints” that remain tacky or have strong odor after curing, since residual solvents can irritate a bird’s respiratory system.
How can I tell if a paint or finish is truly safe for birds after it dries?
Never assume. Even “non-toxic for children” products can be unsafe for birds if they off-gas longer, contain pigments that are unsuitable for birds, or form residue that the bird can contact. The safest decision aid is to ask the manufacturer whether the finish is non-toxic specifically when fully cured and used around birds (not just people), and whether it contains any restricted pigments like zinc, lead, or chromates.
What should I do if rust comes back soon after I repaint?
If you see rust returning quickly, the problem is usually preparation and moisture control, not decoration. Remove all rust to bare metal, mechanically clean thoroughly, let it dry completely, then use a bird-safe rust converter only if it is confirmed safe once cured near birds, followed by a true topcoat in multiple thin layers. Also review how the cage is dried after washing, because trapped moisture under a coating can restart oxidation.
Is it safe to add natural branches for looks, or do they need special prep?
Yes, but treat branch prep as a safety step, not a styling step. Untreated wood can carry mites or bacteria, so bake fresh branches (as in the article) and cool fully before use. After installation, inspect regularly for chewing, cracking, or softened areas, since damaged natural wood can become harder to clean and may harbor residue.
Will a decorative cage cover affect air quality or ventilation?
A cage cover can look “finished” without hurting ventilation if you still leave airflow access from at least one side and avoid fully sealing the space. Stick to breathable, unbleached natural fabrics, size it so it doesn’t sag into perches or block airflow gaps, and remove it when the bird is sick or when you notice persistent condensation or unusual odors.
What’s the safest way to reduce odor from a bird cage without masking sprays?
Don’t rely on sprays. If the cage smells, increase cleaning consistency (liners and daily droppings removal) and check that food dishes are positioned away from heavy droppings zones. If you want scent-free odor control, use thorough rinsing and dry steps, and address any organic buildup rather than masking it with deodorizing products that can aerosolize irritating compounds.
Are there any materials that look nice but are risky even if they seem natural?
Commonly, yes. Even “bird-safe” materials can be unsafe if they shed fibers or coatings, or if they are made from porous or hard-to-clean substrates. For a fast decision rule: choose stainless steel or ceramic for dishes, use unbleached liner options, prefer untreated natural wood for perches, and avoid dyed or unknown-coated rope, leather with dyes, and porous fabrics where droppings can get embedded.
What should I do if my bird reacts to a new toy, perch, liner, or decoration?
If your bird seems lethargic or starts chewing an item intensely, remove the item immediately and return to a simpler, proven-safe setup. Then verify the material type, check for fresh odors from any new toys or liners, and contact an avian vet, especially if you notice respiratory changes. That “remove first” step is important because birds can react quickly to new off-gassing or irritants.
How do I make the cage look coordinated if I’m not trying to match a specific theme?
Yes. Match the style by keeping a tight palette and limiting the number of visual “components” that create clutter, for example, two or three toys plus consistent dish materials. Also consider repeatable shapes: perches at different heights, dishes on the same side style-wise, and a liner that looks uniform from the room angle. A consistent arrangement makes the cage look intentional even if the interior isn’t fully “themed.”
Does using a cage stand help aesthetically, and what should I avoid?
A stand is often a huge visual upgrade, but it can create hidden clutter if the storage area holds messy supplies. Choose stands with closed storage or a single organized basket area, keep the bottom shelf aligned so the cage looks centered, and use a simple liner or tray on the stand to catch drips. This keeps the “nice” look while reducing cleaning frequency demands.
Next Articles
How to Make a Bird Cage Cake Step-by-Step Guide
Step-by-step bird cage cake with edible cage bars, door, perch, safe pet-friendly decor, assembly, transport, and fixes
How to Make a Temporary Bird Cage Step by Step
Step-by-step DIY guide to build a safe temporary bird cage now, with sizing, bar spacing, materials, and safety checks.
How to Make a Glass Bird Cage: Step-by-Step DIY Guide
Step-by-step DIY for a safe glass bird enclosure: materials, escape-proof design, ventilation, assembly, and maintenance