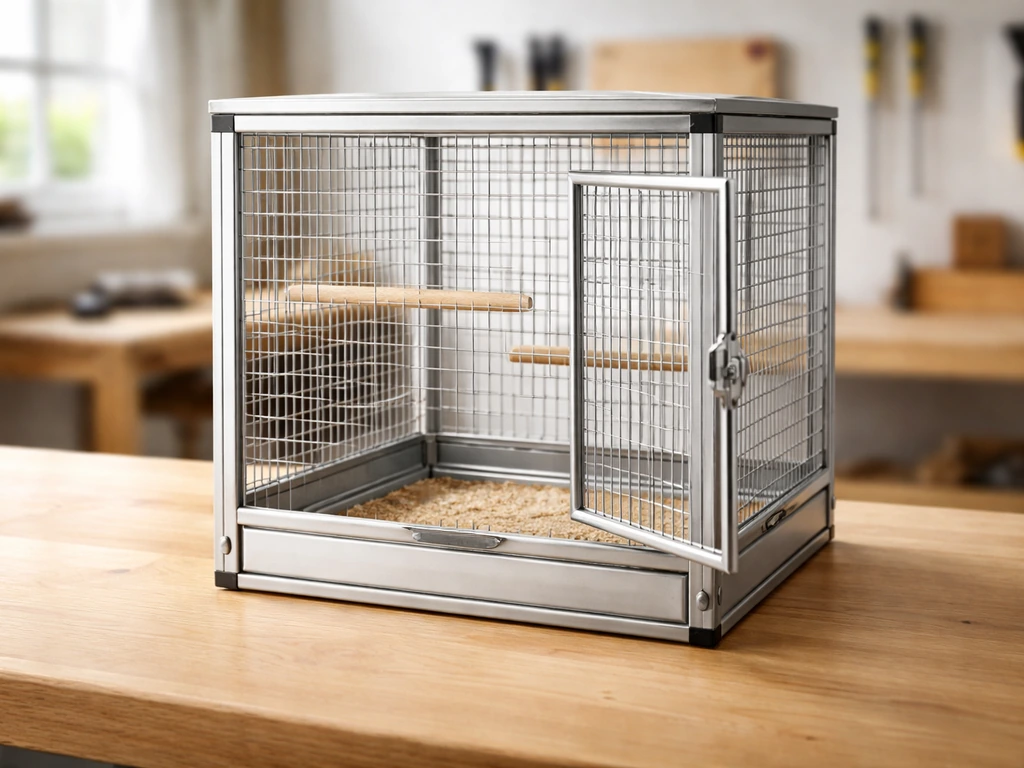
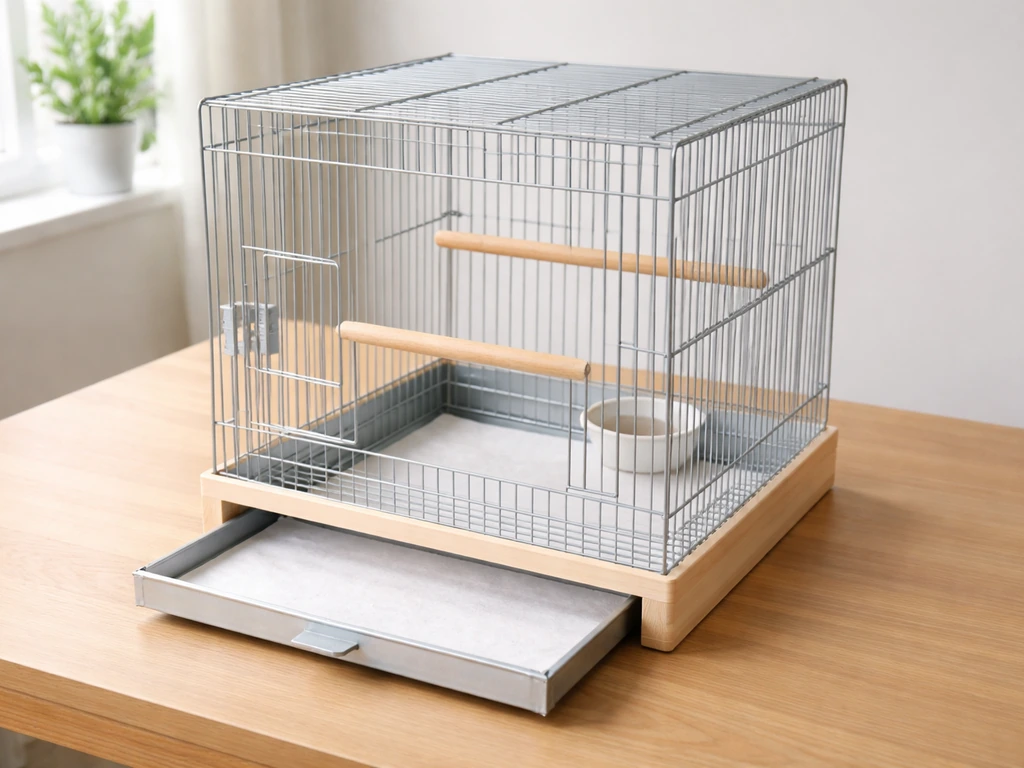
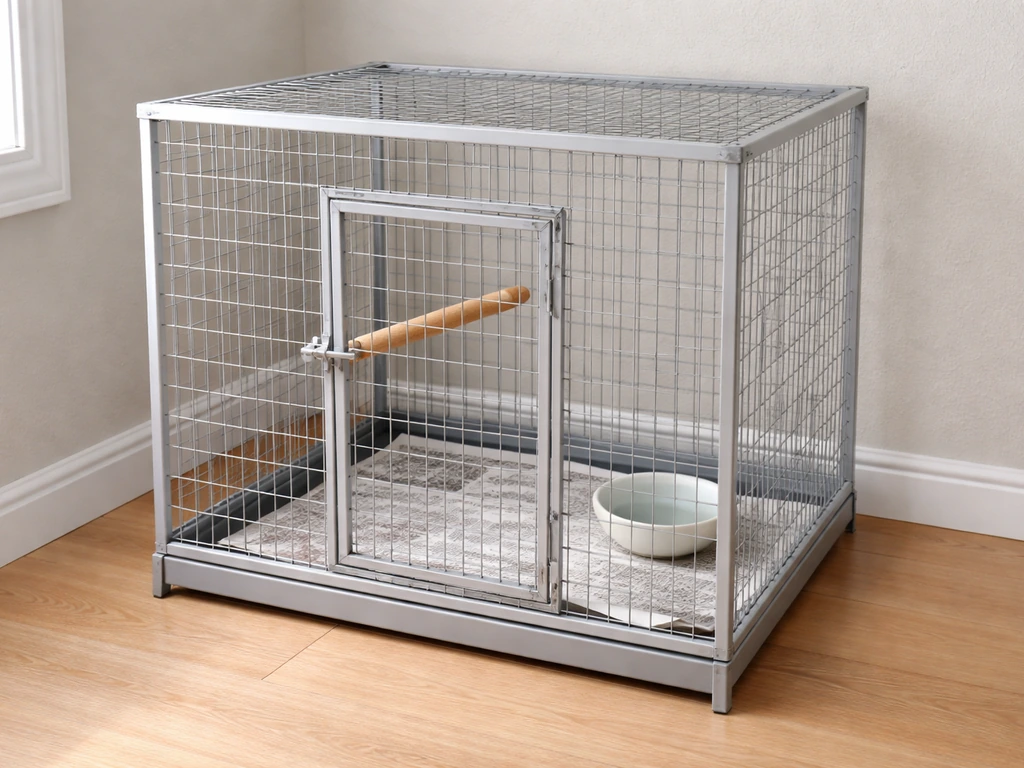
You can build a safe, functional small bird cage in a weekend using welded wire mesh, a simple wooden or metal frame, and a handful of basic tools. For a giant bird cage prop, scale the same safety-first wire, framing, and edge-finishing ideas up so it stays stable and won’t snag or pinch during filming. The key decisions are bar spacing matched to your bird's species (0.5 inch for budgies, lovebirds, and parrotlets; 0.5 to 0.625 inch for cockatiels; 0.75 inch for conures and similar small parrots), a minimum interior of about 20 × 20 × 30 inches for a single small bird, and hardware that's free of zinc coatings and PTFE-based finishes. Get those three things right and the rest of the build is straightforward.
How to Make a Small Bird Cage Step by Step DIY

Maya Bennett
4 Jun 2026
Size and bird type: getting this right before you cut anything
The single biggest mistake DIY cage builders make is sizing the cage to what looks nice rather than what the bird actually needs. The Merck Veterinary Manual sets 20 × 20 × 30 inches as the minimum interior dimension for budgerigars, cockatiels, lovebirds, and parrotlets. That's a floor, not a target. The RSPCA adds a practical rule: the bird must be able to fully stretch both wings without touching any side, and perches must be positioned so the bird's tail doesn't drag on the cage floor. If you're housing a pair of lovebirds or a pair of budgies, add at least 50% to the width.
Bar spacing is a safety-critical measurement, not an aesthetic one. The American Association of Avian Veterinarians states plainly that bars must be close enough that the bird cannot fit its head through. PetMD reinforces this: head entrapment in bars is a real injury risk. Use this as your guide:
| Bird Species | Minimum Cage Size (interior) | Bar Spacing |
|---|---|---|
| Budgerigar (parakeet) | 20 × 20 × 30 in | 0.5 in |
| Parrotlet | 20 × 20 × 30 in | 0.5 in |
| Lovebird | 20 × 20 × 30 in | 0.5 in |
| Cockatiel | 20 × 20 × 30 in | 0.5–0.625 in |
| Conure / Caique / Poicephalus | Larger than minimum above | 0.75 in |
Also think about where the cage will live. A cage sitting on a countertop in a kitchen is a problem because of cooking fumes. A cage in a drafty hallway or near an exterior window is another issue covered later. Nail down the species, the number of birds, and the placement spot before you buy a single piece of wire.
Materials you'll need (and what to avoid)
Safe material choices aren't optional extras. Two materials common in cheap wire and hardware can kill a small bird: galvanized wire (zinc poisoning risk, flagged explicitly by the Merck Veterinary Manual) and any PTFE/Teflon-coated hardware or nearby cookware (the University of Illinois College of Veterinary Medicine notes that inhaled PTFE fumes cause sudden death or severe respiratory failure). Build with stainless steel or powder-coated welded wire mesh only.
- Welded wire mesh: stainless steel or bird-safe powder-coated (not galvanized), sized to your bar-spacing spec above
- Frame material: untreated hardwood (oak, maple, birch) or powder-coated square steel tubing — avoid MDF, treated lumber, and any wood with aromatic oils like cedar or pine
- Base/tray: a shallow metal or plastic pull-out tray (stainless or food-safe ABS plastic) for liner replacement
- Door hinges and latches: stainless steel, no zinc plating — use carabiner-style or bolt-snap latches rated bird-proof
- Fasteners: stainless steel self-tapping screws and washers (washers reduce sharp-edge contact with mesh)
- Liner: unprinted newsprint or plain paper towels — no sandpaper liners (VCA Animal Hospitals warns these cause ingestion/GI obstruction risk)
- Non-toxic wood-safe sealant (optional for wooden frames): a water-based, bird-safe finish once fully cured
- Natural wood perches: untreated hardwood dowels or branches from bird-safe trees (apple, willow, manzanita)
On quantity: for a 20 × 20 × 30-inch cage you'll need roughly 10 to 12 square feet of wire mesh, plus frame material for 12 edge pieces (four per horizontal layer at top, middle/door zone, and bottom). Buy 15% extra mesh to account for cutting waste and any areas you need to double-layer around the door.
Tools and planning before you start cutting
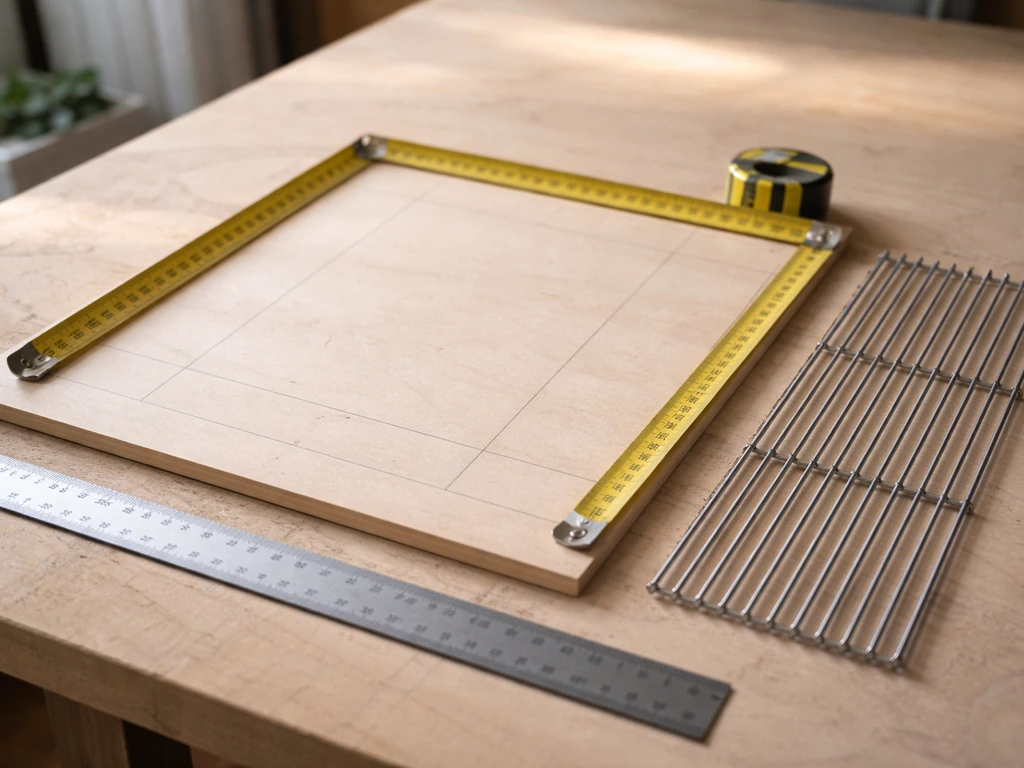
Good measuring here saves you from a cage door that doesn't close flush or panels that gap at the joints. Set aside an hour just for planning and cutting layout before any assembly starts.
- Tape measure and a steel ruler (minimum 24 inches)
- Marking pen or chalk for mesh and frame
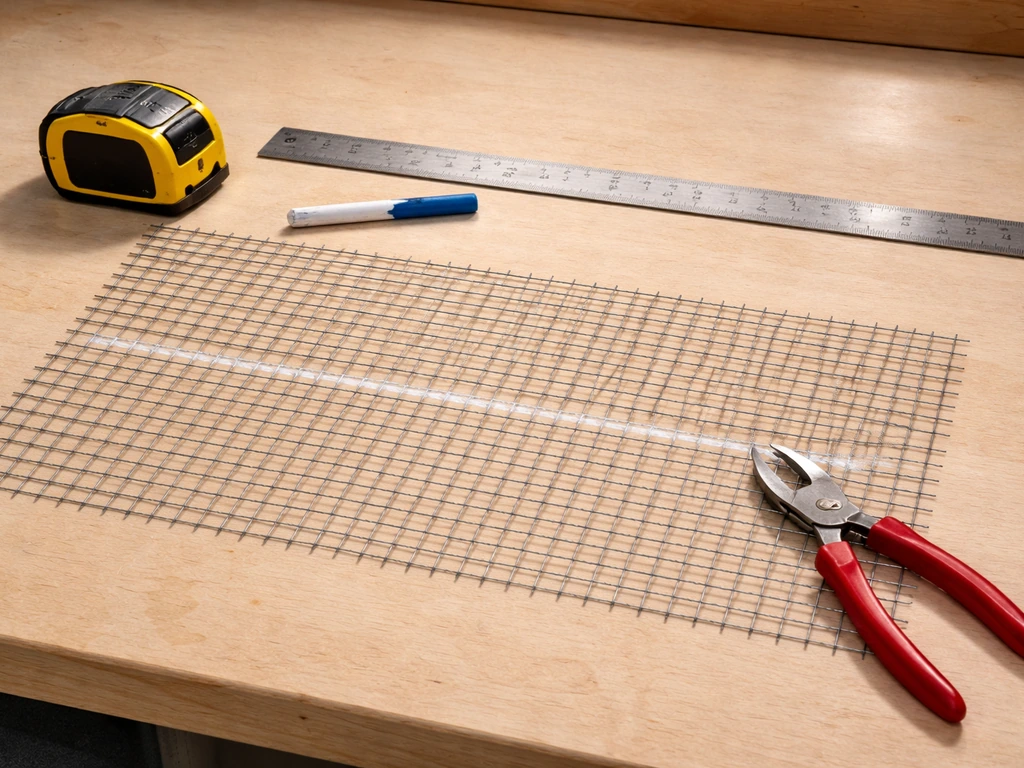
- Wire cutters or aviation snips (for cutting mesh panels)
- Angle grinder or metal file (for smoothing cut wire ends — this is non-negotiable)
- Power drill with bits matched to your frame material
- Clamps (at least 4, for holding frame corners during assembly)
- Square (to check 90-degree corners)
- Saw suited to your frame material: miter saw for wood, hacksaw or angle grinder for metal tubing
- Workbench or flat surface large enough to lay panels flat
Sketch the cage on paper first. Label every panel (front, back, left side, right side, top, bottom) with its exact dimensions. Mark the door cutout on the front panel before cutting mesh. A door sized around 5 × 7 inches works for most small birds while still being large enough for your hand. Confirm your mesh roll's grid aligns with your bar-spacing spec, then cut panels one at a time and file every edge before setting it down.
Building the cage: frame, bars, door, and base
Step 1: Build the frame
Cut your frame pieces to length and assemble the box skeleton first. If you're using square wood, glue and screw the corners with two screws each at 90 degrees and clamp until dry. If you're using square metal tubing, bolt or weld the corners. Check square at every corner with your square before the adhesive or weld sets, a twisted frame means every subsequent step fights you. Let a wood frame cure at least overnight.
Step 2: Attach the wire mesh panels
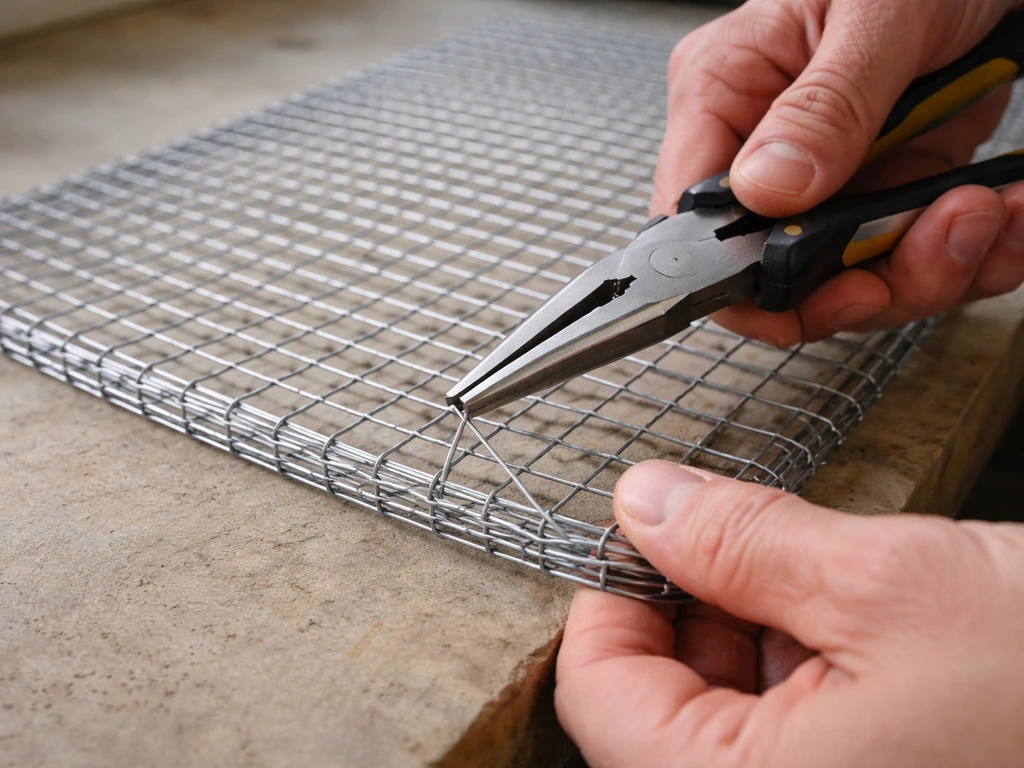
Cut each mesh panel slightly oversized (about 0.5 inch on each edge), then fold that edge back on itself with pliers to create a double-wire border. This gives you a safer, stiffer edge to fasten against the frame. Attach panels using stainless steel self-tapping screws with washers at every 3 to 4 inches around the perimeter of each panel. The washer spreads the clamping load and prevents the wire from being pulled through under stress. Run your finger along every edge after fastening to check for sharp wire points sticking out into the bird's space. File down anything you find.
Step 3: Make the door
Cut the door opening in the front mesh panel before attaching that panel to the frame. Use a piece of the same mesh to make the door itself, folding the edges back the same way. Hinge the door at one vertical side using two stainless steel hinges recessed so no hinge pin protrudes into the interior. On the opposite edge, install a bird-proof latch: a carabiner-style spring-snap or a slide-bolt with a secondary clip both work well. A single simple latch is not enough for clever birds like lovebirds or conures. Layer two latch types. Test by trying to push the door open from inside the cage with a finger, if you can, the bird can.
Step 4: Attach the base and slide-out tray
The base has two layers: the structural floor of the cage (a solid panel of mesh or a thin plywood sheet with ventilation holes) and a pull-out liner tray that sits below it. The grated floor layer keeps the bird from standing in droppings; the tray below holds the liner and slides out for daily cleaning without disturbing the bird. Build or source a tray that fits the interior footprint snugly but slides out with one hand. Line the tray with plain unprinted paper or newsprint. Petco's cage hygiene guide recommends replacing liners daily, which the slide-out tray design makes practical rather than annoying.
Ventilation, latches, and safety checks before the bird goes in
Do a full safety review before the cage is occupied. This takes about 15 minutes and it can prevent a serious injury.
- Run both hands slowly over every interior surface. Feel for sharp wire ends, protruding screw tips, or rough weld points. File and smooth anything you find.
- Check bar spacing with a physical template cut to your target measurement. Slide it across every section of every panel — gaps can vary in homemade mesh builds.
- Test the door latch five times from both inside and outside. Try to mimic how a bird would push, pull, or pry. Add a second latch if there's any give.
- Shake the completed cage while it sits on its intended surface. It should not rock or tip. If it does, add rubber feet or a weighted base.
- Check airflow: mesh on at least three sides (ideally four, minus any solid back panel) provides adequate ventilation. If you used a solid back panel for insulation or placement against a wall, make sure the other three sides are fully open mesh. The USDA APHIS inspection guidance specifically flags evaluating ventilation for bird comfort.
- Look down at the cage from above and confirm no mesh overlaps create a gap wider than your target bar spacing anywhere, especially at panel joints.
- Confirm the pull-out tray sits flush with no gap the bird could drop into or get a toe caught in.
One thing worth repeating: never use galvanized hardware anywhere inside or in contact with the cage interior. Even if you've used safe mesh, a single galvanized bolt or clip inside the cage is a zinc poisoning risk. Go through the finished cage with this specifically in mind.
Finishing touches: perches, feeders, liners, and placement
Perches
Install at least two perches at different heights. For budgies and similarly sized birds, use natural wood dowels at least 4 inches long and about 3/8 inch in diameter (SpectrumCare's perch guide gives this as a practical minimum). Vary the diameter slightly between perches to exercise the bird's feet. Position perches so they don't block wing-flapping space, and critically, don't place any perch directly above a food or water bowl. Droppings landing in food and water is a hygiene problem that leads to bacterial contamination fast. The RSPCA guidance emphasizes that the bird must be able to perch normally with its tail clear of the floor, check this with your tallest perch at the lowest position.
Feeders and water
Use clip-on or hook-on food and water cups attached to the wire panels, positioned below perch level but not directly under them. Stainless steel cups are easiest to sanitize. Plastic cups are fine but check them regularly for cracks, which harbor bacteria. Place food and water on opposite sides of the cage so the bird has to move between them, which adds environmental enrichment.
Liner and mess control
Line the slide-out tray with plain paper. Change it daily. Skip the sandpaper liners sold in pet stores: VCA Animal Hospitals warns these create ingestion risk as birds pick off the sand coating, potentially causing GI obstruction. Plain newsprint or unprinted paper towels are the safest and cheapest option.
Placement
Place the cage at eye level or just below, against a wall for back security, away from exterior windows (temperature drafts), cooking areas (PTFE fumes from non-stick cookware are lethal at small concentrations), and air vents. The cage should be in a room where the family spends time so the bird is socially stimulated, but not in a high-traffic, high-noise room that prevents proper rest.
Covers, seasonal protection, and ongoing maintenance
Using a cage cover
A breathable cover at night helps regulate the bird's sleep cycle by blocking light and reducing noise. Use a loosely woven or vented cover, not a solid blanket. The Georgia Aviary flags a real risk here: covers that block airflow can create dangerously stale or humid air inside the cage overnight. Check that the cover you use allows air to move freely. A simple fitted cover made from cotton muslin or a breathable cage-specific fabric works well. Never drape a heavy blanket fully over all four sides.
Seasonal and temperature protection
In cold months, move the cage away from exterior walls and windows. In summer, keep it out of direct sun. The USDA APHIS welfare guidance specifically mentions assessing comfort with respect to temperature changes and drafts as an inspection criterion, which is a useful frame for thinking about your own cage placement through the seasons. If the room temperature drops below about 65°F at night, consider a small ceramic space heater on the other side of the room (never directly pointed at the cage).
Cleaning routine
Purdue University's caged bird husbandry guidance recommends removing all organic debris first, then sanitizing with a mild soap-and-water wash, followed by a diluted bleach rinse (roughly 1 part bleach to 30 parts water) on surfaces that need disinfecting. Rinse thoroughly and allow to fully air dry before the bird goes back in. Daily: swap the liner tray paper. Weekly: scrub perches, wipe down the cage wire and frame, and clean food and water cups. Monthly: do a full deep clean of all surfaces including the tray and base.
Troubleshooting common problems
- Door won't close flush: the frame has racked out of square. Loosen the mesh fasteners on the front panel, re-square the frame with clamps, and re-fasten. Don't force the door closed repeatedly.
- Bird escaping or forcing the latch: add a second latch type. Carabiner clips are difficult for most small birds to open; pairing one with a slide-bolt adds redundancy.
- Mites or pests in the cage: remove the bird, strip the cage completely, scrub with soap and water, apply a bird-safe mite spray per product directions, then do a full bleach rinse and dry thoroughly before re-introducing the bird. Check bedding sources if mites recur.
- Rust spots appearing on wire: this indicates the coating is compromised or the wire was not truly stainless. Replace affected panels. Rust particles are an ingestion hazard and a sign zinc may be present.
- Excessive mess outside the cage: add a seed catcher skirt (a simple fabric band around the lower exterior perimeter) to contain debris without blocking airflow.
- Bird chewing the frame: switch to metal framing, or wrap exposed wood in stainless mesh. Some species like lovebirds are persistent chewers, and wood frames may not be practical long-term for them.
If you're building for lovebirds specifically, the sizing and latch requirements are particularly demanding given how active and determined they are, that topic goes into more detail than this general guide can cover here. For step-by-step instructions tailored to lovebirds, see how to make a bird cage for lovebirds building for lovebirds specifically. Similarly, if you're working with recycled or repurposed materials, the safety vetting process for coatings and metals takes extra attention. If you're wondering how to make a bird cage from recycled materials, focus on vetting any coatings, metals, and fasteners before you assemble anything. And if you've ever considered converting an existing piece of furniture, like a hutch, into an enclosure, the structural and ventilation approach is quite different from a ground-up cage build.
Your next steps: measure your intended cage location to confirm you have room for the minimum 20 × 20 × 30-inch interior, confirm your bird's species bar-spacing requirement from the table above, order stainless welded mesh in that spacing, and gather your frame material. The actual build time for someone working alone is about 4 to 6 hours spread over a weekend. Run all the safety checks before the bird goes in, and you'll have a cage that's safer and more customized than most commercial small-bird cages in that price range.
FAQ
Can I make a smaller cage than 20 × 20 × 30 inches if I only have one small bird?
Yes, but only if the resulting bar spacing and interior dimensions still match your bird’s needs. When you scale down, the most common failure is leaving a too-tight head gap or a door that creates a pinch point, even if the overall cage looks similar.
How do I verify bar spacing is still correct after I fold double-wire edges and build the door?
Re-check the bar spacing after cutting, because bending the mesh and doubling the borders can slightly shift the effective gap. Also confirm the door uses the same wire spacing as the rest of the front panel, not a leftover scrap with different dimensions.
What should I watch for when selecting perches for comfort and hygiene?
Choose perches with rounded surfaces and no rough seams, and make sure the ends of any dowels are sealed or sanded so fibers do not snag toenails. If you use wood, avoid treated or painted dowels, and don’t place the perch directly above a cup so droppings can miss the food and water.
Is one latch enough if the cage door feels secure when I close it?
Don’t rely on a latch that only pulls closed. For clever birds, use a primary latch plus a secondary restraint (for example, a spring snap plus a slide-bolt with a backup clip), and then test with your finger from inside as well as from the outside.
Can I hinge the door any side I want, or does door alignment matter?
If you want a front-opening door, keep the hinges recessed and align the door so it closes flush against the doubled wire border. The most common issue is a small gap that forms when the frame is slightly out of square, which then becomes an escape path.
Is it ever safe to keep the bird cage in the kitchen if I run the exhaust fan?
If you place the cage where you cook, avoid even “momentary” exposure to nonstick fumes, because birds are sensitive at very low concentrations. Consider relocating the cage or using the stove in another room, since a cardboard or plastic cover will not protect against PTFE exposure.
Can I line the pull-out tray with sandpaper liners or scented liners to make cleaning easier?
For cleaning, skip abrasive liners that have sandpaper texture, and avoid any scented or coated papers near the tray. Stick to plain unprinted newsprint or paper towels, and replace daily because moisture and droppings break down paper quickly.
What’s the safest way to reduce smell from the cage if daily liner changes are not enough?
If odor is the issue, don’t “mask” it with air fresheners, essential oils, or sprays. Clean on schedule, rinse thoroughly after bleach, and let everything fully air dry, then ventilate the room before returning the bird.
If my mesh is stainless, do I still need to worry about galvanized screws or clips?
Mixing metals is a hidden risk. Even if the main wire is stainless, a single galvanized fastener on an interior edge can create zinc exposure, so do a full hardware check after assembly, including screw heads and door hardware.
Can I cover the cage with any blanket to help the bird sleep?
Yes, but airflow matters. Use a breathable, fitted cover that allows air exchange, and ensure it does not sag into the cage overnight. After putting it on, check for any trapped humid areas by feeling for condensation on the cover.
How should I handle temperature drops at night in winter without overheating the cage?
At night, consider how drafts and temperature swings feel to you at bird level, not just the room thermostat. If it drops below about 65°F, use a ceramic heater positioned in another part of the room, and keep heat away from exterior walls and windows.
What’s the safest process for using recycled wire or hardware when building a cage?
Yes, but pre-sanitize and then spot-test. For recycled parts, the critical step is verifying there is no PTFE coating, unknown metal plating, or residue from prior uses, then do a full wipe and rinse and allow full air drying before the bird is exposed.
How do I plan cage placement in a room where space is tight but I still want correct wing-stretch room?
You generally can’t rely on guesswork. Measure your planned room location, confirm the cage clears doors and walls, and then confirm the cage still has enough space for the bird to fully stretch wings without touching any side.
Next Articles
How to Make a Bird Cage for Lovebirds DIY Guide
Step-by-step guide to build a safe, lovebird-sized bird cage with correct wire spacing, layout, and easy cleaning.
How to Make a Temporary Bird Cage Step by Step
Step-by-step DIY guide to build a safe temporary bird cage now, with sizing, bar spacing, materials, and safety checks.
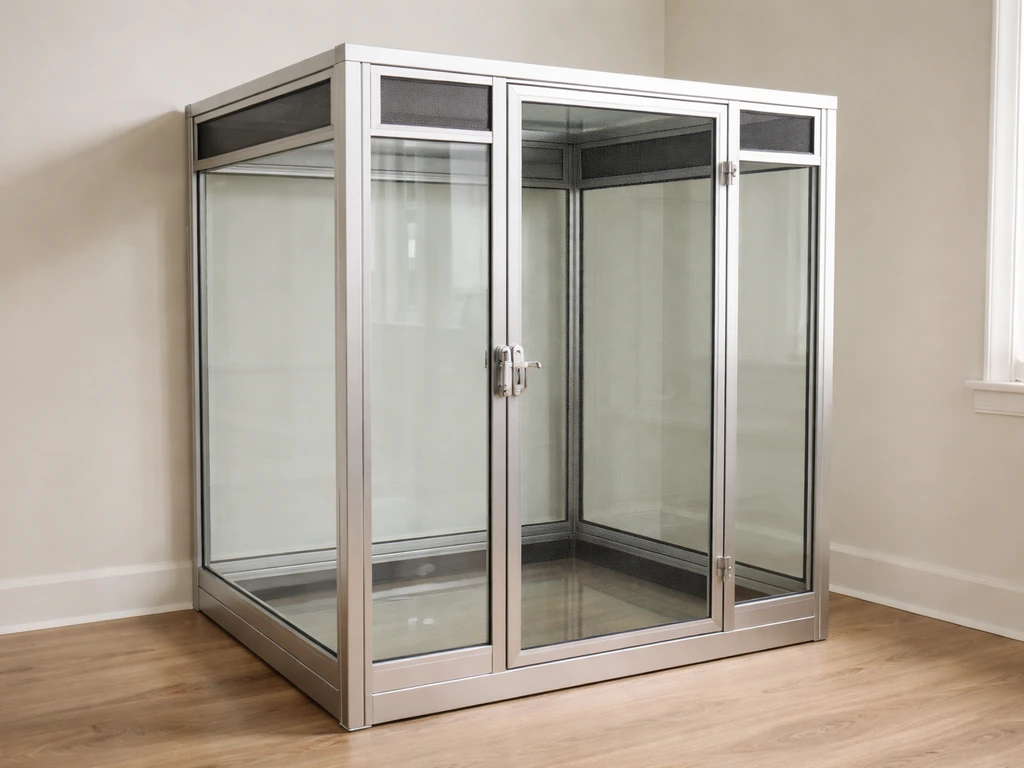
How to Make a Glass Bird Cage: Step-by-Step DIY Guide
Step-by-step DIY for a safe glass bird enclosure: materials, escape-proof design, ventilation, assembly, and maintenance