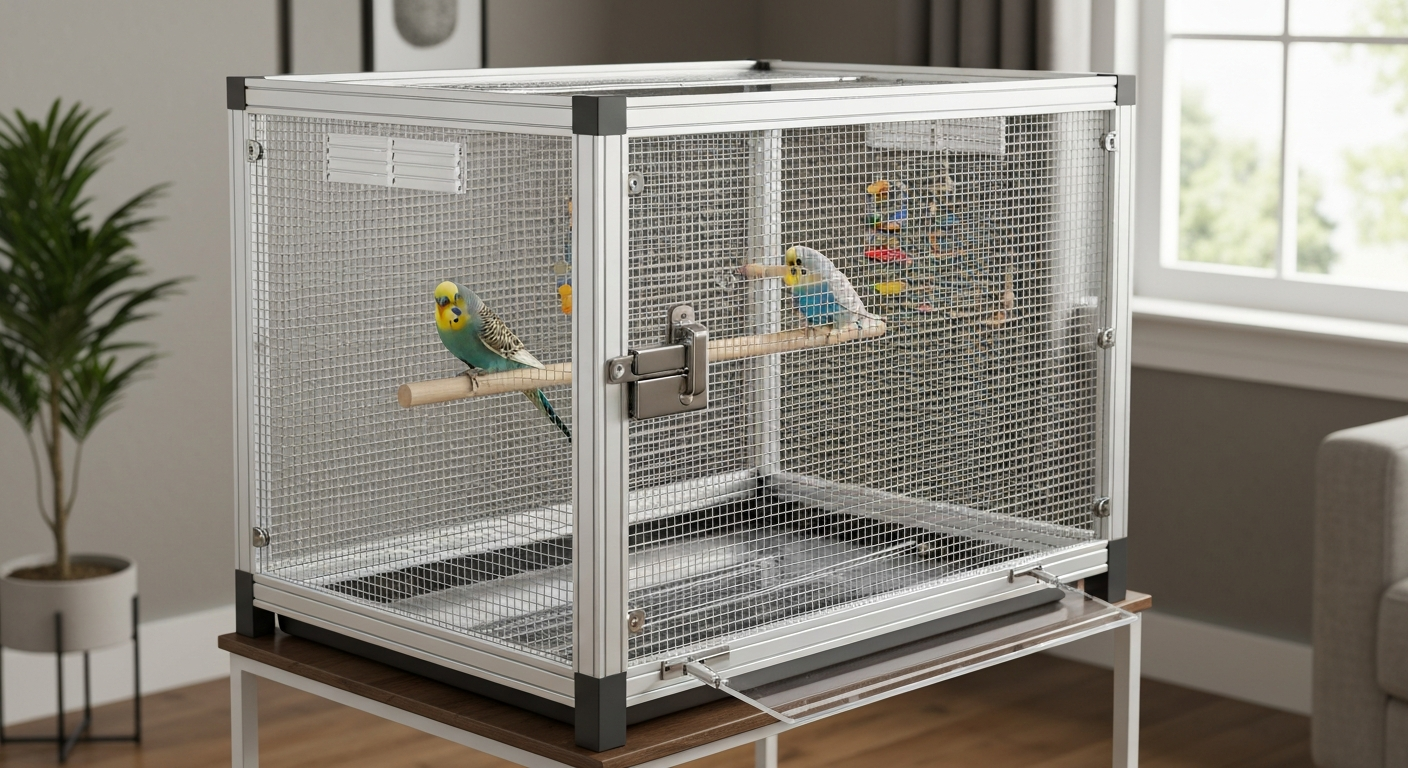
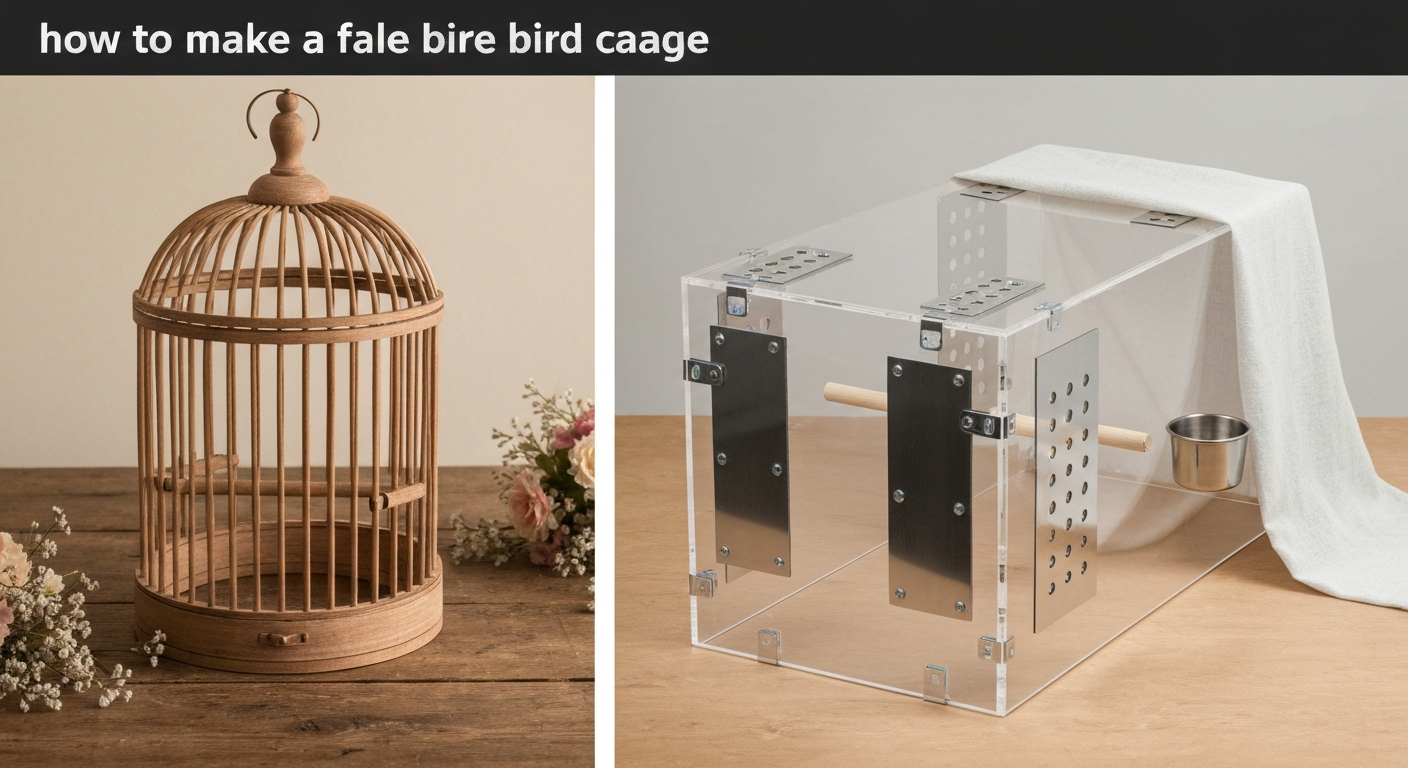
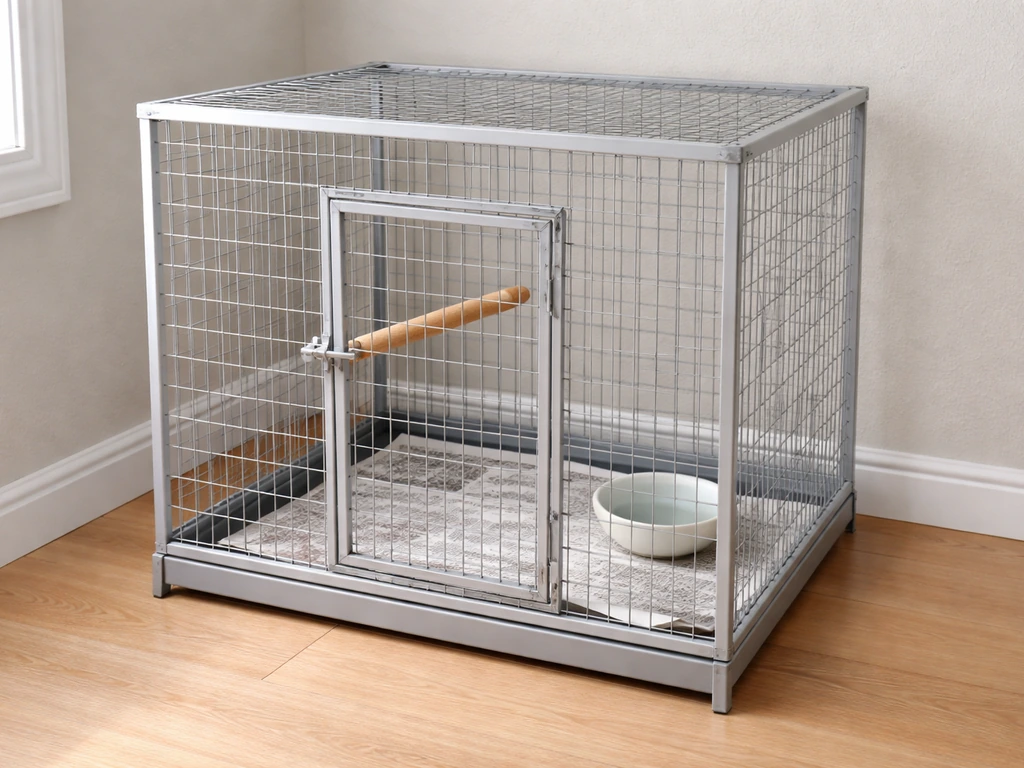
You can build a safe DIY lovebird cage using a welded wire panel frame, a powder-coated or stainless steel mesh with no more than 1/2-inch bar spacing, and a minimum footprint of 20 x 20 inches (30 inches tall), though 24 x 24 x 36 inches gives a pair of lovebirds real room to move. The key risks to solve are wire toxicity, sharp cut edges, gaps they can squeeze through, and latches they can pop open. Get those four things right and everything else is customization.
How to Make a Bird Cage for Lovebirds DIY Guide

Maya Bennett
29 May 2026
Choosing dimensions and layout for lovebirds
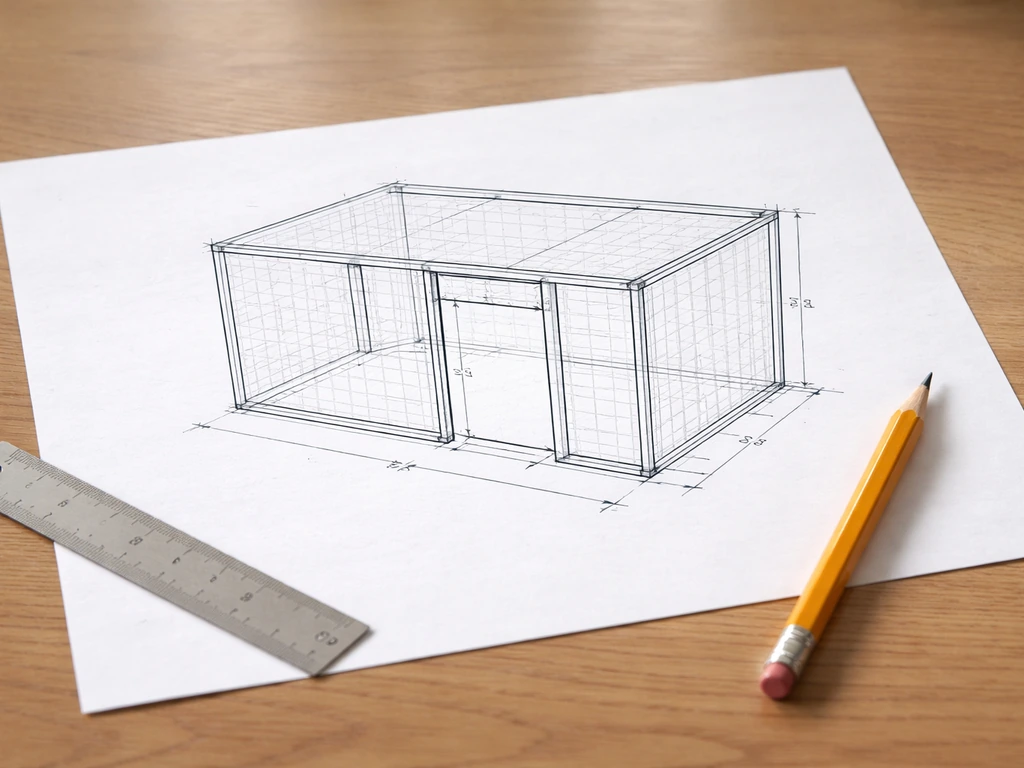
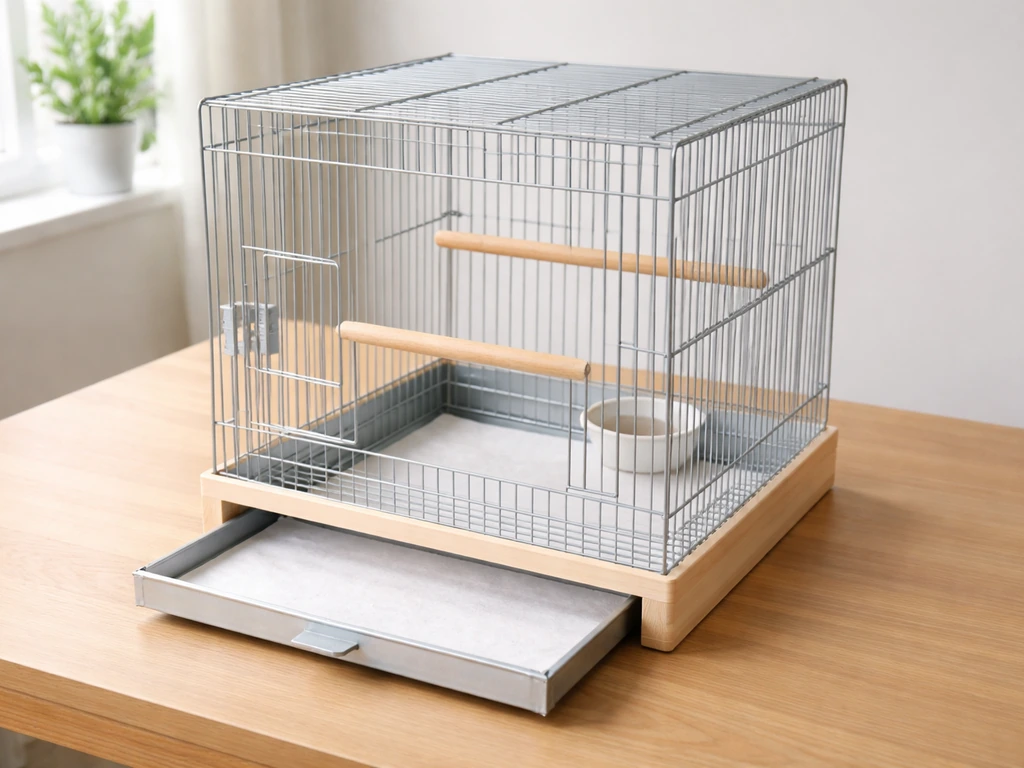
The Merck Veterinary Manual sets the absolute minimum cage size for a lovebird at 20 x 20 x 30 inches. That's the floor, not the goal. If you're building from scratch, aim for at least 24 x 24 x 36 inches, which gives a pair of birds comfortable flying room and enough wall space to include horizontal bars on two sides for climbing. Lovebirds are active, curious, and stocky little parrots, so width and length matter more than raw height. A long, low cage beats a tall narrow one every time.
Plan your layout before you cut anything. Sketch out where the main door will sit (front-center, roughly at your own chest height when the cage is on a stand), where a smaller feed-access door will go, and where the removable tray slides in at the bottom. Leave at least 3 inches of clearance between the lowest perch and the tray so droppings fall freely without the birds standing in waste. Mark horizontal bar zones on two side panels to encourage climbing. If you want to later expand or connect a second cage, design the front door frame wide enough to accommodate a tunnel connector.
Selecting safe materials, wire gauge, and hardware
Wire choice is the most important safety decision in this whole build. Galvanized steel wire is cheap and widely available, but it's a real risk for lovebirds. Paint flakes on galvanized wire can contain zinc from the galvanizing process underneath, and birds that chew cage bars (which lovebirds absolutely do) can ingest enough zinc to cause serious illness.
If galvanized wire is all you have access to, scrub it thoroughly with a dilute vinegar solution and rinse completely before use, watch closely for any white rust or flaking, and replace panels at the first sign of either. The better options are stainless steel wire mesh (304 grade, the best choice) or welded wire panels with a TGIC-free, lead-free, zinc-free powder coat applied over bare steel.
HARI notes that welded wire used in aviaries can be a significant zinc exposure source for birds, and discusses how coating choices can affect possible exposure pathways. Avoid any wire with a non-stick or Teflon-style coating: PTFE fumes are lethal to birds even at low concentrations.
For wire gauge, 16-gauge welded wire is the minimum for a lovebird cage. Lovebirds chew aggressively and can work through thinner wire over time. Bar spacing must be no more than 1/2 inch (0.5 inches). Petco's care guidelines go tighter, recommending 3/8 inch to be completely sure heads and limbs can't get caught. If you're buying pre-cut welded wire panels, 1/2-inch spacing is the practical standard and widely available. Do not use chicken wire: the hexagonal openings are the wrong shape and the gauge is too light.
| Material | Pros | Cons | Verdict |
|---|---|---|---|
| 304 Stainless Steel Mesh | Non-toxic, rust-proof, easy to sanitize, lasts decades | More expensive, harder to cut cleanly | Best choice |
| Powder-Coated Welded Wire (TGIC-free, zinc-free) | Affordable, attractive, widely available | Coating can chip if birds chew hard; inspect regularly | Good choice if coating is verified safe |
| Galvanized Welded Wire | Cheapest, most available | Zinc toxicity risk from flaking; requires prep and ongoing inspection | Use only as last resort |
| Chicken Wire | Cheap | Wrong spacing, too light gauge, not chew-resistant | Avoid entirely |
For hardware, use stainless steel or zinc-free galvanized J-clips or hog rings to join wire panels. All screws, bolts, and hinges should be stainless steel or nickel-plated. Skip brass hardware: it can contain lead. For the frame itself, powder-coated or painted steel square tube (1 x 1 inch) works well, as does untreated hardwood lumber if you seal it with a bird-safe finish. Do not use pressure-treated lumber or MDF anywhere inside the cage.
Tools, parts list, and planning your build steps
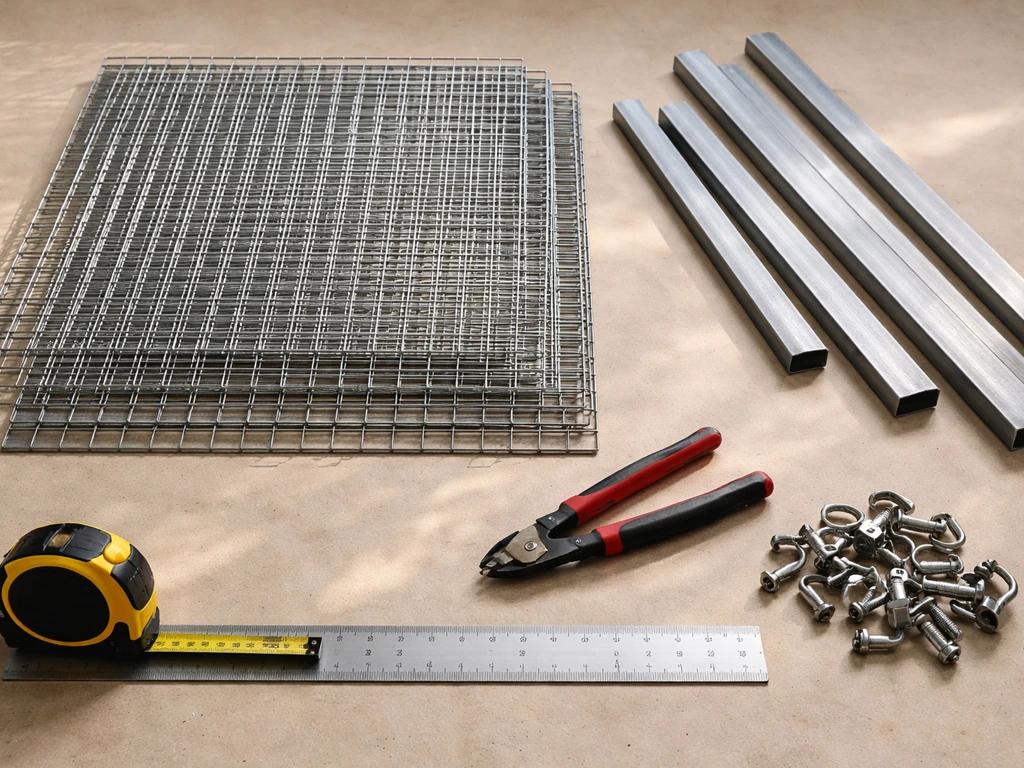
Before you start cutting, lay everything out and double-check measurements. A cage that's 1/2 inch off on one panel will gap at the corners and create an escape route. Here's what you'll need:
- Welded wire mesh panels (1/2-inch or 3/8-inch spacing, 16-gauge minimum): enough for 4 sides, top, and a separate floor grate
- Steel square tubing or hardwood lumber for the frame
- J-clip pliers and a bag of stainless steel J-clips (or hog ring pliers and rings)
- Wire cutters (aviation snips work best for clean edges)
- Metal file or angle grinder with a flap disc (for smoothing cut edges)
- Tape measure, carpenter's square, and marker
- Drill with metal or wood bits
- Stainless steel screws and bolts
- 2 hinges per door (stainless steel)
- 2 to 3 cage latches (spring-loaded or locking; lovebirds are smart enough to open simple hook latches)
- Slide-out tray (galvanized steel sheet or a plastic tray cut to size, at least 2 inches deep)
- Grate for above the tray (welded wire, 1/2-inch spacing, or a pre-made cage grate)
- Cage feet or a separate stand
Plan your build in this order: cut and prepare the frame, cut and file all wire panels, attach panels to the frame, install the floor grate and tray system, hang doors and latches, then add perches and accessories. Doing it in sequence prevents the frustrating situation of having to disassemble finished sections to fit a part you forgot. Cut all your wire panels first, file every single cut edge immediately before moving on, and stage your J-clips in small cups by panel so you're not hunting for hardware mid-build.
Building the frame and installing the wire safely
Start by building the four corner posts and connecting them with horizontal rails at the top and bottom using your square tubing or lumber. For a 24 x 24 x 36-inch cage, cut four 36-inch vertical posts and four 24-inch horizontal rails for top and bottom rectangles, then connect them into a box frame. Check for square at every corner using your carpenter's square before tightening fasteners. A twisted frame is the number-one cause of panel gaps and door alignment problems.
Cut your wire panels about 1/2 inch larger than each opening on all sides so you have material to fold or clip over the frame edge. This overlap is important: it covers the cut wire ends and prevents them from poking inward. After cutting, use your metal file or flap disc to smooth every single cut wire end. Run your bare hand slowly across every edge before installing a panel. If you feel any sharpness, file it again. Lovebirds climb their cage bars constantly and a sharp edge at beak height will injure them.
Attach panels using J-clips or hog rings every 2 to 3 inches along each edge where panels meet or where wire overlaps the frame. More clips mean a more rigid panel that won't bow or gap. If you're building a larger cage (closer to 36 inches tall), add a horizontal mid-rail at roughly the 18-inch height to prevent the side panels from bowing outward under their own weight. Once all panels are installed, grab each one and push inward firmly. Nothing should flex more than about 1/4 inch. If a panel moves noticeably, add more clips or a mid-rail brace.
Doors, latches, perches, feeders, and accessories
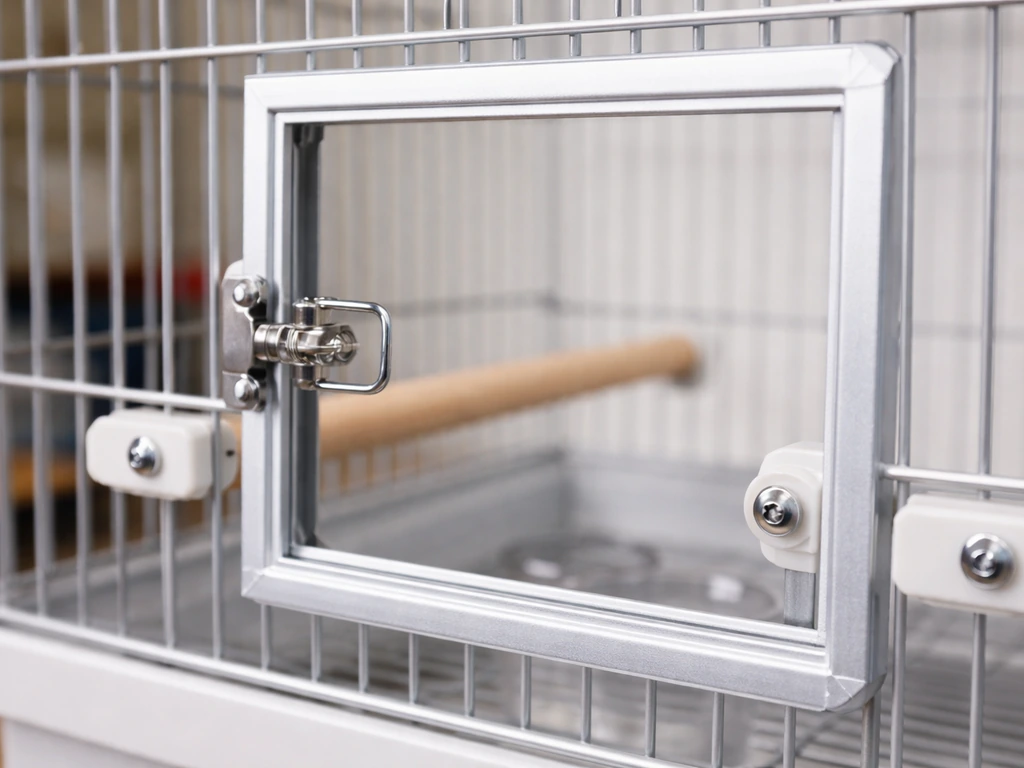
Cut your main door opening before attaching the front panel to the frame, not after. A 10 x 12-inch door is a practical size for a lovebird cage: wide enough to get your hand in comfortably and small enough that the birds can't easily fly straight through when you open it. Frame the door opening with a thin strip of the same square tubing, then build the door itself as a small wire-panel frame using the same wire mesh and attach it with two hinges. Mount the hinges at the top or side (side-hinged is easier to manage one-handed).
Latch choice matters more than most first-time builders expect. Lovebirds are smart and persistent, and a simple hook-and-eye latch can be worked open in minutes. Use a spring-loaded carabiner-style clip or a two-step latch that requires pressing and lifting simultaneously. Install at least two latches per door, one near the top and one near the bottom. Add a second small feed-access door on the front panel (about 4 x 4 inches, positioned at feeder height) so you can swap food and water without opening the main door and risking an escape.
For perches, use natural hardwood branches where possible (apple, willow, and manzanita are all safe and popular choices). Petco recommends a perch diameter of around 1/2 inch for lovebirds, and varying the diameter between perches is actually better for foot health because different grip positions prevent pressure sores. Mount at least three perches at different heights, angled slightly so they don't sit directly over food or water dishes.
Keep the highest perch several inches below the cage ceiling so the birds don't feel cramped. Add two stainless steel cup-style feeders clipped to the bars (one for food, one for water) at a mid-height position, plus a third cup for fresh food if you offer fruits and vegetables regularly. Avoid plastic cups if your birds chew aggressively; stainless is safer and easier to sanitize.
Cleaning, tray design, and mess/pest prevention
The tray system is what makes a DIY cage genuinely livable long-term. Design it as a pull-out drawer that slides in from the front or back on a pair of low-friction metal runners (simple drawer slides work fine). The tray itself should be at least 2 inches deep to contain scattered seed and droppings, and wide enough to cover the full floor footprint of the cage with no gaps at the edges. Above the tray, install a separate floor grate made from the same welded wire mesh so the birds stand on the grate and waste falls through to the tray below. The grate should lock in place so birds can't dislodge it, but lift out easily for cleaning.
Line the tray with plain unprinted paper (newspaper works, but the blank end rolls from hardware stores are even better) and replace the liner daily. This takes about 30 seconds and is the single biggest thing you can do for hygiene and pest prevention. Damp seed and droppings sitting for more than a day attract fruit flies and mites almost immediately.
Do a full tray wash with hot water and a bird-safe disinfectant (dilute white vinegar or a purpose-made avian cage cleaner) at least once a week. Birdnet’s cage-cleaning guidelines recommend cleaning trays as often as necessary to maintain hygiene and using material-appropriate cleaning practices, consulting safety information when needed.
Never use aerosol cleaners, bleach sprays, or products containing PTFE near the birds. Wipe down the bar surfaces and the inside corners every few days using a damp cloth.
For pest prevention, keep the area under and around the cage clear of spilled seed. A cage skirt (a simple fabric or plastic tray extender that mounts outside the lower bars) catches seed hulls and feather dust before they hit the floor and makes cleanup far faster. Check the tray runners and the gap between tray and cage floor every week: if seed or debris is building up in that channel, pests will find it. A tight-fitting tray that interlocks with the cage base (rather than just sitting loosely inside) prevents that gap from becoming a problem.
Placement, seasonal covers, and final safety checks
Place the finished cage off the floor, ideally at chest height on a dedicated stand or cabinet. Oregon Humane's guidance is specific and worth following: put the cage in a warm, bright area away from drafts and direct sunlight, and keep it out of the kitchen entirely. Cooking fumes including PTFE from non-stick pans can be lethal to birds at temperatures above 400°F, and even general cooking smoke and aerosols are hard on their respiratory systems. A living room or bedroom corner with good natural light but no direct sun on the cage for more than a couple of hours is ideal.
For seasonal protection, make or buy a breathable cotton cage cover sized to drop over the whole structure. A cover does two things: it signals sleep time (lovebirds need 10 to 12 hours of darkness), and it protects the cage from cold drafts in winter without blocking airflow. Never use plastic sheeting as a cage cover. Sew a simple rectangular cover from unbleached cotton with a loose hem at the bottom, leaving one front panel open to a slit so you can check on the birds without fully uncovering them. In winter, move the cage slightly further from exterior walls and windows.
Run through these safety checks before the birds go in: pull firmly on every wire panel to check for movement, open and close every door and latch ten times to confirm nothing sticks or pops open under pressure, run your fingers along every interior edge hunting for sharp wire ends, check that bar spacing is consistent and no opening is wider than 1/2 inch anywhere (pay special attention to corners where panels join), confirm the tray slides fully in and out without gaps, and look for any exposed screws or bolt ends inside the cage interior that a bird could catch a toe on. Cap any protruding bolt ends with nylon locking nuts or a small dab of bird-safe sealant.
Troubleshooting common build problems
| Problem | Likely Cause | Fix |
|---|---|---|
| Cage wobbles on stand | Frame corners not square, or uneven floor | Re-check frame with carpenter's square; add corner gussets; use adjustable feet |
| Wire panel bows outward | Too few clips, no mid-rail support | Add J-clips every 2 inches along edges; add horizontal mid-rail brace |
| Bird pushes door open | Latch not secure enough | Replace with two-step or carabiner-style latches; add a second latch |
| Corrosion spots appearing | Moisture trapped, or galvanized wire starting to rust | Remove rust with white vinegar; replace panel if white rust appears; ensure cage dries fully after cleaning |
| Tray hard to slide out | Debris in tray runners, or tray warped | Clean runners weekly; flatten or replace tray |
| Bar spacing inconsistent at corners | Wire folded unevenly at joins | Re-clip corner joins; check spacing with a 1/2-inch dowel as a go/no-go gauge |
What to do after the build
Once you've passed all the safety checks, wipe down all interior surfaces with plain water and let the cage air out for 24 hours before introducing the birds. If you need a smaller build, use this guide as a baseline for how to make a small bird cage that still stays escape-proof and chew-safe. This clears any residual dust from the build process and gives you a chance to spot anything you missed.
Introduce perches and feeders before the birds go in, so the cage feels furnished and less intimidating. Expect the lovebirds to spend the first hour climbing every surface and testing every bar: that's exactly what you want them to do, because it means you'll find out immediately if there's any weak spot you missed.
If you enjoyed building this cage and want to go further, the same core skills apply to larger projects. If you want a giant bird cage prop instead, you can reuse the same escape-proof layout ideas, materials, and tray-free safety checks at a bigger scale larger projects. Building for a bigger or different space involves different dimensional considerations than what's covered here, whether that's repurposing furniture into a cage structure or scaling up to something more ambitious.
For smaller birds with similar requirements, the same bar-spacing and material rules apply, just in a more compact footprint. The fundamentals of safe wire, escape-proof latches, and easy-clean tray design carry across every DIY cage build. If you're specifically starting with a hutch, the conversion steps focus on removing unsafe hardware, reworking the wire, and making sure the latches are escape-proof DIY cage build.
FAQ
Can I convert an old hutch or cabinet into a lovebird cage?
Yes, but only if the shell stays chew-safe and you can fully rework the access points. Remove any plastic liners, dowel-style downtake perches, and slide-out parts that have gaps the birds can exploit, then replace the unsafe sections with welded wire that meets the same 1/2-inch (or tighter) bar spacing rule, smooth every cut edge, and install latches that require a deliberate two-step action.
What if I find wire with roughly the right spacing, can I still use it?
For lovebirds, avoid any mesh with shaped openings that can trap toes or allow the beak to wedge, even if the overall bar spacing seems close. Use a wire type and spacing you can verify across corners and joints, then run the “bar spacing consistency” check by measuring the narrowest openings at each seam before adding doors and perches.
Is galvanized wire ever acceptable if I scrub it well first?
If you must use galvanized wire temporarily, vinegar scrubbing helps with surface residue, but it does not make it the same as lead-free, zinc-free options. Treat it as “use at your own risk,” monitor for white rust, flaking, or persistent odor, and be ready to replace entire panels if chewing exposes any compromised coating.
Can I paint or coat galvanized wire to make it safe?
Do not rely on interior paint to make unsafe wire safe. Paint over a coating does not stop zinc risk if the underlying wire or coating breaks under chewing, and it can also create sharp edges once it chips. The safer approach is to use stainless or a properly specified zinc-free powder coat system and then smooth every cut edge.
How do I prevent gaps or sharp ends at the corners after folding/overlapping wire?
Cut overlap is important, but it is not enough by itself. You still need to file every cut end, add clips closely spaced (every 2 to 3 inches along seams), and confirm that no panel edge can shift more than about 1/4 inch when you push inward by hand.
How can I be sure the tray system will stay clean and pest-resistant?
Use metal runners and a tray design that interlocks or locks in place so the gap between tray and cage floor cannot collect seed and droppings. After you assemble, slide the tray fully in and out and visually check the channel where debris could accumulate, then clean and test again before birds arrive.
My door latch sometimes sticks slightly, is that a problem?
If a door latch sticks, even occasionally, assume your birds will eventually exploit that moment. Fix alignment, add a second latch, and test by repeatedly opening and closing the door under gentle pushing and pulling pressure from the outside, then re-test after a week of normal use.
What should I do if I have screws or bolt ends that stick inside the cage?
Go for stainless, nickel-plated, or zinc-free galvanized parts, and ensure the screw ends or bolt ends do not protrude inside the cage. If you have protrusions you cannot sand flush, cover them with proper locking nuts and check again after the first week, since wood and frame materials can settle.
Can I use a cage cover at night, and how do I keep it from causing overheating?
Yes, as long as you keep airflow and secure closure. Use a breathable cotton cover that allows you to check the birds without fully removing it, and leave at least one front opening method so you can inspect perches, water, and any floor-area issues without lifting the entire cover repeatedly.
How do I set perch height relative to the tray so birds do not stand in droppings?
Measure from the planned perch level and tray interface, not just from the floor. Keep the space between the lowest perch and tray deep enough that droppings fall away without the birds stepping in waste, and confirm by placing a test perch temporarily and simulating how high the birds sit during typical postures.
If I want a bigger cage later, what parts of the design must stay the same?
Start by matching the cage’s “chew and escape risk” design rules, then scale footprint first (length and width) rather than making it taller. If you expand height, add reinforcement like a mid-rail to prevent panel bowing, and maintain the same bar spacing, smooth-edge, and latch requirements so the larger size does not introduce new weak points.