Most bird cage problems come down to a handful of real physics failures: the cage is top-heavy and tips, a door or latch is racking out of square under load, bar spacing creates leverage that lets a bird force its head through, or poor placement causes heat and moisture to build up dangerously. Once you know which failure mode you're actually dealing with, the fix is usually straightforward. This guide walks you through diagnosing each one, taking the right measurements, and making repairs or reinforcements that are genuinely safe for your bird today. If you are seeing a “vanishing” or collapsed cage, this guide on vanishing bird cage explained will help you pinpoint the likely mechanism quickly.
Bird Cage Problem Physics: Diagnose and Fix Wobble, Latch, Safety

Maya Bennett
19 Jun 2026
What physics is actually showing you in a bird cage
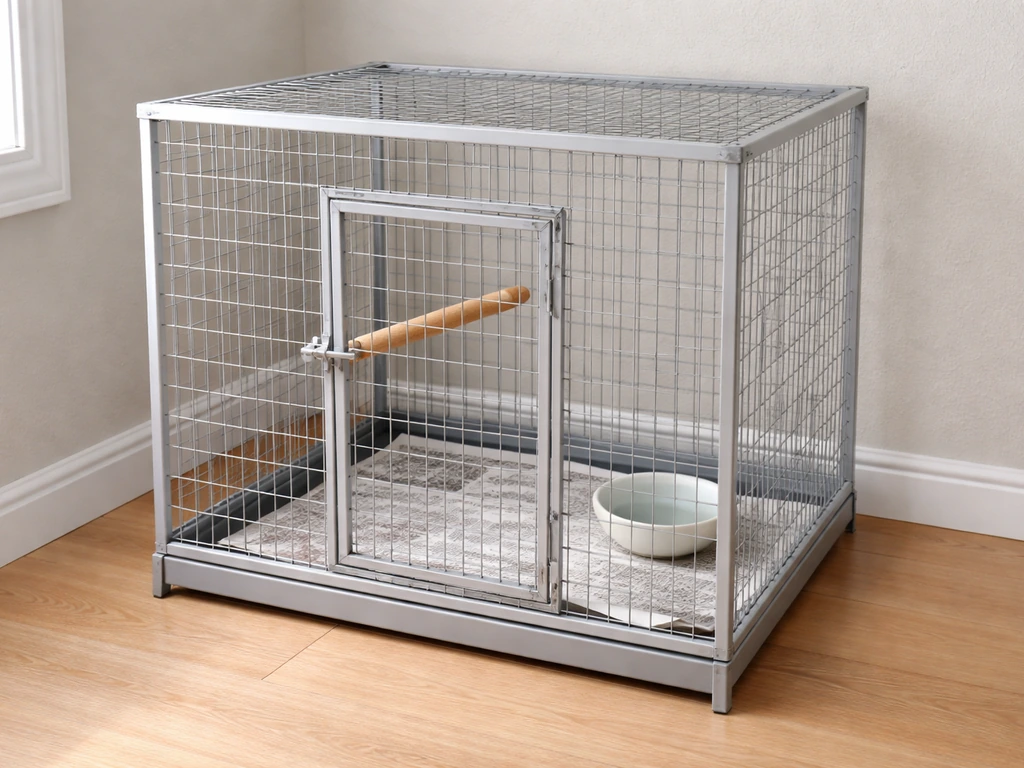
Your cage is a structure under constant, changing load. A medium-sized parrot launching off a perch applies a sudden downward and lateral force. A bird hanging on the side of a cage shifts the center of gravity outward. Heavy food and water dishes cantilevered on one side act as a moment arm, pulling the whole assembly toward a tip. These aren't random events, they're predictable mechanics you can measure and correct.
The four forces you'll run into most often are: gravity (the cage's weight pulling straight down through its center of mass), leverage (a bird or attachment point acting as a lever arm that multiplies force at the base or frame), dynamic load (sudden forces from flapping, landing, or climbing that are much higher than the bird's static weight), and torsion (twisting forces on doors, latches, and bar panels that rack frames out of alignment). Understanding which one is active in your problem tells you exactly where to intervene.
Center of gravity and tipping moment
A cage tips when its center of gravity moves outside the footprint of its base. Tall, narrow cages on small-wheeled stands are the worst offenders. The tipping moment is the horizontal distance from the cage's center of mass to the edge of the base, multiplied by the total weight. Even a 500g bird climbing to the far side of a top-heavy cage on a narrow stand can shift that center of mass past the tipping edge. This is physics you can fix with anchoring, wider bases, and better weight distribution.
Bar spacing and leverage
Bar spacing is a leverage problem with direct welfare consequences. A bird that pushes its head between bars and tries to pull back is now using its neck as a lever against a rigid frame. The narrower the gap relative to head size, the greater the force needed to escape, and the higher the injury risk. [APHIS guidance recommends bar spacing no greater than half an inch for small birds to prevent head entrapment.
](https://downloads. regulations. gov/APHIS-2020-0068-22463/attachment_2. pdf) For cockatiels and similar species, most avian specialists recommend 1/2 inch to 5/8 inch maximum.
For larger parrots, 3/4 inch to 1 inch is acceptable, but the principle is the same: the gap must never be large enough to pass a head but too small to withdraw it easily.
Quick diagnosis: find your exact failure mode first
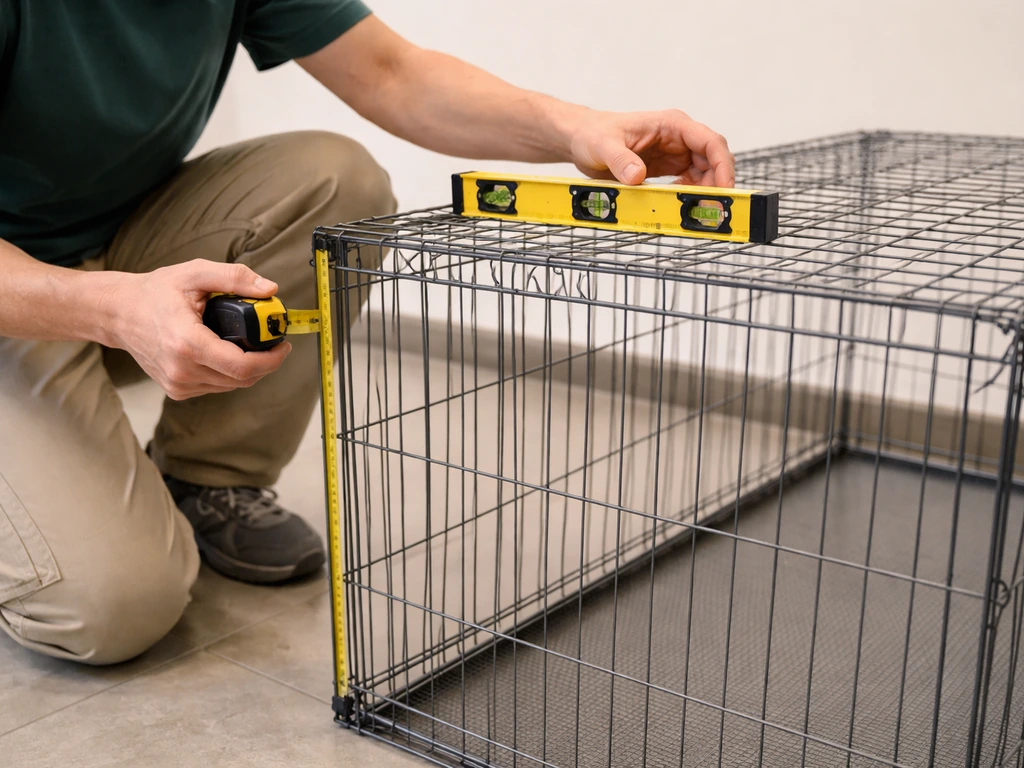
Before you fix anything, spend five minutes actually measuring and documenting the problem. Grab a tape measure, a bubble level, and your phone for photos. Here's how to systematically identify which physics failure you're dealing with.
- Wobble test: With the cage empty, push gently on each of the four upper corners with about 10 lbs of steady pressure. If the cage rocks more than about 1/4 inch at the top, you have a stability problem — either in the stand joints, the cage-to-stand connection, or the floor surface.
- Tipping test: Stand to one side and apply the same 10-lb pressure to the top rail midway along the long side. If you feel the base lift off the floor at all, your tipping moment is too high for the stand footprint.
- Level check: Place a bubble level on the cage floor grate from front to back, then side to side. More than 1/4 inch of drop over the grate width is enough to make water dishes slant, shift a bird's perch footing, and add asymmetric stress to the frame.
- Bar spacing check: Use a tape measure or a set of calipers to check bar spacing at the widest points, including near door frames and at corners where bars may be spread. Also check that your bird's head cannot enter any gap — if you can fit two fingers into a gap that a small bird might approach, measure it carefully against head width.
- Door/latch racking check: Close the door and look at the gap along all four edges. If the gap is uneven (wider at one corner than another), the door frame is racked. Try to wiggle the door laterally — more than 1/8 inch of play means the hinge or latch pin is under shear load every time the door closes.
- Corrosion and coating check: Look for white powdery residue on bars or hardware, which is white rust from galvanized zinc oxidation. Flaking paint, rough or pitted spots on bar surfaces, and discoloration are all flags. Check every clip, spring latch, and connector, not just the bars.
- Ventilation check: With the cage covered or placed near a wall, hold a single piece of tissue at each side of the cage. If it barely moves, airflow is restricted. Note any condensation on cover fabric or nearby walls in the morning.
Stabilizing the cage: base, leveling, anchors, and tipping
Once you've confirmed a stability or tipping problem, work through fixes in this order: level the floor, fix the base, then anchor if needed. Don't skip straight to anchoring, anchoring a cage on an uneven floor or a wobbly stand just transfers stress to the wall fastener and eventually pulls it out.
Leveling the floor surface
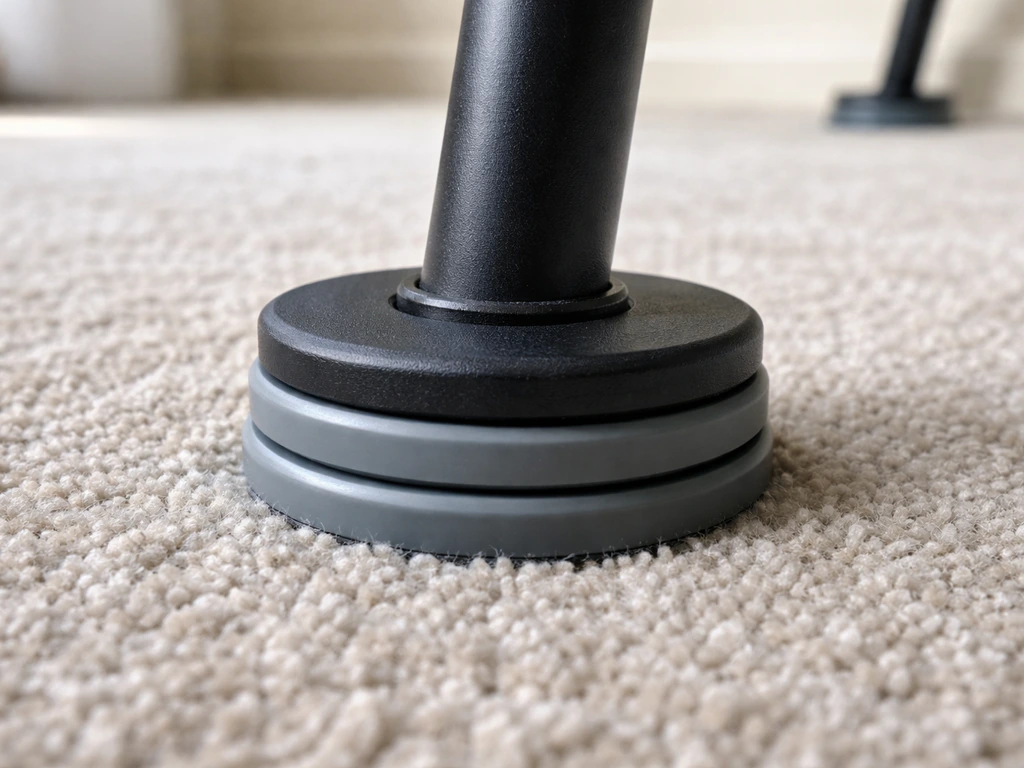
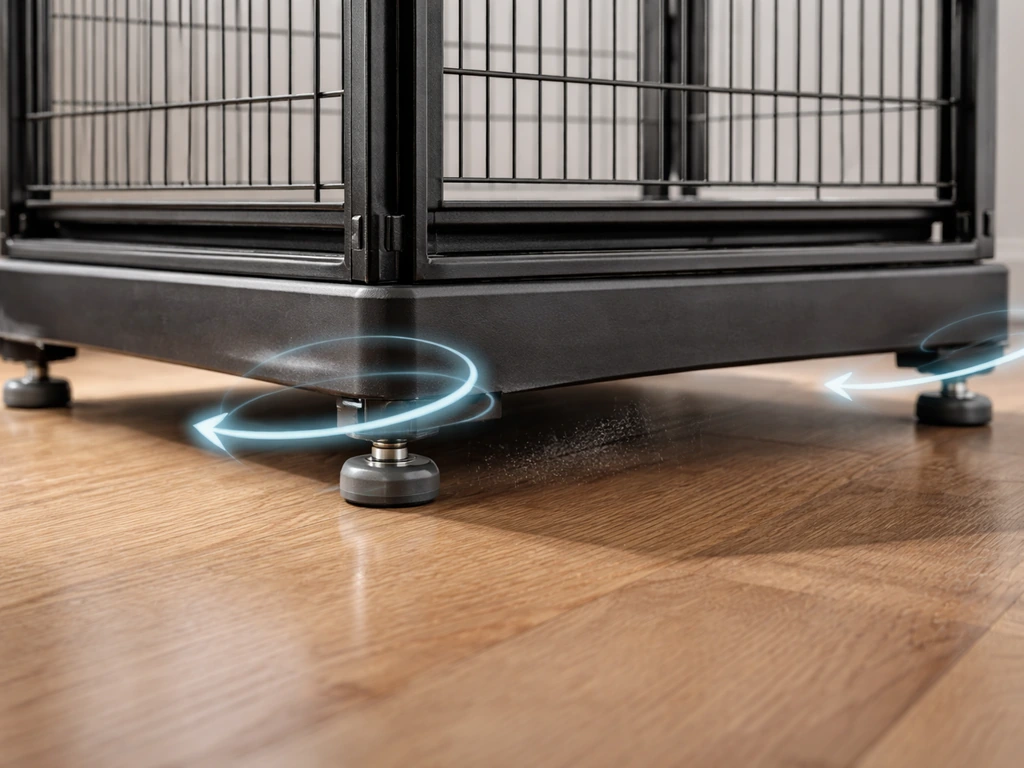
If the cage is on carpet, the stand feet can sink unevenly over time. Rigid furniture coasters (at least 4 inches in diameter, hard plastic or rubber) under each stand leg distribute the load and stop differential sinking. On hard floors, rubber non-slip pads under each foot prevent sliding without adding instability. If your floor itself is out of level by more than 1/4 inch across the stand footprint, use adjustable leveling feet, many stands accept M8 or M10 adjustable glides that you can thread in or out, or shim with hard rubber wedges.
Widening the effective base
The simplest DIY fix for a narrow stand is to bolt a wider base platform to the existing stand feet. A 3/4-inch plywood sheet cut to extend 6 to 8 inches beyond the stand footprint on each side, with the stand feet lagged or bolted through it, moves the tipping edge well outside the cage's center of mass. Sand all edges smooth, seal with a bird-safe finish (more on materials below), and you've turned a tippy stand into a stable one for under $20 in materials.
Wall anchoring
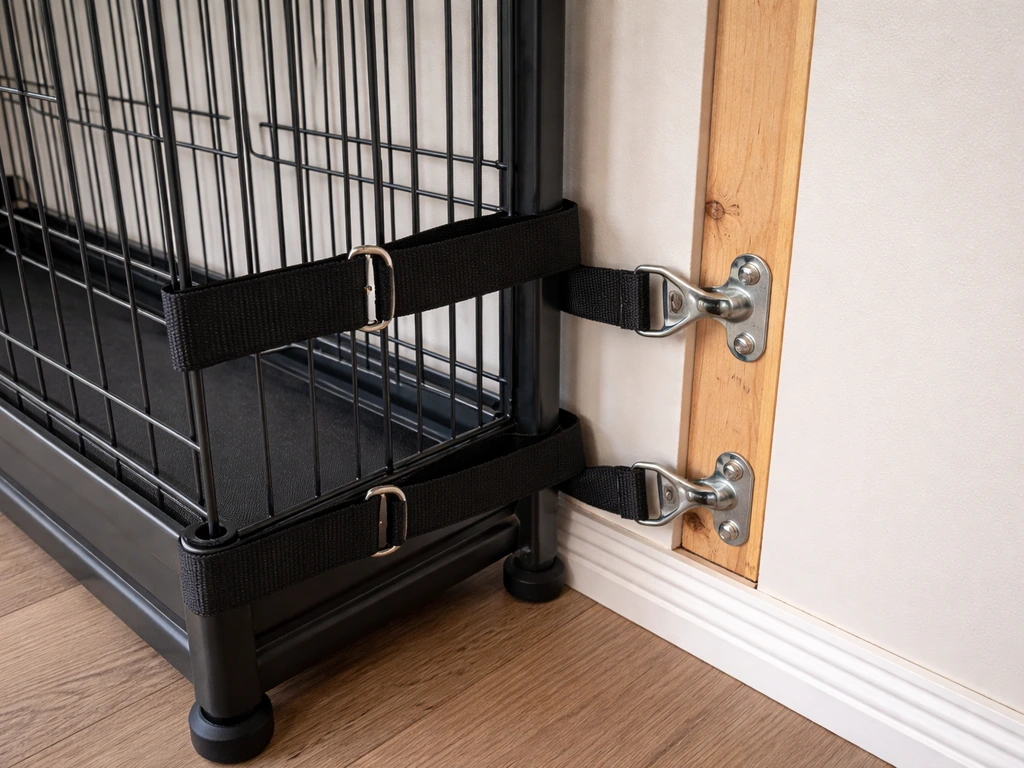
For tall cages in households with children, other pets, or earthquake risk, wall anchoring is worth doing even if the cage currently seems stable. Consumer Reports recommends furniture anti-tip straps for exactly this scenario. For a cage stand, use a heavy-duty L-bracket or furniture strap rated for at least twice the total cage-plus-bird weight, attached to a wall stud (not just drywall). If you can't hit a stud, use a toggle bolt rated for your load, but stud anchors are always preferred. The strap should attach to the upper rear of the stand frame and run at a slight downward angle to the wall, this geometry resists forward tipping the most effectively.
Fixing doors, latches, perches, and bar alignment under real load
Racked door frames
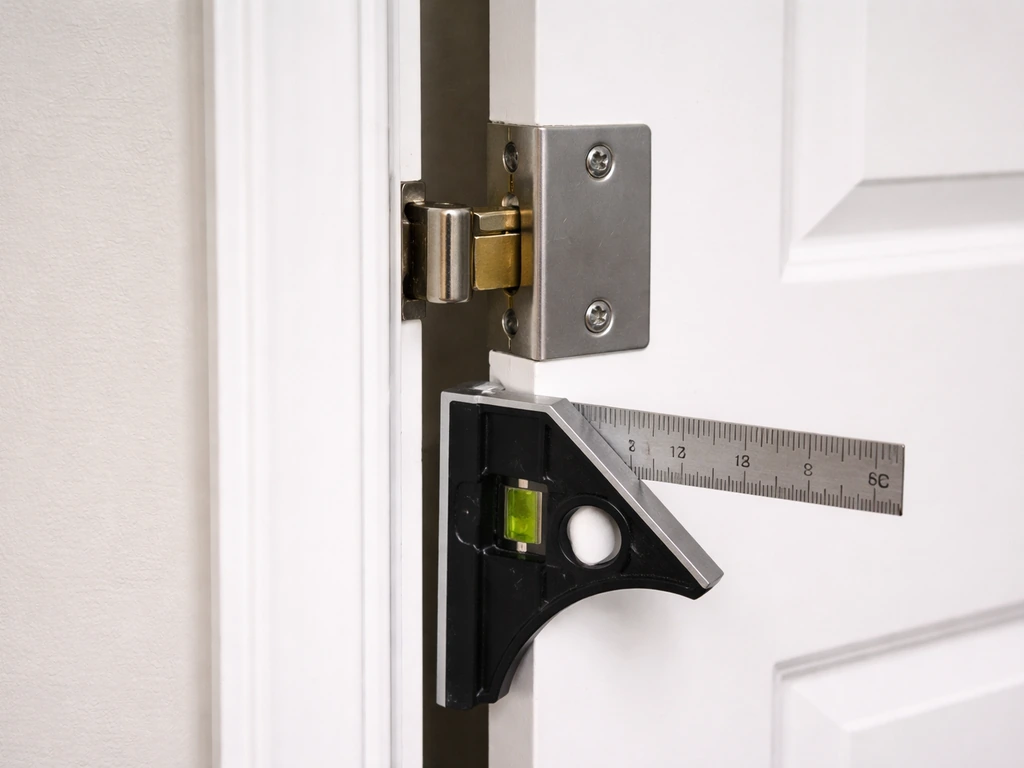
A door that doesn't close squarely is under constant shear stress at the hinge and latch. Over time this fatigues both, and an intelligent bird can exploit the gap. To re-square a racked door, first remove the door from its hinge pins if they're removable. Check whether the racking is in the door itself (measure diagonals, they should match within 1/8 inch) or in the cage frame opening.
If the door is racked, use padded pliers or a rubber mallet to gently square the frame and then re-hang it. If the cage frame opening is racked, the cage body itself needs re-squaring: lay it on a flat surface, check the diagonals of the opening, and apply gentle corrective pressure while tightening any loose connecting rings or J-clips.
Latch failure and bird-proofing
Parrots in particular apply serious torque to latches. A bird that has learned to unscrew or slide a latch (and this happens more often than people expect) is using leverage and persistence, not just curiosity. The fix is always to add a secondary latch or a latch blocker, a carabiner or a quick-link clipped through the latch mechanism. Use only stainless steel carabiners or quick-links; avoid anything plated or galvanized (see materials section). For spring-loaded latches that have weakened, replace the spring or the entire latch assembly rather than bending it back into shape, a fatigued spring fails unpredictably.
Perch loading and bar alignment
Perches introduce point loads into the bar structure. A heavy bird on a perch applies a downward force and a small bending moment to each bar the perch rests against. If bars are bent or spread at a perch attachment point, that's a sign the perch is too heavy or improperly seated. Re-seat perches so they rest firmly across multiple bars with no single bar taking the full load. Check that bar spacing hasn't widened at the perch attachment, spreading bars is a known escape route that birds actively enlarge over time. If spacing at any point exceeds your target maximum, use stainless steel binding wire (22-gauge or heavier) to lash bars back to the correct spacing.
Cover and placement problems: airflow, condensation, wind, and heat
Cage covers and placement interact with airflow, humidity, and temperature in ways that can genuinely harm birds, this is an area where the physics matters as much as any structural fix. US federal ventilation regulations require that indoor bird housing minimize moisture condensation, odors, and ammonia accumulation at all times. Even if your cage isn't a regulated facility, those standards reflect real welfare thresholds you should be hitting at home.
Airflow and condensation
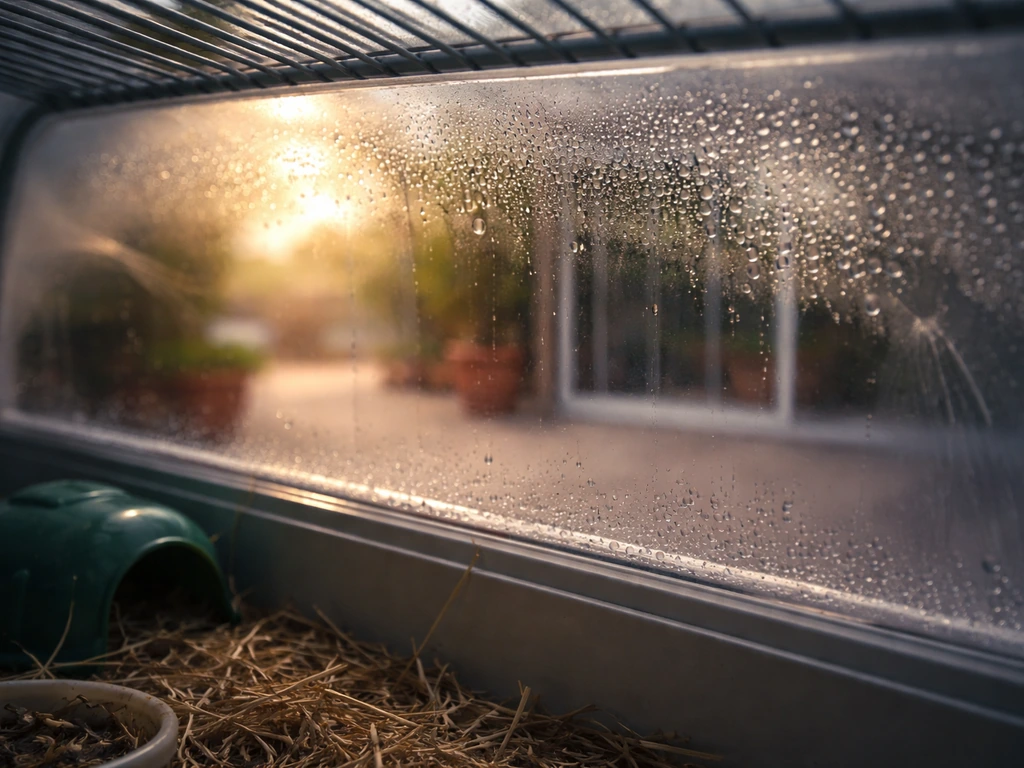
A cover that fully seals a cage overnight traps moisture from droppings and respiration. If you're seeing condensation on the inside of a cage cover in the morning, the cover is too airtight. The fix is simple: leave at least two sides partially uncovered, or switch to a breathable fabric cover with open mesh panels. Never use plastic sheeting as a cover. Position the cage at least 6 inches from any wall to allow convective airflow behind and beside it.
Wind and outdoor/patio placement
Outdoor or patio placement introduces wind loading, which is a direct tipping force. A cage cover acting like a sail in a breeze is applying a horizontal force to the top of the cage, exactly the worst place for tipping moment. In slow motion, those brief moments when a cage tips and the forces spike become much easier to see and understand vanishing bird cage slow motion.
In any placement with wind exposure, remove covers during breezy conditions, anchor the cage stand to a fixed structure, and orient the cage so the narrowest face meets the prevailing wind. Avoid placing cages near air conditioning vents, which create localized cold drafts that can cause respiratory stress even in otherwise warm rooms.
Heat management
Direct sunlight on a covered or partially covered cage can raise internal temperatures to dangerous levels within 30 minutes. Position cages so they receive morning light from an angle, never full afternoon direct sun through a south or west window. If you use a heat lamp for warmth, place it outside the cage, angled at one end only, so the bird can move away from the heat source. A temperature gradient of 5 to 10 degrees Fahrenheit across the cage interior gives the bird behavioral thermoregulation, the ability to choose its own comfort zone.
Chew and impact damage: reinforcement birds can't make unsafe
Birds don't just chew wood, they apply focused, high-pressure biting force to joints, bar coatings, and hardware. A parrot's beak can exert hundreds of pounds per square inch of pressure on a small area. The structural risk isn't usually that the bird breaks through (though that happens), it's that chewing creates sharp edges, exposes substrate materials, or dislodges components that become ingestion hazards.
Identifying damage before it becomes dangerous
Run your fingers along all bar surfaces, perch ends, door frames, and tray edges weekly. Any rough, jagged, or sharp edge needs immediate attention. A metal file or fine-grit sandpaper can deburr minor rough spots. If a bar is bent enough to create a gap, it needs to be bent back or the panel replaced, don't leave a weakened bar in place hoping it holds. Inspect wooden perches and accessories for deep grooves; when grooves reach about halfway through the perch diameter, replace the perch before it snaps under load.
Reinforcing against chew damage
For birds that chew bar joints or connecting rings, replace standard J-clips with heavier stainless steel rings or use stainless steel wire ties instead. For wooden components, choose hardwoods (manzanita, java wood, dragonwood) over softwoods, they take longer to chew through and don't splinter as dangerously. Avoid MDF, plywood with formaldehyde-based glue, or any painted wood as a chewable component. If a bird is actively working on a specific joint or corner, a short section of stainless steel corner bead (used in drywall finishing) secured over the outside of that corner with stainless hardware is an effective and inexpensive barrier.
Impact-resistant modifications for active birds
Large parrots landing hard on a cage roof apply significant impact loads. If your cage roof deforms or rattles under bird landings, reinforce it by adding a secondary cross-bar of stainless or powder-coated steel bar stock across the top, secured with stainless wire ties at each intersection. This triangulates the roof panel and dramatically stiffens it against downward point loads. For the cage base tray, if the plastic tray cracks from repeated dropping or bird impact, cut a piece of 1/4-inch HDPE sheet (food-safe, easily cut with a jigsaw) to fit as a liner, it won't crack, is easy to clean, and is non-toxic.
Safe materials and assembly: the checklist
Materials are where good DIY cage work can go wrong fast. The most critical hazard is galvanized metal. Galvanized wire and hardware are coated in zinc, and chronic exposure from birds chewing on bars or picking at white rust (zinc oxide) causes zinc toxicity, a serious and potentially fatal condition. The Merck Veterinary Manual specifically identifies galvanized wire cages as a major source of zinc poisoning in pet birds, and the Pet Poison Helpline flags white rust on galvanized steel as an active toxicity risk. Lead is the other primary metal hazard; it shows up in old painted cages, some hardware fittings, and certain imported clips and clasps.
| Material / Component | Safe Choice | Avoid | Notes |
|---|---|---|---|
| Bar and frame wire | 304 or 316 stainless steel, powder-coated steel (bird-safe powder coat only) | Galvanized steel, zinc-plated, chrome-plated | Check for white rust or powdery residue — replace any galvanized components immediately |
| Fasteners and clips | Stainless steel J-clips, stainless wire ties, stainless quick-links | Galvanized clips, zinc or cadmium-plated hardware, brass with lead content | Use stainless carabiners rated for at least 2x the load as secondary latch locks |
| Perches | Manzanita, java wood, dragonwood, natural hardwood branches (untreated) | Painted dowels, softwood pine (splinters), cedar (toxic oils), MDF | Replace when grooves exceed half the perch diameter |
| Cage trays and liners | Stainless steel trays, HDPE sheet liners, newspaper (unscented) | Galvanized trays, plastic with BPA or antimicrobials, scented liners | HDPE is the easiest DIY liner material — food safe and easy to cut |
| Wood accessories | Untreated hardwood, kiln-dried natural wood | MDF, particleboard, plywood with formaldehyde glue, painted wood | Sand all cut edges to 220 grit minimum |
| Sealants and finishes | Shellac (dried/cured), food-safe mineral oil for wood, bird-safe acrylic (fully cured) | Polyurethane, oil-based paints, lead-based paint, spray lacquer | Allow full cure time per manufacturer spec before introducing birds |
| Covers | Breathable cotton or fleece with open mesh panels | Plastic sheeting, fully sealed fabric covers, anything with dye that bleeds when damp | Leave at least two sides partially open for airflow |
Assembly safety checklist, run this before the bird goes back in
- Check all bar spacing with a tape measure or calipers. For small birds (budgies, lovebirds): no gap wider than 1/2 inch. For cockatiels: 1/2 to 5/8 inch maximum. For medium parrots: no wider than 3/4 inch. Mark and correct any oversized gaps before proceeding.
- Run your fingers over every bar, joint, tray edge, and door frame. Any sharp edge, rough burr, or loose end gets filed or sanded immediately.
- Test every latch by applying upward, downward, and lateral pressure for 10 seconds each. Add a stainless carabiner or quick-link to any latch that moves under load.
- Check the cage level front-to-back and side-to-side. Adjust feet or shims until the bubble is centered.
- Apply the wobble test: 10 lbs of pressure at each upper corner. Any rocking of more than 1/4 inch means the stand joints or base need attention before the bird goes back in.
- Inspect all metal hardware for white powdery residue (zinc oxide) or reddish flaking (rust). Any galvanized component with white rust comes out and gets replaced with stainless.
- Check ventilation: place a tissue at each side of the cage in its final position. It should flutter slightly. If it doesn't move at all, reposition the cage or adjust cover placement.
- Verify the cage is at least 6 inches from walls and not directly under or in front of any air vent, heating register, or window with direct afternoon sun.
- If you've added any new wood, sealant, or paint component, confirm it has fully cured per the manufacturer's specification — usually 48 to 72 hours minimum for water-based products, longer for oil-based.
Putting it all together
The physics of bird cage problems sounds complicated, but it almost always resolves into one of a small number of identifiable failures: tipping from a high center of gravity and narrow base, racking from uneven door or frame loads, bar gaps large enough to act as entrapment levers, inadequate ventilation trapping heat and ammonia, or chew damage exposing unsafe materials. A Blackstone vanishing bird cage is a performance prop that uses concealed mechanisms and controlled timing to make the bird appear to disappear and reappear safely blackstone vanishing bird cage how does it work. Work through the diagnosis steps first, fix the specific failure you've confirmed, then run the assembly checklist before the bird goes back in. That sequence, diagnose, measure, fix, verify, turns what feels like a mysterious structural problem into a series of concrete steps you can actually complete in an afternoon.
If you're also interested in how cage mechanics play out in other contexts, some of the same principles around structure, balance, and concealment show up in trick-based cage designs, the vanishing bird cage illusion, for example, relies on collapsible bar mechanics and load distribution to collapse a full cage in an instant. If you're trying to figure out how to cage a wild bird, you may also be looking for the right books and guidance on the practical and legal steps involved to cage a wild bird how many books. It's a very different application, but understanding the physics of why a real cage stays rigid or fails makes those designs a lot easier to appreciate.
FAQ
My bird cage feels stable, but it wobbles slightly, is that still a “tipping” risk?
Yes. Even if a cage does not look tilted by eye, a small wobble can indicate the center of gravity is close to the tipping edge or that the stand feet have different heights (carpet compression or floor unevenness). Do a quick test by gently pushing the cage frame side to side, watch which stand foot moves first, then re-check level at the stand top using a bubble level, not your floor.
How do I tell whether the racking is in the door or in the cage frame opening?
Look for racking signs in the door and in the opening, measure diagonals, and confirm whether the two diagonals differ by more than about 1/8 inch. If only one corner consistently sits high, the problem is usually the frame opening or hinge geometry. If the door diagonals also differ, fix the door first, because a racked door can force the latch to wear and create a new escape gap.
Can I just bend a spring-loaded latch back into place if it seems loose?
Replace hardware when it has any play, stripped threads, or visible deformation. A common mistake is bending or “tweaking” a weakened latch or spring after it fatigues, which can restore fit briefly but fails under real bird force later. If a spring-loaded latch won’t snap with crisp resistance, replace the spring or the latch assembly.
What should I do if bar spacing drifted out of spec near a perch or corner?
If bars have widened at any spot, the safest approach is to bring spacing back into the target range and remove the bird’s ability to leverage the gap. Re-lashing can work only when bars are not cracked or permanently bent and the lash does not leave sharp ends. If the bar metal is kinked or there is a persistent gap, replace the panel, because a weakened bar can break during a climb.
My cage cover creates condensation in the morning, what does that mean and what is the fix?
If the cover traps condensation, it is too airtight for that household humidity. The practical fix is to increase passive venting by leaving at least two sides partially uncovered or switching to a breathable cover with open mesh panels. Avoid plastic sheeting, and if you see wet spots again within hours, reduce coverage further or improve room ventilation.
Is it safe to keep a covered cage outside if it’s not actively windy?
Yes, wind and cover shape can create a tipping moment. A fully covering fabric or plastic top can act like a sail, especially when gusts hit the narrowest face at an angle. For any breezy conditions, remove covers, anchor the stand, and orient the narrow face into the prevailing wind to reduce horizontal force on the top.
Why did my “fixed” cage wobble come back after a couple of weeks?
Don’t assume the stand is level just because the floor looks flat. Carpet and soft flooring can compress under load over weeks, changing alignment and reintroducing wobble. Use rigid coasters under each foot and re-check level after a week of normal use, especially after cleaning when the cage can shift slightly.
My bird can learn latch behavior, what additional locking step actually prevents escape?
If a bird can reach and manipulate the latch, you usually need a secondary lock, not just a tighter fit. Add a latch blocker, carabiner, or quick-link through the latch mechanism, and ensure it fully blocks the opening path. Also confirm the bird cannot push the door inward far enough to bypass the secondary latch under load.
Where should I place a heat lamp if I use one for warmth?
When heat is involved, aim for a gradient, not a single hot spot. A heat source inside the cage can overheat the bird and reduce airflow, and it also increases chew exposure risk. Place heat outside the cage angled to one end only, then verify with a thermometer that the interior has a few degrees difference so the bird can choose its comfort zone.
How do I know if my cage materials could be dangerous (zinc or lead)?
Because galvanized metal toxicity can be triggered by chewing and white rust, do a one-time material audit before repairs and replacements. Avoid galvanized wire, hardware, and any bars with active white corrosion, and treat unknown old hardware as suspect. If you already suspect zinc exposure, stop using the compromised cage immediately and contact an avian veterinarian for guidance.
What’s the best routine to prevent chew damage from becoming an injury or ingestion hazard?
A safe edge-check is a weekly tactile inspection plus immediate response when you feel roughness. If you find a sharp edge, deburr only minor spots, but do not leave a bent bar or cracked joint in place. For wooden perches, replace when grooves reach roughly halfway through the diameter, because they can fail under climbing force.
What do I need to look for when choosing and installing an anti-tip wall anchor?
For anchoring, load rating matters and wall connection matters more than people expect. Use an anti-tip strap or bracket rated at least twice the total cage-plus-bird weight, and anchor into a wall stud whenever possible. If you can only use toggle-style hardware, choose one rated for the load, and avoid drywall-only mounting.
Are rubber pads under the stand feet enough to stop both sliding and wobbling?
Use stable, non-slip components under the stand, but keep them consistent across all feet. Rubber non-slip pads prevent sliding on hard floors, yet they can still allow small rocking if one pad thickness differs or if the stand foot contacts unevenly. Replace worn pads and confirm each foot makes full contact before trusting the setup.
What should I measure first if I’m not sure which failure mode is causing the problem?
Start with the measurements you can verify quickly: level at the stand top, diagonal measurements on the door or opening, bar gap at the problem location, and check whether the latch has play. If the cage is tipping or rack-loading, you can usually see which direction movement occurs first during a gentle push test. If you still cannot identify a failure mode, stop and inspect for hidden looseness at joints and clips.
Next Article
How to Make a Temporary Bird Cage Step by Step
Step-by-step DIY guide to build a safe temporary bird cage now, with sizing, bar spacing, materials, and safety checks.