Yes, you should leave your bird's cage open for supervised out-of-cage time every day, but the key word is supervised. Most pet birds, parakeets through cockatoos, need daily free time outside the cage for exercise, mental stimulation and social bonding. The Association of Avian Veterinarians (AAV) and the Merck Veterinary Manual both confirm that birds benefit from regular out-of-cage time as long as the environment has been made safe first. That means window checks, fans off, other pets removed, and you in the room the entire time. Leave the cage door open without those precautions and you are rolling the dice on a serious accident.
Should I Leave My Bird Cage Open? Safety, Training & Tips

Maya Bennett
8 Aug 2026
Benefits and risks of out-of-cage time at a glance
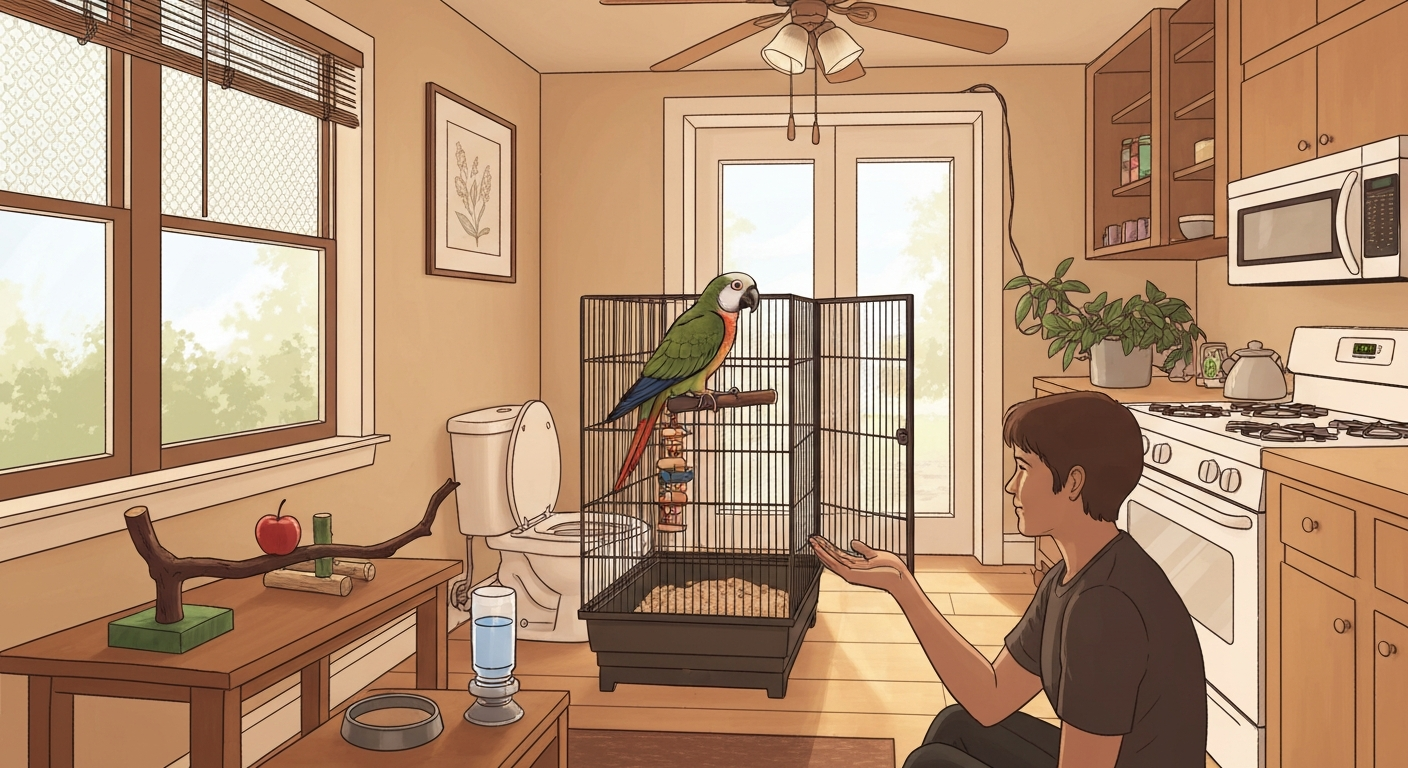
Letting your bird out regularly is not just a nice-to-have. A 2026 welfare assessment by the Norwegian Scientific Committee for Food and Environment found that restricting flight entirely is a high-risk welfare problem for companion psittacines. Flight, foraging and social interaction outside the cage reduce feather-destructive behavior, boredom-driven screaming and stereotypies. That said, the risks are real and specific. The same birds that benefit from freedom can fly into a glass window at full speed, land on a hot stovetop, drown in an open toilet or get cornered by a curious cat. Every benefit listed below comes paired with a hazard you need to manage before opening that door.
| Benefit | Paired Risk to Manage |
|---|---|
| Physical exercise and cardiovascular health | Ceiling fans, windows, mirrors causing collision injuries |
| Mental stimulation and reduced boredom | Toxic houseplants and chewable hazards at beak level |
| Social bonding with you and family members | Unsupervised access to other pets, especially cats and dogs |
| Foraging and exploration behavior | Heavy-metal sources: loose hardware, zippers, twist ties, old paint |
| Improved muscle tone and feather condition | Airborne toxins: Teflon fumes, aerosols, candles, cooking smoke |
| Reduced stress and feather-destructive behavior | Escape through open windows, doors or chimneys |
What each species actually needs out of the cage
Not every bird needs the same amount of free time, and some species are far higher-risk than others when they are flying loose. Here is what I have found works in practice for the most common pet species.
Parakeets (budgerigars)
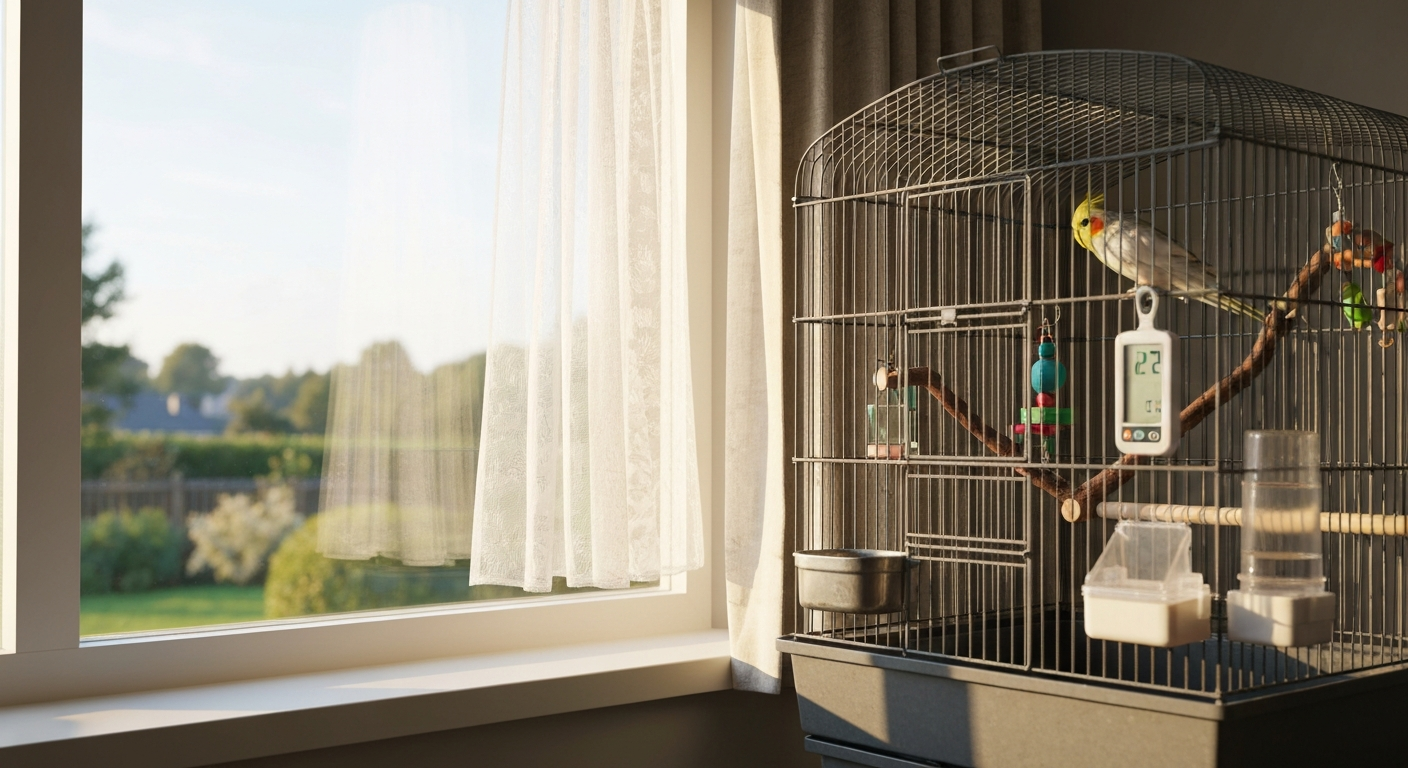
Parakeets are fast and nimble, which makes them fantastic fliers and genuinely good at finding trouble. Aim for at least one to two hours of out-of-cage time daily, split into morning and afternoon sessions if possible. Parakeets are social flock birds, so two birds together will entertain each other during free time, but that also means twice the chaos. Window collisions are a real danger because their small size and speed combine badly with glass. The Cornell Lab/All About Birds explains that single small decals are ineffective and recommends patterns with gaps <5 cm vertically or <10 cm horizontally, external screens, placing feeders close to windows, and reducing nighttime light to lower collision risk. I always close blinds partway or apply window film before opening my parakeet's cage, and I never let them fly in a room with a ceiling fan running.
Cockatiels
Cockatiels are calmer fliers than budgies but they love to land on high spots and then refuse to come down. One to three hours daily works well. They are dust birds, producing fine feather powder that settles everywhere, so keep that in mind when choosing which room to open time in. Cockatiels tend to bond strongly with one person and will often return to your shoulder reliably once that trust is built. They are also notorious for flying toward light sources, so kitchen windows above a hot stove are a double hazard.
Conures
Conures are high-energy, curious and loud. They need at least two hours out of the cage daily and will actively seek out mischief if you do not provide enrichment during that time. Sun conures in particular will investigate every object in a room with their beak, which makes heavy-metal hazards like loose screws, zinc-coated hardware and old paint especially concerning. Green cheek conures are somewhat calmer but still need robust free-flight time. Conures are good candidates for target training because they are food-motivated and quick learners, making recall easier to establish.
Cockatoos
Cockatoos need more out-of-cage time than almost any other companion bird, ideally three to four hours or more daily. Restricting a cockatoo to its cage for extended periods without interaction is a reliable way to produce screaming, feather destruction and aggression. The flip side is that a cockatoo out of the cage unsupervised can destroy furniture, pull up flooring and find toxic materials you did not even know were in the room. Full room prep, consistent supervision and a trained recall behavior are non-negotiable with this species.
Small parrots (lovebirds, parrotlets, caiques)
Small parrots punch above their weight in terms of energy and beak strength. Lovebirds are agile and fast, and parrotlets are notoriously feisty despite their size. One to two hours daily is a reasonable starting point. Caiques are bounce-and-run birds that often prefer walking and climbing to flying, which makes them slightly easier to manage during free time. All three species are chewers, so any exposed cord, baseboard or wooden furniture within reach will get sampled.
Finches and canaries
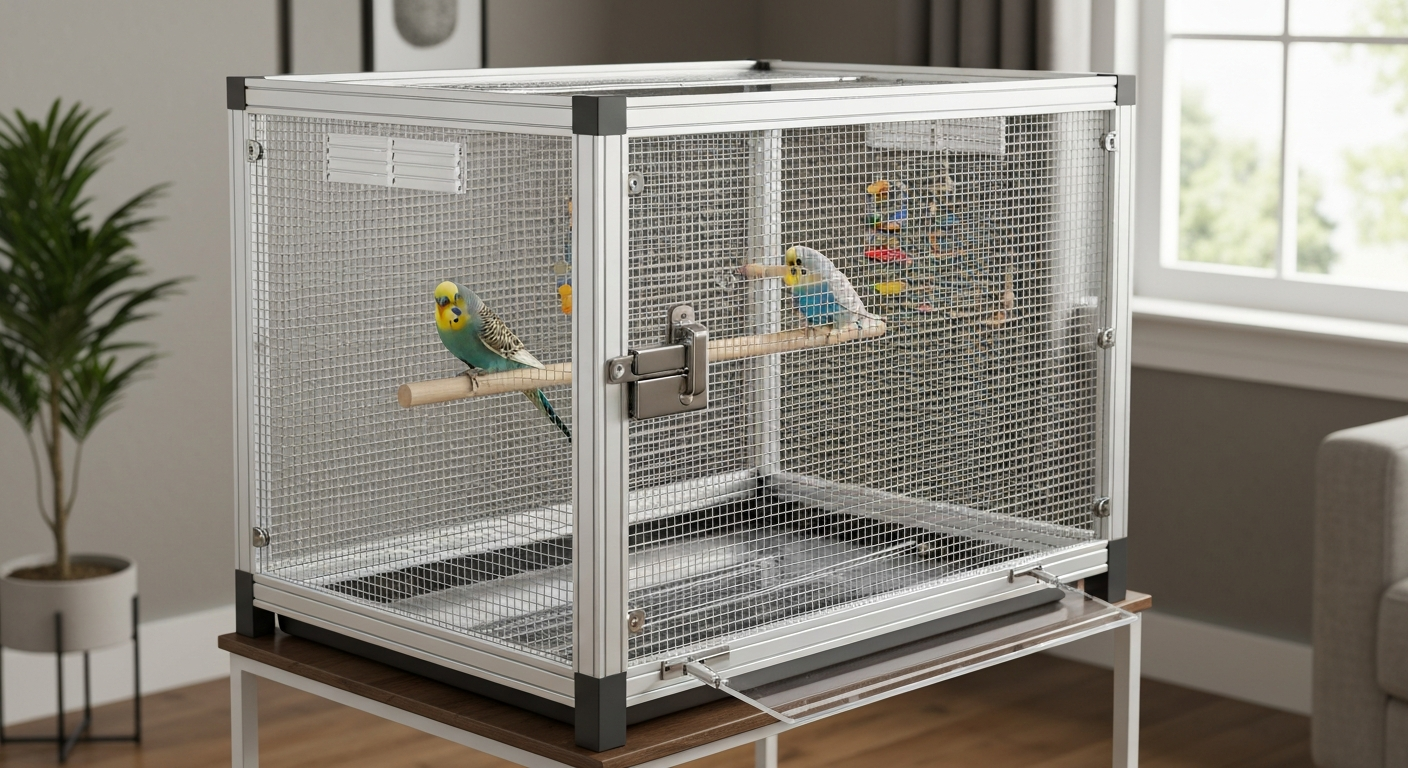
Finches and canaries are a different case. They are not typically handleable birds and do not interact with humans the way parrots do. Their free-flight needs are best met inside a large flight cage rather than loose in a room. If you do allow free-flight time in a room, finches are extraordinarily fast and nearly impossible to catch if they get into a tight space or behind furniture. For most finch keepers, investing in a proper flight cage setup is the more practical and safer solution than daily room-free sessions.
When you should keep the cage closed
There are situations where leaving the cage open is the wrong call, no matter how much your bird wants out. Recognizing these is part of responsible ownership.
- You cannot actively supervise: If you need to leave the room, close the cage. Birds get into trouble in seconds.
- Other pets are loose: Never allow unsupervised access with cats, dogs or ferrets. Even a gentle cat can cause fatal puncture wounds from a single swipe or bite.
- Cooking is happening: Hot stovetops, overheated non-stick pans producing PTFE fumes, steam and grease are all immediately dangerous. PTFE (Teflon) pyrolysis is acutely lethal to birds.
- Aerosols, candles or chemicals are in use: Hairspray, air fresheners, scented candles, cleaning sprays, paint and solvent fumes all stress the avian respiratory system. Birds' lungs are significantly more sensitive to airborne toxins than mammals.
- The room has not been bird-proofed: New rooms, recently renovated spaces or rooms with unknown materials (freshly painted surfaces, new carpeting, VOC-off-gassing furniture) should be off-limits until fully aired out.
- Your bird is sick or injured: A bird that is unwell should be kept contained and taken to an avian vet, not given free time that adds stress.
- Legal or permit reasons apply in your region: In some jurisdictions, certain parrot species are subject to possession or keeping regulations. Confirm your bird's legal status before making any changes to its environment or housing.
Room safety checklist: run through this before you open the door
I go through this checklist every single time before opening my birds' cage doors. It takes about three minutes and it has prevented multiple near-misses. Print it out and stick it near the cage if that helps.
- Windows: Close all windows completely or confirm screens are fully intact with no gaps a bird can push through. If windows are open for ventilation, use a secondary barrier. Apply patterned window film or close blinds partially to prevent collision with glass, keeping gaps under 5 cm vertically and 10 cm horizontally in any pattern if you use film.
- Doors to the outside: Close and visually confirm all exterior doors. Tell other household members you are having out-of-cage time so no one walks in and creates an escape route.
- Ceiling fan: Switch it off completely and wait for the blades to stop before opening the cage. Do not rely on memory; physically check the switch.
- Other pets: Remove cats, dogs and ferrets from the room. Close the door behind them and confirm it latches.
- Stove and oven: Confirm burners and oven are off and cool. Non-stick pans: remove from kitchen or confirm they will not be heated during the session.
- Open water: Close toilet lids, drain or cover bathtubs and sinks. Birds can drown in surprisingly shallow water.
- Cords and strings: Tuck away or cover electrical cords, blind pull cords and any dangling string or rope. Strangulation and entanglement are real hazards.
- Toxic plants: Move any known toxic plants (dieffenbachia, pothos, oleander, yew, avocado) out of the room or replace them with bird-safe species.
- Mirrors: Flag large mirrors with removable tape or a sticky note at eye level to prevent full-speed collisions until your bird has mapped the room.
- Aerosols and chemicals: Confirm no sprays, candles, incense or diffusers are running in the room or adjacent rooms with shared ventilation.
- Heavy-metal hazards: Scan the floor and surfaces for twist ties, loose coins (especially pre-1982 pennies, which contain lead), galvanized hardware, zipper pulls and anything metallic your bird might chew.
- Confirm you have time: Do not start a session if you know you will need to leave the room in under 15 minutes. Settle in with your bird.
How long and how often to let your bird out
Most avian welfare guidance points toward a minimum of one to two hours of out-of-cage time per day for parrots, with larger and more social species needing considerably more. What matters as much as total duration is consistency. A bird that gets three hours on Saturday and nothing for five days is worse off than one getting 45 minutes every morning reliably. Predictable routines reduce stress and make birds easier to return to the cage at the end of each session.
| Species | Minimum Daily Out-of-Cage Time | Ideal Frequency |
|---|---|---|
| Budgerigar (parakeet) | 1-2 hours | Daily, split into 2 sessions if possible |
| Cockatiel | 1-3 hours | Daily |
| Conure (green cheek, sun, etc.) | 2-3 hours | Daily, enrichment provided during sessions |
| Cockatoo | 3-4+ hours | Daily, with interaction, not just loose flying |
| Lovebird / parrotlet | 1-2 hours | Daily |
| Finch / canary | Flight cage preferred | Room free-flight only if fully bird-proofed and supervised |
Supervision means eyes-on the entire time. Checking in every few minutes from another room does not count. The most common accidents happen during the 90 seconds you stepped away to grab a drink. If someone else in your household is willing to supervise, make sure they have run through the same safety checklist and understand what to do if the bird refuses to return to the cage or gets into trouble. Delegation without briefing is not supervision.
Training your bird for safe supervised free flight
Letting a bird out of its cage without any recall or step-up training is how you end up chasing a panicked parrot around the room for 40 minutes. The International Association of Avian Trainers and Educators (IAATE) and the broader positive-reinforcement training community are clear: free flight should follow a deliberate training progression, not happen by accident. The steps below use positive reinforcement throughout. No coercion, no lunging, no grabbing.
- Step 1 - Establish a marker: Pick a clicker or a consistent verbal marker like 'yes.' Every time your bird does the desired behavior, mark it immediately and follow with a small food reward your bird loves. Practice this in the cage first, with no pressure to move or fly.
- Step 2 - Target training: Hold a target stick (a chopstick with a small bead taped to the end works fine) just in front of your bird's beak. The moment it touches the target, mark and reward. Gradually move the target further away so the bird has to lean, then step, then hop to touch it. This is the foundation for almost all further training.
- Step 3 - Step-up on cue: With your bird comfortable on a perch, present your finger or hand close to its lower chest. Say your step-up cue (I use 'up') and wait. The moment it steps onto your hand, mark and reward. Practice until step-up is fast and reliable inside the cage before using it in an open room.
- Step 4 - Recall from short distances: Move to a bird-proofed room. Start with your bird on a perch arm's length away. Use your target stick or a recall cue word to invite it to fly or step to you. Mark and jackpot reward (several treats at once) every successful recall. Keep sessions short, three to five minutes maximum.
- Step 5 - Increase distance gradually: Over days or weeks, increase the distance from which you call your bird back. Never progress to a longer distance until the shorter one is reliably 9 out of 10 or better. Rushing this step is the most common mistake.
- Step 6 - Add distractions: Once recall is solid at distance in a quiet room, introduce mild distractions: another person in the room, soft background noise, different lighting. Proof the behavior in multiple environments if your bird will fly in more than one room.
- Milestone check: A bird is ready for regular open-cage sessions when it steps up reliably on cue, returns to you or to its cage perch on a recall cue, and has flown in the session room enough times to have mapped it (known where windows and mirrors are).
Introducing out-of-cage time gradually: building trust from the start
If your bird is new, recently rehomed or has never had consistent out-of-cage time, do not open the door on day one and expect a smooth session. Trust and spatial confidence need to be built in stages. The goal for the first few weeks is not flight; it is familiarity.
- Week 1 - Cage door open, bird stays in: Open the cage door during feeding and interaction time but do not encourage the bird to leave. Let it choose whether to sit at the opening. This removes the element of surprise from door-opening and associates it with positive things.
- Week 2 - Perch just outside the cage door: Place a familiar perch or T-stand directly in front of the open door at the same height. Offer a treat on the perch. If the bird steps out to take it, great. If not, no pressure. Mark and reward any time the bird voluntarily exits.
- Week 3 - Expand the perch setup: Move the T-stand a foot or two from the cage. Repeat treat-luring from a short distance. Begin your target-training sessions in this limited space, not the whole room.
- Week 4 onward - Gradual room access: Allow the bird access to a larger part of the bird-proofed room. Stay seated and let it explore at its own pace rather than following it around. Let it land on you, not the reverse. Begin practicing recall from across the room using your established cue.
- Building cage re-entry without stress: Never chase your bird back into the cage. Use your recall cue to bring it to your hand, then step it onto a perch inside the cage and reward. If it refuses, end the session by guiding it to the cage entrance with a target stick and rewarding entry. Over time, closing the door becomes a non-event.
One thing that consistently helps is using natural branches and climbing perches as enrichment stations during free time. Safe wood species like apple, willow, manzanita and maple give birds something to work with and help anchor them in specific spots rather than having them fly circuits around the room. If you collect branches from outside, remove bark debris, inspect carefully for pests and either oven-bake at low temperature or sun-cure thoroughly before bringing them near your bird. Skip any pressure-treated, painted or chemically preserved wood entirely.
Where you keep the cage matters too, both for daily management and for setting up effective out-of-cage sessions. If you're unsure about window placement, see our guide Should I put my bird cage near a window? for pros, cons and safety tips. A cage placed in a room you use regularly means your bird sees normal household activity and is easier to supervise during free time. A cage tucked in an isolated corner or in a poorly ventilated space makes both daily care and training sessions harder. If you are thinking through cage placement, airflow, window exposure and whether your bedroom is the right spot, those decisions directly shape how practical and safe your out-of-cage routine will be.
One last note on cage materials and coatings: if you are building or customizing a cage and considering spray paint or protective coatings, pay close attention to full cure time and ventilation requirements. Products like Rust-Oleum spray paints list solvents and VOCs in their Safety Data Sheets and explicitly require good ventilation and respiratory protection during application. Birds must not be present in any room where these products have been applied until surfaces are fully cured and the space has been ventilated thoroughly. The same respiratory sensitivity that makes PTFE fumes acutely dangerous makes poorly ventilated VOC exposure a real risk, especially for small birds.
FAQ
Short answer: Should I leave my bird cage open?
Yes — but only for supervised, bird‑proofed out‑of‑cage time. Most companion birds benefit from daily supervised free time for exercise and enrichment, provided the room is made safe, you have training/recall in place, and you never leave the bird unattended outside its cage.
Species‑specific guidance (parakeets, cockatiels, conures, cockatoos, small parrots, finches) — any differences?
Parakeets/finches: small, fast flyers that can hide in tight spaces; require rigorous room proofing and lots of visual barriers removed. Cockatiels/conures/small parrots: active, curious chewers — watch for toxic materials and chewing hazards; need reliable step‑up/recall training. Cockatoos and larger parrorots: stronger beaks and higher intelligence — require longer enrichment sessions, sturdy perches and closer supervision; avoid unsupervised mixing with other pets. In every case adapt session length and complexity to the bird’s age, temperament and training.
Step‑by‑step safety checklist before opening the cage
1) Close and lock all external doors and windows; install window collision treatments if the bird will fly near glass. 2) Turn off ceiling fans and remove or raise portable fans. 3) Secure or cover stove/oven/kitchen appliances; do out‑of‑cage time away from the kitchen. 4) Remove toxic plants, open water (toilets, buckets), and accessible chemicals. 5) Stow cords, blind cords, strings and small chewables; tape up cables. 6) Ensure all rooms are well ventilated and no painting or aerosol use has recently occurred. 7) Keep other pets out of the room; use closed doors or baby gates. 8) Check for lead/zinc sources (old paint, metal objects) and remove. 9) Do a slow walkthrough with the bird on your hand for the first sessions to identify hazards. 10) Have a plan and cue for recall/step‑up and a safe landing spot back in the cage.
Recommended timing and supervision for out‑of‑cage time
Start with short supervised sessions (10–20 minutes) and gradually increase to multiple sessions totaling 1–3+ hours depending on species and individual needs. Always be within arm’s reach for young, untrained or high‑risk birds; trained birds can be supervised from across the room but never left alone. Schedule sessions during daylight and avoid evening flights near windows when lights can cause collisions.
Training tips for supervised free flight and recall
Use positive reinforcement: target training, step‑up and a clear recall cue (e.g., whistle, treat) practiced in the cage and on perches. Progress gradually: hand → perch → short flights → longer flights. Reward reliable returns and practice emergency recalls. Work sessions in low‑distraction environments and keep the bird motivated with high‑value treats. Avoid chasing the bird; train calm returns with consistent cues.
Room setup and cage placement guidance
Place the cage where the bird gets daylight but not direct, unprotected access to busy windows or kitchen fumes. Choose a room you can reliably close off for bird‑proofing and supervision. Keep the cage at eye level for social interaction and provide a covered area for sleep. Avoid positioning directly under ceiling fans or HVAC outlets. For windows, apply external screens or patterned film so gaps are under recommended spacing to prevent collisions.