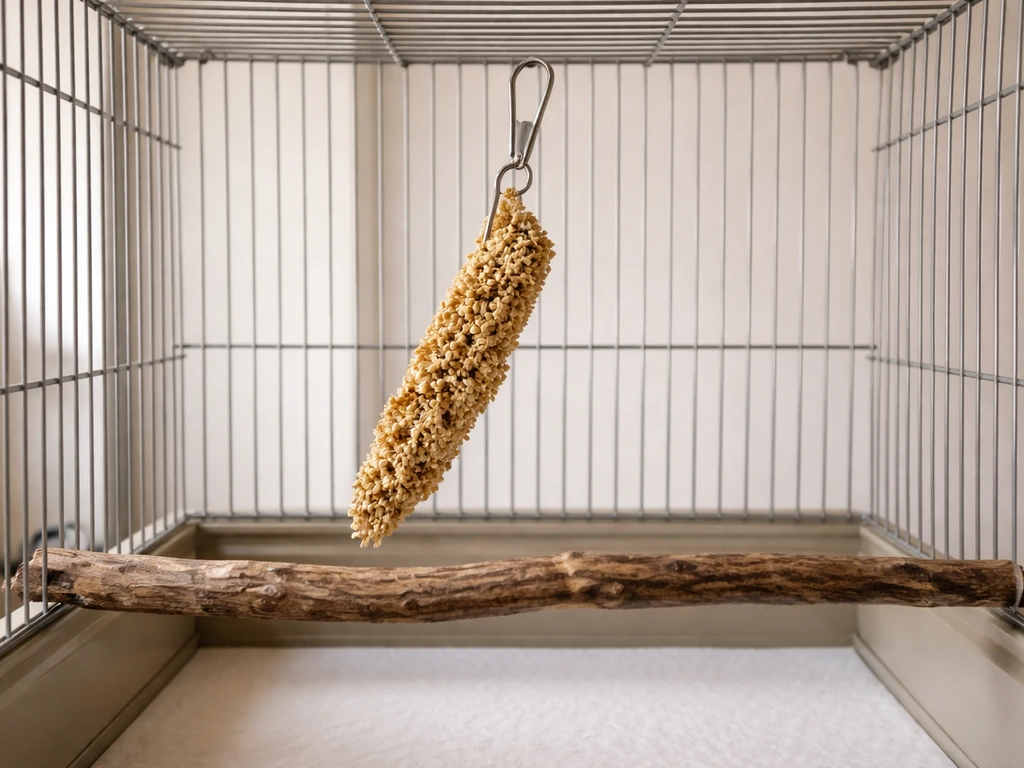
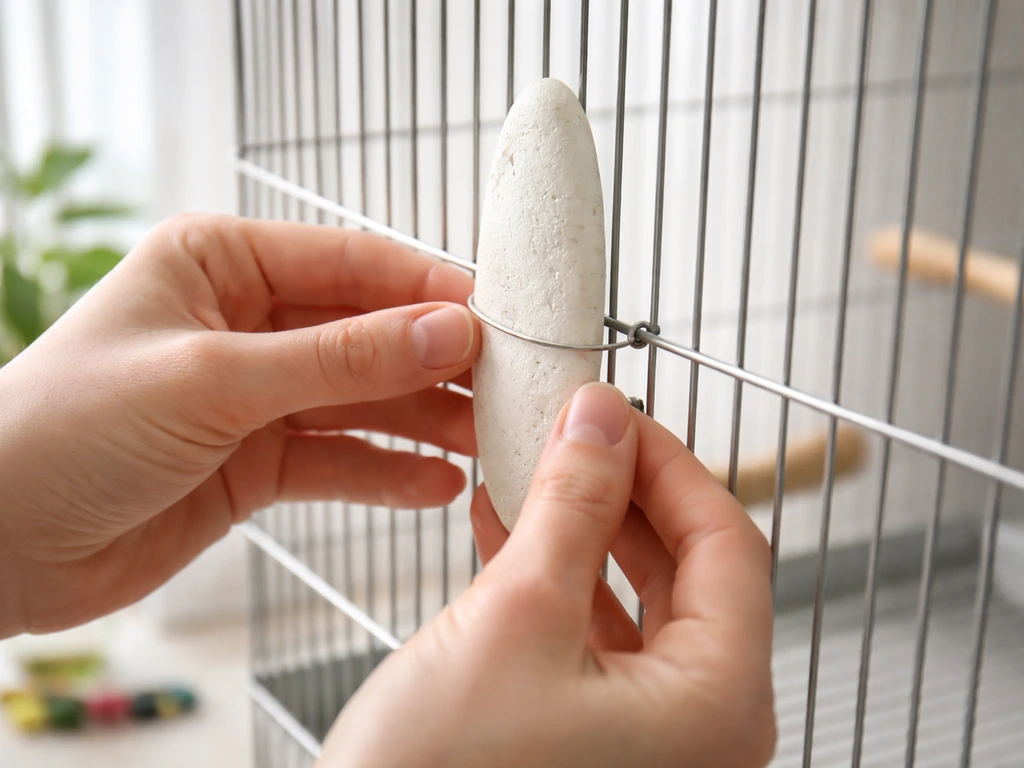
Clip the cuttlebone to the inside of a cage bar using a dedicated cuttlebone holder or a short twist of bird-safe stainless steel wire, rough side facing inward toward your bird, positioned about mid-cage height so the bird can reach it comfortably while perched. That is the whole job. Everything below just makes sure you do it safely, pick the right spot, and know when to swap it out.
How to Put Cuttlebone in a Bird Cage Safely

Maya Bennett
19 May 2026
What cuttlebone actually is and which birds benefit from it
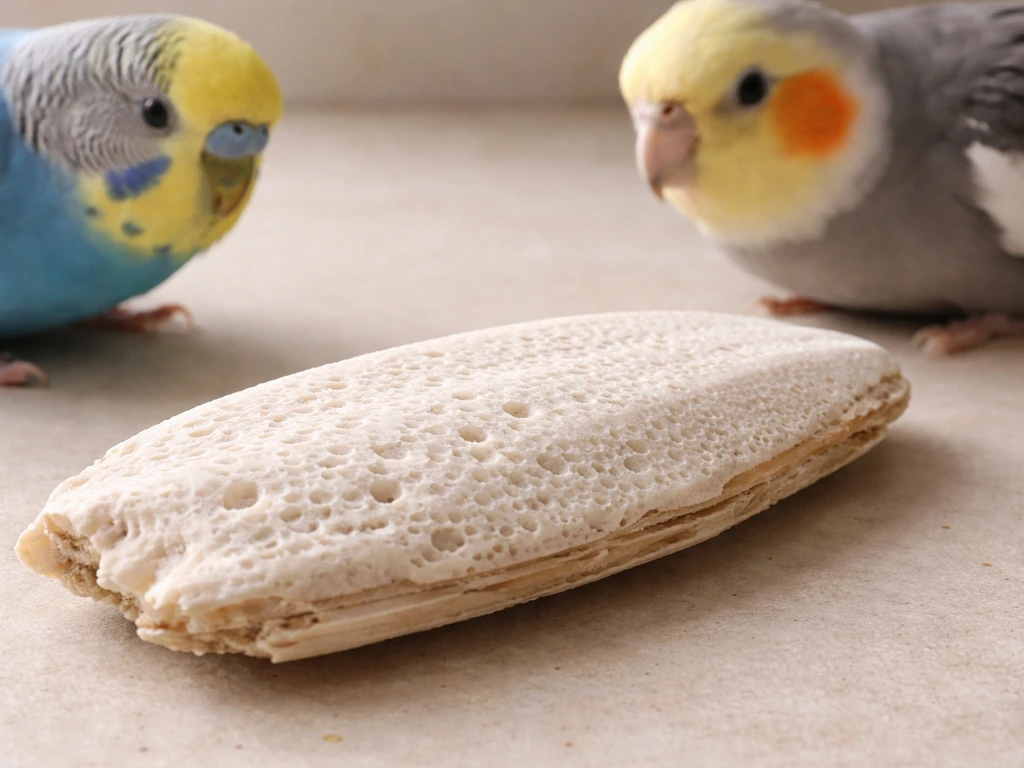
Cuttlebone is the internal shell of the cuttlefish, a cephalopod related to squid and octopus. It is roughly 85% calcium carbonate, which makes it one of the most concentrated natural calcium sources you can drop into a cage. Purdue University's veterinary guidance specifically lists cuttlebones alongside mineral blocks as a primary way to provide calcium and trace minerals to pet birds, so you are on solid scientific ground using one.
Almost any common pet bird can benefit from having one available, but some species use it more eagerly than others. Budgerigars, cockatiels, lovebirds, and finches tend to gnaw on cuttlebone regularly and show clear improvement in feather condition and egg quality when calcium is adequate. Larger parrots like conures, African greys, and Amazon parrots will also use it but often rely more on a varied diet for calcium.
For egg-laying hens of any species, cuttlebone is particularly important because laying depletes calcium fast. If your bird is on a seed-heavy diet with little leafy greens or pellets, cuttlebone becomes even more valuable because seed diets are notoriously low in calcium and high in phosphorus, which is exactly the imbalance Lafeber's avian nutrition research flags as a trigger for calcium deficiency.
Lafeber’s avian nutrition outline also emphasizes that calcium deficiency is more likely when a diet provides too little calcium or too much phosphorus, making Ca:P balance and species or diet fit especially important calcium deficiency when diet is too low in calcium or high in phosphorus (Ca:P imbalance).
A quick note on softbills and finches: the National Finch and Softbill Society specifically recommends cuttlebone for their members' birds, which confirms it works for even small, delicate species. Just size the piece appropriately so it does not crowd the cage.
What you need before you start
You do not need much to attach a cuttlebone properly, but using the right materials matters. The wrong wire or the wrong clip can create snag hazards or introduce toxins, so take two minutes to check what you have on hand.
- Cuttlebone with the metal attachment clip already included (most come this way) or a separate stainless steel cuttlebone holder purchased from a pet supply store
- Stainless steel wire (24-gauge or thicker) if you are DIY-ing the attachment, never galvanized or zinc-coated wire
- Needle-nose pliers to bend wire ends safely so there are no sharp points exposed inside the cage
- A small pair of wire cutters if you need to trim excess
- Optional: plastic zip ties rated for food contact if you prefer a no-tools approach, though these should be checked weekly since birds chew through them
Avoid copper wire, galvanized wire, and any coated or painted hardware. Zinc and copper are toxic to birds, and even small amounts of ingested metal from gnawed wire connections can cause heavy-metal poisoning. Stainless steel is the gold standard. If the cuttlebone came with its own metal clip, check that it is not flimsy or rusty before using it.
How to attach the cuttlebone: three methods that work
There is more than one way to do this, and the best method depends on your cage bar spacing and what you have available. All three options below are safe when done correctly.
Method 1: Using the factory clip (easiest)
- Locate the metal wing clip attached to the flat back of the cuttlebone. It should pivot open like a small clamp.
- Open the clip and slide it over a horizontal or vertical cage bar at your chosen height.
- Press the clip closed firmly so it grips the bar without play. Give the cuttlebone a firm tug downward to confirm it does not slip.
- Orient the cuttlebone so the rough, chalky side faces into the cage where the bird perches, not the smooth outer side.
- Double-check that no sharp metal edges on the clip are pointing inward where the bird could land on them.
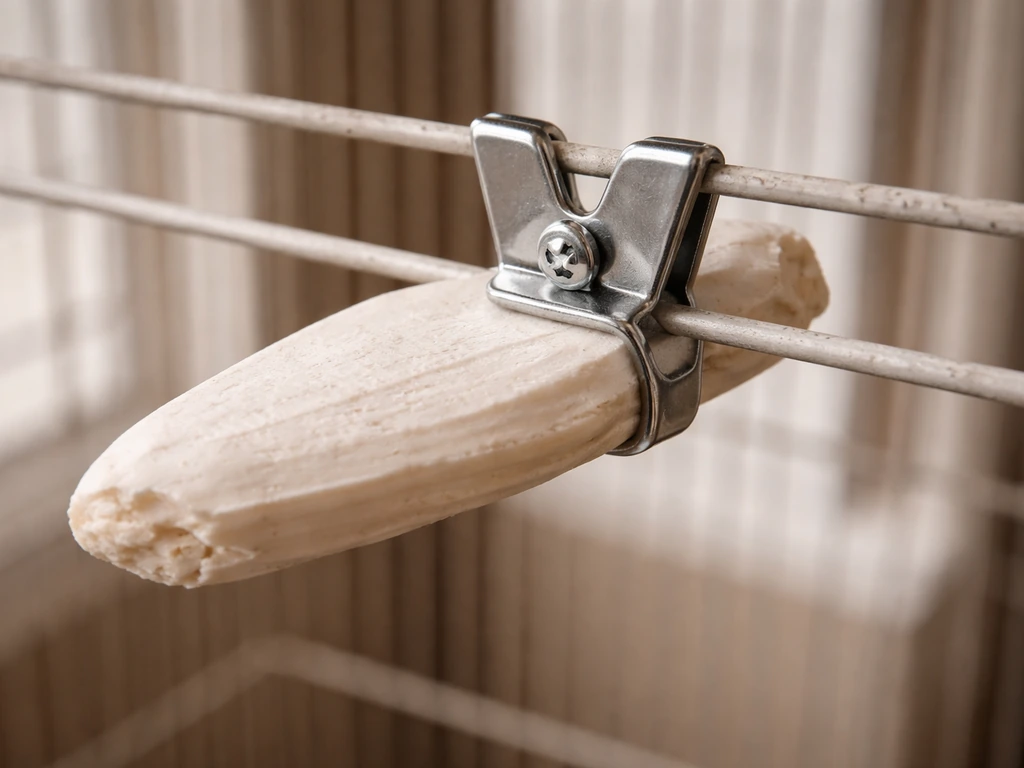
Method 2: Stainless steel wire loop (most secure)
- Cut a 6-to-8-inch length of 24-gauge stainless steel wire.
- Thread one end through the small hole at the top of the cuttlebone (most have one; if yours does not, you can push the wire through the soft chalky material near the top edge).
- Loop the wire around a horizontal cage bar and twist the two wire ends together tightly with needle-nose pliers.
- Bend the twisted tail of the wire flat against the outside of the cage bar so no sharp tip protrudes inside the cage.
- Tug the cuttlebone firmly to test the hold before letting your bird near it.
Method 3: Cuttlebone holder or mineral block holder (best for heavy chewers)
- Buy a purpose-made stainless steel or hard plastic cuttlebone holder, which looks like a small cradle or frame that mounts to the cage bars.
- Slide the cuttlebone into the holder cradle rough-side out.
- Hook or clip the holder to the cage bars according to its design, usually two prongs that lock over a bar.
- Check that the holder does not rock or rotate when bumped, as an unstable holder can startle the bird and discourage use.
- If the holder has screw-type fasteners, use a screwdriver to snug them down but avoid over-tightening on wire cages, which can distort the bar spacing.
Where to put it inside the cage
Placement is almost as important as attachment. Put the cuttlebone in the wrong spot and your bird will ignore it or struggle to use it safely.
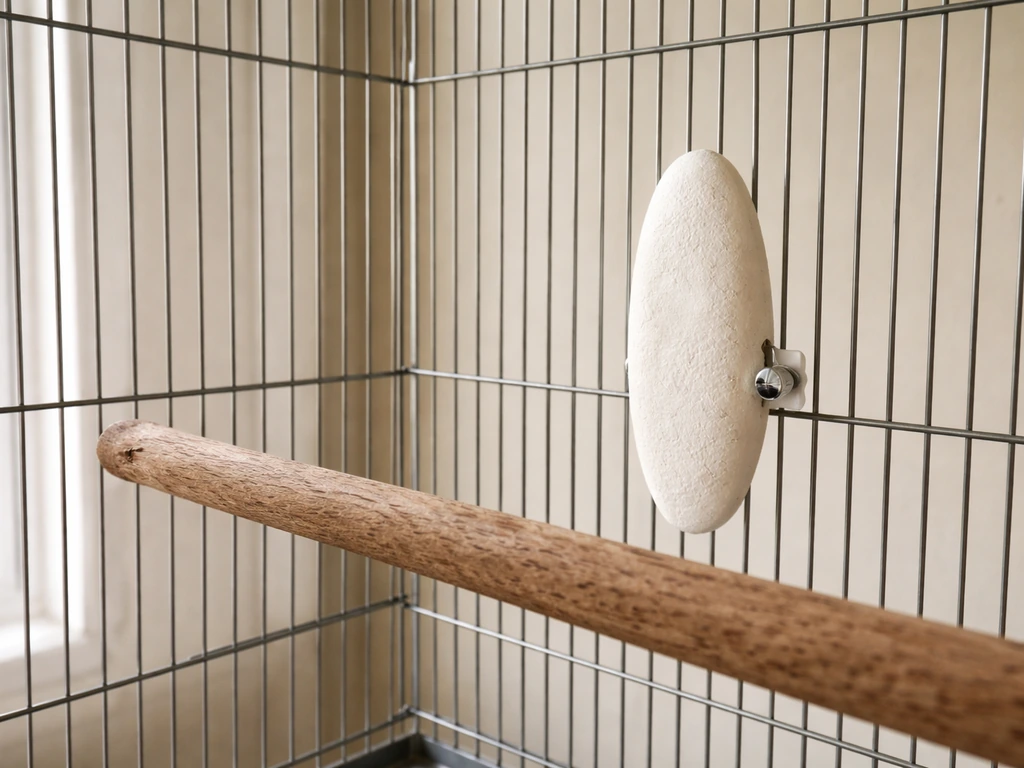
- Height: Position it at roughly the same level as your bird's primary perch, or just slightly above. If the bird has to stretch awkwardly downward or fly up to a high spot every time, it will use the cuttlebone less. Mid-cage height is usually right for most small to medium birds.
- Accessibility: Place it on a side wall of the cage rather than the back wall if the cage sits flush against a wall. Side placement lets the bird approach it naturally without bumping into a perch or toy.
- Perch proximity: The bird needs something to stand on while it gnaws. Position the cuttlebone within easy beak reach of a nearby perch, ideally 1 to 2 inches away horizontally, so it can brace itself comfortably.
- Away from food and water: Keep the cuttlebone at least 6 inches from water dishes. Moisture makes cuttlebone crumble faster and can grow mold. Also keep it away from food dishes so falling chalk dust does not contaminate seeds or pellets.
- Airflow: Avoid placing it directly under the spot where your bird sleeps or near a vent or drafty window. Chalk dust accumulating near a sleeping area is a minor irritant, and moisture from a drafty vent shortens the cuttlebone's useful life.
- For finches and canaries: Because these birds are smaller and more cautious, place the cuttlebone lower in the cage (about one-third up from the bottom) and close to a perch they already use regularly.
Keeping it secure and injury-free
A cuttlebone that drops into the cage bottom is not just wasted, it can startle your bird and if it shatters, it leaves sharp edges in the cage floor. Here is how to prevent problems.
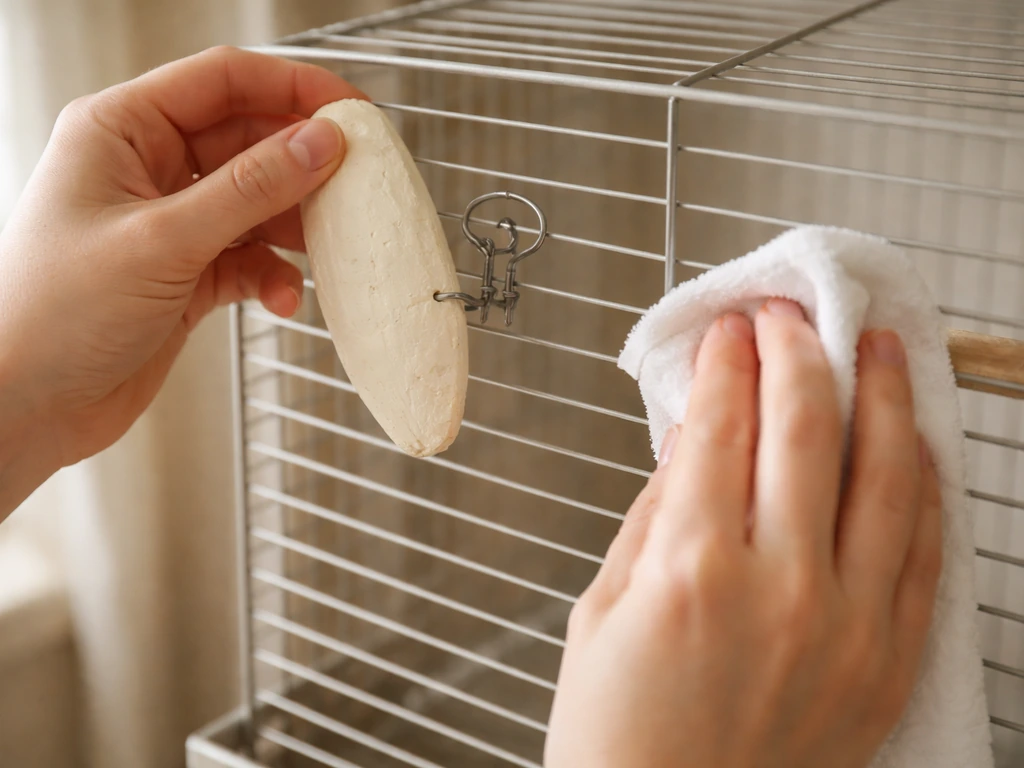
- Test the attachment every time you clean the cage. Give the cuttlebone a deliberate downward tug and a sideways push. If it wobbles more than a few millimeters, retighten the wire or reseat the clip before putting the bird back.
- Replace the metal clip if it looks bent, rusty, or has lost its spring tension. A clip that cannot grip tightly is a drop waiting to happen.
- If your bird is an aggressive chewer (many cockatiels and lovebirds qualify), use the wire loop method or a metal holder rather than a factory plastic clip, which strong birds can break open.
- Check for sharp edges on the cuttlebone itself as it wears down. The chalky white material is soft and generally safe, but as the cuttlebone erodes, the harder outer spine on the back side can become exposed and cracked. Snap off any protruding spine fragments so there are no pointed edges left in the cage.
- Never leave a cuttlebone in the cage once it has worn down to a thin sliver (less than about half an inch thick), because the remaining backing spine can splinter into thin shards that a bird might try to swallow.
- If you use zip ties: check them every week. Parrots and larger budgies can gnaw through a standard zip tie in a day or two. Ingesting pieces of nylon is not healthy, so swap to wire or a proper holder if your bird targets the fastener.
Cleaning, replacing, and adjusting over time
Cuttlebone maintenance is simple but easy to forget. Build it into your regular cage-cleaning routine and you will never end up with a bird that has been gnawing on a moldy or depleted stub for weeks.
Cleaning
You do not wash the cuttlebone itself. Water breaks it down quickly and can foster mold growth in the porous material. Instead, wipe the cage bars around the attachment point with a damp cloth during your regular clean, and if droppings land on the cuttlebone surface, simply scrape them off with a dry toothbrush or let them dry and brush away. If the cuttlebone gets thoroughly wet (from a nearby water dish splash, for example), remove it, let it air dry completely in a clean spot, and check for any soft or discolored areas before returning it to the cage. Discard it if it smells off or shows visible mold.
When to replace it
An average budgie or cockatiel will work through a standard-sized cuttlebone in roughly four to eight weeks, though this varies a lot by individual bird. Replace it when the remaining piece is thinner than about half an inch or when the back spine is significantly exposed. Do not wait until it is completely gone. Some birds lose interest in a cuttlebone once it is mostly spent, so keeping a fresh one available encourages consistent calcium intake. If your bird never touches the cuttlebone, try scraping the rough surface lightly with a fingernail before installing it to release the chalky smell, or try a different brand since mineral content and texture vary.
Seasonal adjustments
Spring and early summer are breeding and nesting seasons for most pet bird species. Females in particular need more calcium during this period, so check the cuttlebone weekly rather than monthly and replace it sooner. If you have a hen that is laying, consider offering a second cuttlebone or a mineral block at the same time.
In winter, if your home gets dry from heating, the cuttlebone will actually last longer since dry air preserves it, but watch for increased dust and move it away from any space heater airflow. If your area has a humid summer and you notice the cuttlebone softening faster than usual, replace it more frequently and keep it well away from water sources in the cage.
What to do if pests become an issue
Cuttlebone does not typically attract insects the way food does, but in warm, humid conditions, mites can colonize soft organic material in a cage. If you notice any tiny moving specks on or around the cuttlebone, remove and discard it immediately, treat the cage for mites, and introduce a fresh cuttlebone only after the cage is fully clean and dry. Storing spare cuttlebones in a sealed container in a cool, dry spot (not a damp cupboard) keeps them fresh and pest-free until you need them.
A quick comparison of attachment methods
| Method | Best for | Security level | Tools needed | Main risk to watch |
|---|---|---|---|---|
| Factory metal clip | Beginners, small birds like finches and budgies | Medium | None | Clip losing tension over time |
| Stainless steel wire loop | All species, especially heavier birds | High | Pliers, wire cutters | Sharp wire ends if not bent flat |
| Purpose-made cuttlebone holder | Heavy chewers, cockatiels, larger parrots | High | Minimal (clip-on design) | Holder becoming loose if not checked |
| Food-safe zip tie | Temporary or emergency fix only | Low to medium | None | Bird chewing and ingesting nylon |
Your next steps right now
If you have a cuttlebone in hand already, pick one of the three attachment methods above, position it at mid-cage height near your bird's main perch, rough side facing in, and do a firm tug test before you let your bird back into the cage.
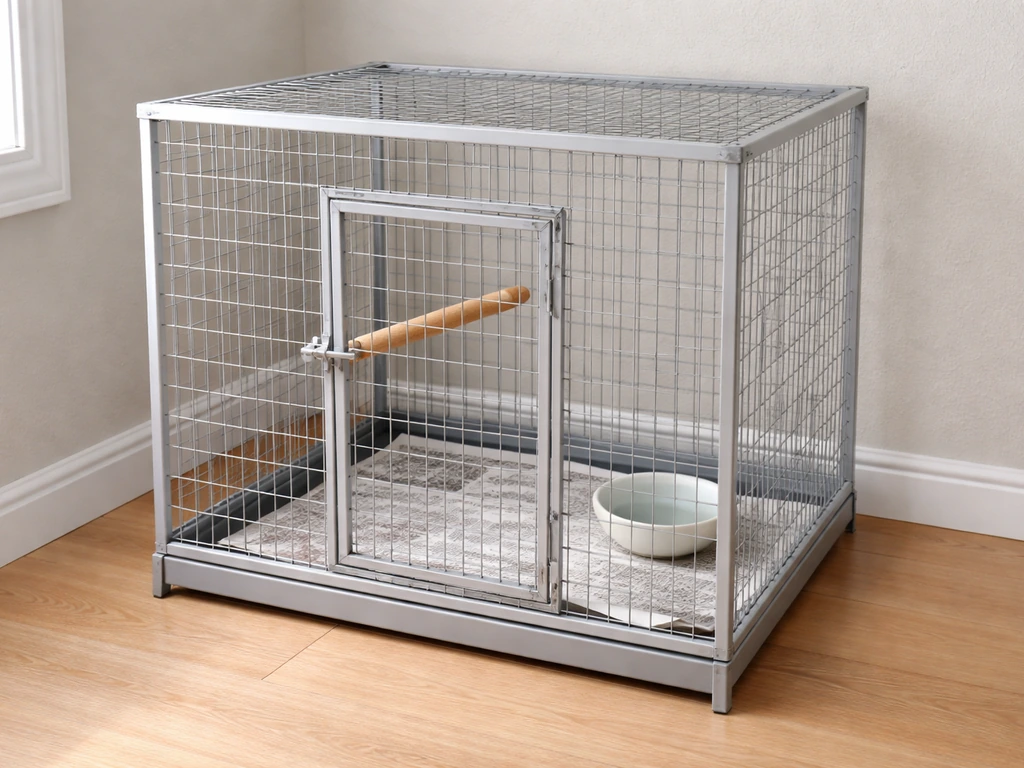
After you attach it, you can also move your bird into the new cage safely by transferring perches first and keeping the bird calm and secure during the change move a bird to a new cage. For similar guidance on hanging spray millet, choose a bird-safe clip and tie it so it stays reachable without creating a snag hazard position it at mid-cage height near your bird's main perch, rough side facing in.
That is genuinely all it takes to get started. To learn the full step-by-step process for adding one correctly, see this guide: how to put bird in cage. If you are also adding a bird bath to the cage setup, make sure it is positioned safely and won’t create splashing onto the cuttlebone or cause slipping hazards how to put a bird bath in a cage.
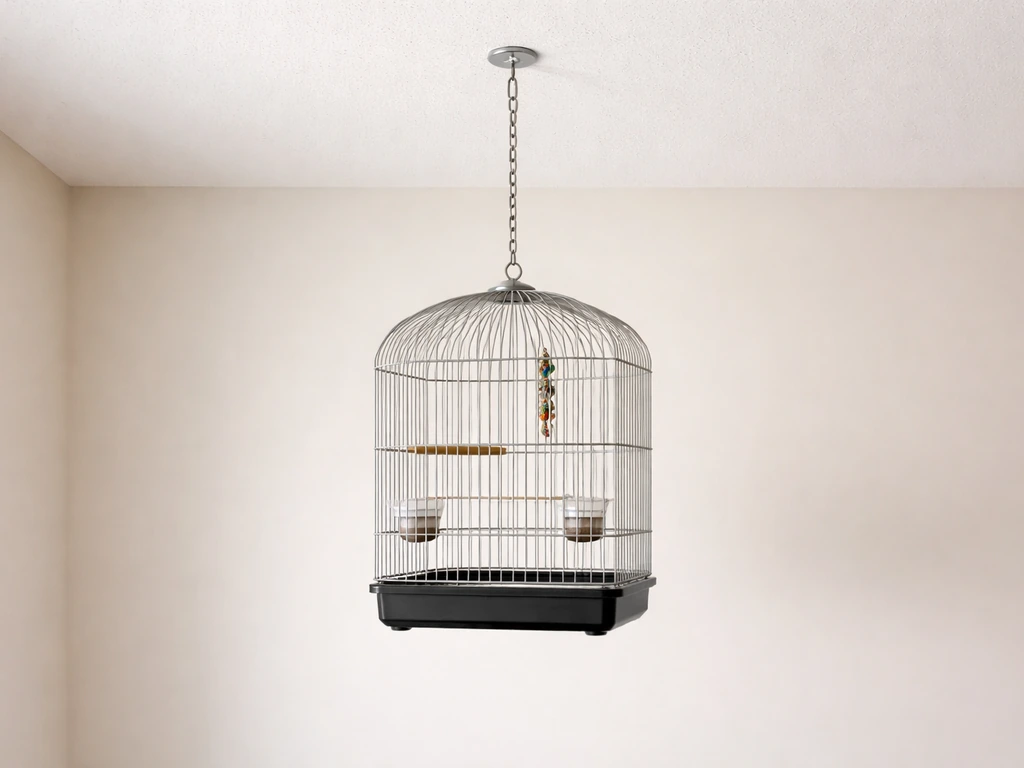
Check it again in a week to make sure it has not shifted, and from there it becomes a quick item on your cleaning checklist. If you are wondering how to hang a bird cage, focus first on stable support points and safe, bird-friendly materials. If your bird has not touched it after a few days, try scraping the surface to release the mineral scent and move it closer to the perch they use most.
Setting up other cage accessories follows the same logic of placement and security, so once you have the cuttlebone sorted, the rest of your cage setup gets easier too. Once you pick the right bar spot and secure the clip or holder safely, you can place the bird feeder in the cage in the same general way.
FAQ
What should I do if my bird keeps knocking the cuttlebone around or it drops to the bottom?
If your bird is a heavy shredder, ensure the attachment point is tight enough that the cuttlebone cannot spin or swing. After clipping it on, do a tug test and then watch for a day, if it starts twisting, reattach higher up the bar so the bird’s beak pressure works against the spine instead of prying it loose.
Can I cut the cuttlebone to fit my cage size, and how small is too small?
Yes. For comfort and safety, match the cuttlebone piece to the cage bar spacing so the bird can reach it while perched, but so there is no pinch gap around the wire or clip area. A good rule is to avoid any piece so small that only the clamp holds it in place, and avoid oversized pieces that force the bird to stretch awkwardly.
My cuttlebone came with a clip, can I use it even if it looks a little different than the one I used before?
Do not use it if it has been treated to remove sharp edges or if the shell looks coated, glossy, or painted. If the cuttlebone came with a metal clip, remove it only if you can replace it with stainless steel and secure it firmly, otherwise keep the original clip only when it is clean, intact, and not rusty.
If my cuttlebone gets wet from splashing, is it still safe to reuse?
A clean, fully dry cuttlebone can go back in, but if there are any soft spots, visible mold, or a sour or musty smell, discard it. Also, wipe any cage surfaces that got wet, because leftover moisture can seed the same mold return even if the cuttlebone is replaced.
My bird will not touch the cuttlebone, what are the best troubleshooting steps?
If your bird ignores it, first try moving it to the bird’s most-used perch height (mid-cage near the main perch usually works). If it still does not touch it after a few days, lightly scrape the rough surface to expose fresh chalk, or switch to a different brand because texture and mineral density vary, which changes how readily birds chew it.
Is it okay to provide two cuttlebones, or should I switch to a mineral block during breeding?
Yes, during breeding or when laying is frequent, more calcium is needed. Offer a second calcium option only if the cage layout still keeps accessories stable, and place the additional item where both locations cannot be reached by the same perch in a way that causes them to collide. Always keep one fresh cuttlebone as the primary chew point, then add the extra option.
How long can I leave a cuttlebone in before replacing, and is it ever okay to remove it temporarily?
Do not remove the cuttlebone for long stretches if your bird is prone to low calcium, especially hens or birds on seed-heavy diets. If you want to adjust over time, do it gradually by monitoring droppings, behavior, and feather condition, and replace with fresh before the remaining piece gets very thin.
What is the correct way to handle mites found on or around the cuttlebone?
If you see mites or tiny moving specks, remove the cuttlebone immediately and discard it. Treat the entire cage and surrounding area, then wait until everything is dry before reinstalling. Spares should be stored sealed in a cool, dry place so you do not introduce pests back into the clean cage.