
You can build a solid, bird-safe cage divider in an afternoon using a stainless steel or powder-coated frame, the right mesh aperture for your species, and a track-and-slot or clip system that locks the divider firmly in place. The whole project comes down to four things: knowing why you need it, measuring the space accurately, picking materials that won't leach zinc or rust, and installing it so there are zero entrapment gaps and easy cleaning access on both sides.
How to Make a Bird Cage Divider: DIY Step-by-Step

Maya Bennett
31 May 2026
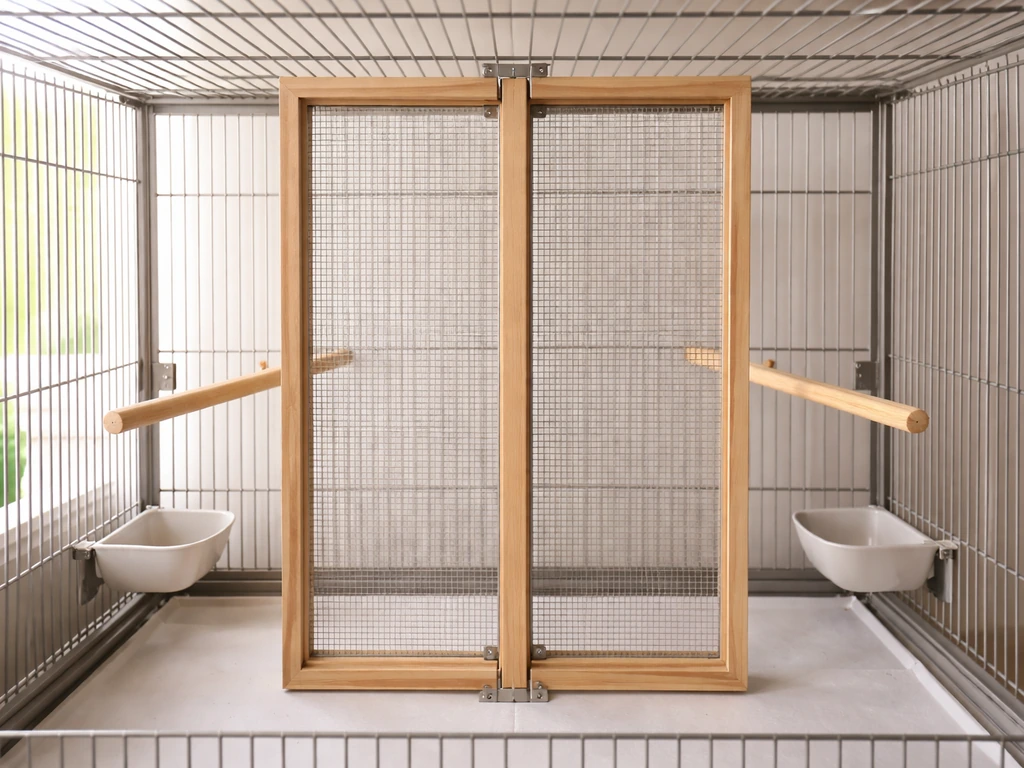
First, decide what you actually need the divider to do
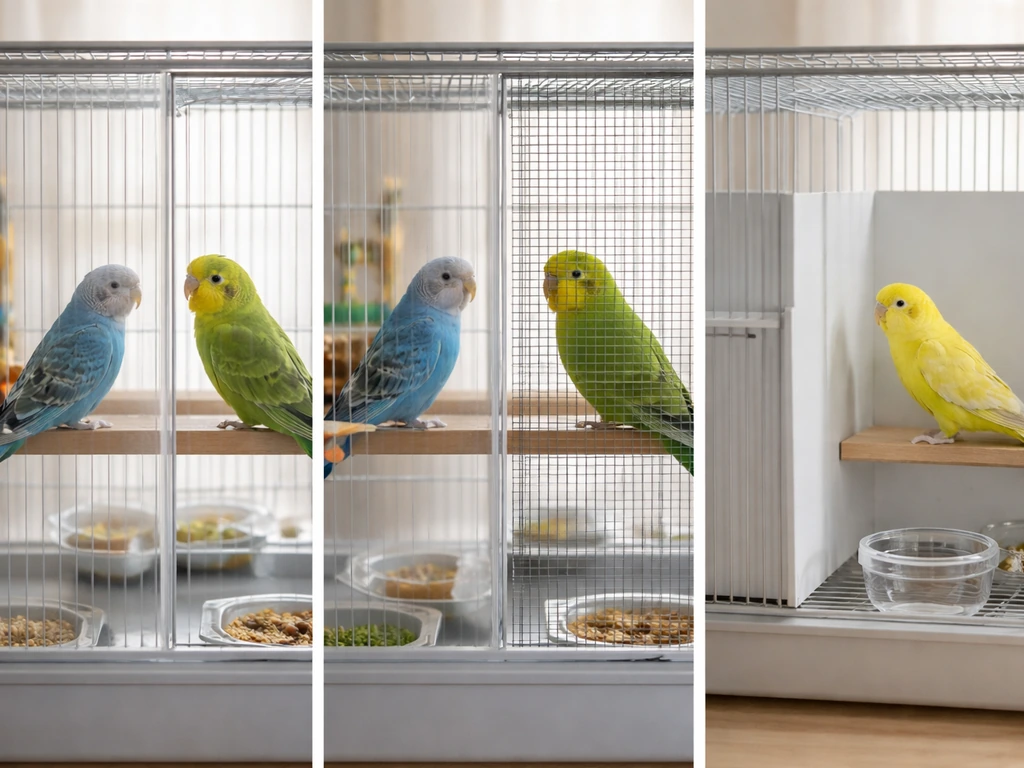
The reason you're building the divider shapes every decision that follows, so get specific before you buy anything. There are three common scenarios, and they call for slightly different designs.
- Safety separation: One bird is bullying, feather-plucking, or injuring the other. You need a divider strong enough to resist persistent pushing and chewing, with a mesh aperture small enough that beaks and toes can't hook through and get twisted.
- Gradual introduction: You're introducing a new bird and want both birds to share airspace and see each other without direct contact. Visibility is a feature here, so an open mesh or bar-style divider with good sightlines works well. You'll likely remove it once introductions succeed.
- Breeding or nesting zone: You want to block each pair's view of the other pair's nest area while still allowing the same room airflow. A partial divider with a solid lower section and open mesh upper section is common for this. If you're building a full split-half breeding cage, also think about how you'll connect two separate cages together, which is a related but distinct project.
If you're dealing with fighting birds, also ask yourself whether the problem is stress from overstimulation rather than true incompatibility. Sometimes a divider that allows airflow and limited visibility (rather than full isolation) reduces stress better than a solid barrier. A solid panel blocks visual triggers but can also spike anxiety in birds that were previously bonded. For most introductions and routine separations, stick with mesh so both birds know the other is still there.
Measure your cage and plan the layout before cutting anything
Grab a metal tape measure and note the interior width and height of your cage at the point where the divider will sit. Measure in at least two spots across the width and two spots vertically, because many cages taper slightly or have welded horizontal bars that create uneven surfaces. Your divider frame needs to match the tightest measurement, not the widest, or it will shift around.
- Measure interior width at the top, middle, and bottom of the intended divider position. Record the smallest measurement.
- Measure interior height from the cage floor (or grate) to the roof at the divider position. Record both left and right measurements.
- Note any obstructions: horizontal support bars, perch mounts, feeder door frames, or tray lips that your divider will need to clear or slot around.
- Decide which half gets each existing feeder door. Ideally, both sides should retain at least one large access door. If your cage only has doors on one side, factor in a divider door or panel hatch now, before you build.
- Sketch the divider on paper showing the frame perimeter, any hatch/door cutout, and how it connects to the cage walls. Mark which edges will use clips, a track, or bolts.
For a track-and-slot system (the most repeatable option for removable dividers), you'll attach a channel or rail to the front and back cage bars so the divider panel slides in and out like a drawer. If you also need a walkthrough for how to attach a nesting box to a bird cage, follow the same approach of aligning brackets to cage bars and checking for safe clearance before you fasten anything track-and-slot system. Plan the track depth to match your frame thickness plus about 3mm of clearance for easy removal without wobble. If you want a fixed divider, you'll bolt or zip-tie the frame directly to the cage bars at multiple points around the entire perimeter. Fixed dividers are more secure against determined biters but harder to remove for deep cleaning.
Also plan how you'll feed and water each bird without reaching across the divider. If both sides don't have their own food and water access, you haven't divided the cage, you've just created a bottleneck.
Pick materials that are genuinely bird-safe
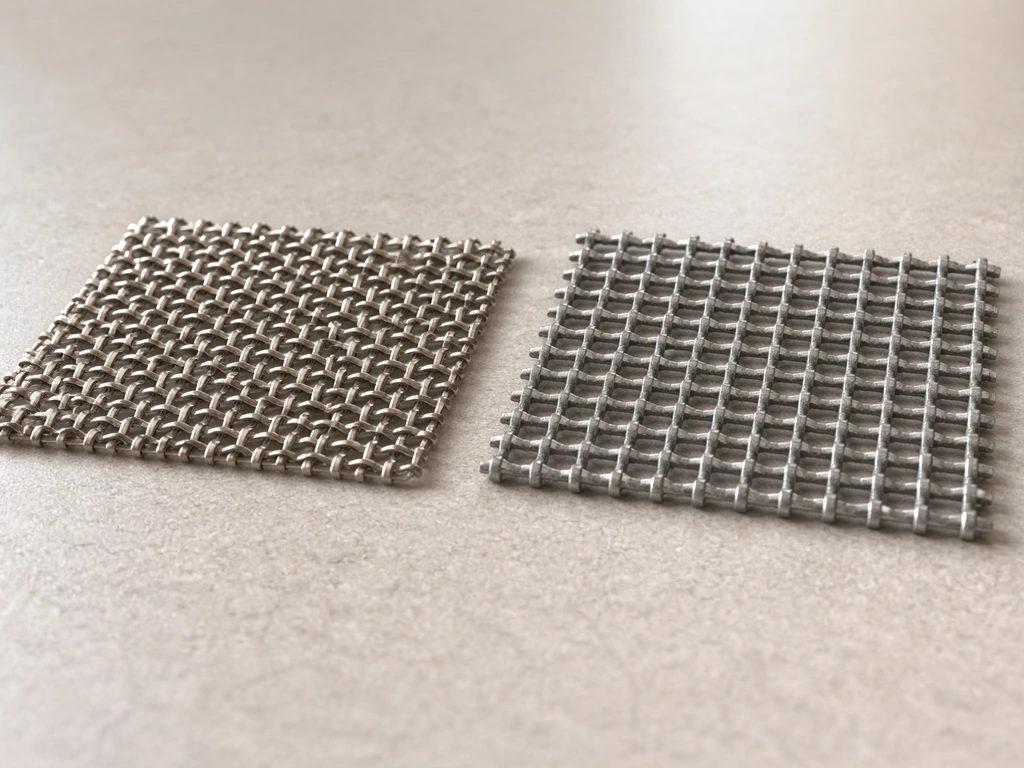
This is where most DIY dividers go wrong. Zinc is the most common metal toxin in bird environments, and galvanized hardware cloth (the stuff sold at most hardware stores) is coated in zinc. Chewing birds can ingest enough zinc from galvanized mesh to cause serious illness. Stainless steel is the only metal that experts and avian vets consistently agree is safe for bird housing, including dividers. It won't rust, won't leach zinc, and holds its shape without bending into dangerous gaps.
| Material | Safe? | Notes | Best For |
|---|---|---|---|
| 304 or 316 stainless steel mesh | Yes | Most expensive option, but the gold standard. Does not rust, no zinc. | Any species, especially chewers like parrots |
| Powder-coated steel mesh (bird-safe coating) | Yes, if intact | Must be a brand that certifies bird-safe coatings. Chips over time; inspect regularly. | Budgies, cockatiels, finches in lower-contact dividers |
| Galvanized hardware cloth | No | Zinc coating is toxic when chewed or ingested. Avoid entirely. | Not recommended for any bird use |
| PVC-coated wire | Use with caution | Coating must be food-safe and not chewable through. Avoid if birds chew mesh directly. | Finches or canaries that don't chew bars |
| Aluminum mesh | Generally yes | Softer than steel, can bend and create gaps over time. Not ideal for large parrots. | Small birds with light beaks |
| Acrylic or plexiglass panel | Yes | Blocks all airflow; only use as partial solid section, not the whole divider. | Lower visual barrier in breeding setups |
Getting the mesh aperture right for your species
Mesh aperture (the size of each opening) has to match your bird's head and body geometry, not just your finger width. For small birds like budgies, cockatiels, canaries, and finches, use mesh with openings no larger than 1/2 inch (12mm) to prevent head entrapment. For larger parrots where 1/2 inch mesh may be impractical for full panels, a 1 x 1 inch (25mm x 25mm) aperture in heavier-gauge stainless steel is a common commercial standard. The key is that if you can fit the bird's head through an opening, so can the bird, with potentially fatal consequences if it then can't get back out.
Frame the divider in square steel tube or aluminum channel, at least 1/2 inch thick, so the panel doesn't flex in the middle under pressure. A frame that bows lets determined birds push their faces through gaps that weren't there when you installed it.
Fasteners and attachment hardware
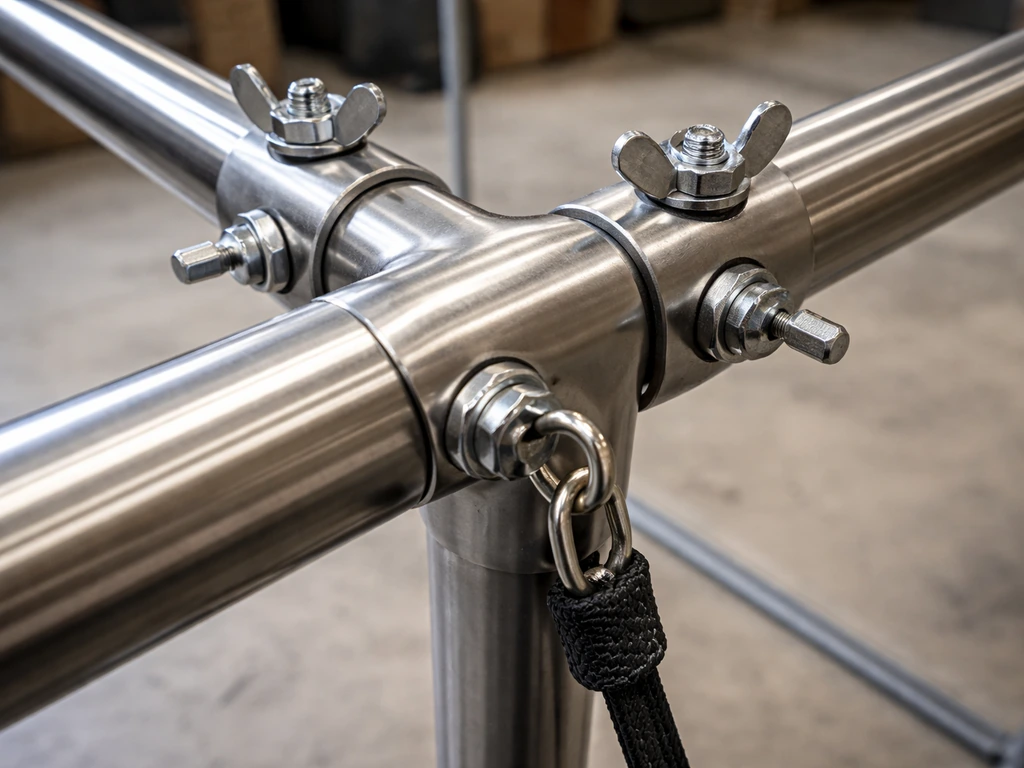
Use stainless steel bolts, wing nuts, or J-clips (hog rings) throughout. Avoid anything galvanized or zinc-plated. If you're using zip ties as a temporary measure, use only UV-stabilized nylon ties with no metal reinforcement, trim the tails completely flush so there's nothing to catch a foot on, and replace them every few months as nylon degrades. Never use copper wire, twist ties, or rubber-coated ties.
How to build the divider, step by step
What you'll need
- Stainless steel mesh panel (aperture sized for your species, cut to your interior cage dimensions)
- Square steel tube or aluminum channel for the frame (lengths to match your four perimeter sides)
- Hacksaw or angle grinder with metal cutting disc
- Drill with metal bits
- Stainless steel J-clips or hog rings and hog ring pliers, OR stainless steel bolts, washers, and wing nuts
- Metal file or deburring tool
- Metal tape measure and marker
- Safety gloves and eye protection
- Optional: aluminum channel track for slide-in/slide-out system
- Cut the four frame pieces to length using your smallest interior measurements from the planning step. For a track-and-slot system, subtract the track depth from your height so the panel clears the top bar when inserting.
- File every cut edge smooth. Any sharp burr on a frame corner that touches the cage interior is a foot and wing hazard. Run your bare hand along every edge before continuing.
- Drill attachment holes in the frame at 3 to 4 inch intervals around the entire perimeter. These are the points where the mesh attaches to the frame and where the frame attaches to the cage bars.
- Lay the mesh flat and position the frame on top. Using J-clips or hog rings, attach the mesh to the frame at every drilled hole around the perimeter. Pull the mesh taut before clipping so there are no slack sections that could billow inward.
- Check every mesh attachment point: run your fingers across both faces of the frame edge. No clip tails, no sharp wire ends, nothing that protrudes more than flush with the frame face.
- If building a hatch or small door into the divider (for feeding or limited access), cut the opening before attaching mesh, frame the opening with an additional channel piece, and hinge a small mesh panel using stainless steel hinges and a secure latch rated for bird use.
- For a track system, cut two aluminum channel pieces to the cage depth (front to back) and drill them to match the cage's front and back bars. These will be screwed or bolted to the cage bars first; the divider then slides down into the track channels.
- For a fixed system, drill through the divider frame at the perimeter attachment points and align these with the cage bars. Bolt through cage bar and frame with a washer on each side and a wing nut tightened firmly on the interior face.
Install it and run a full safety check before your birds go back in
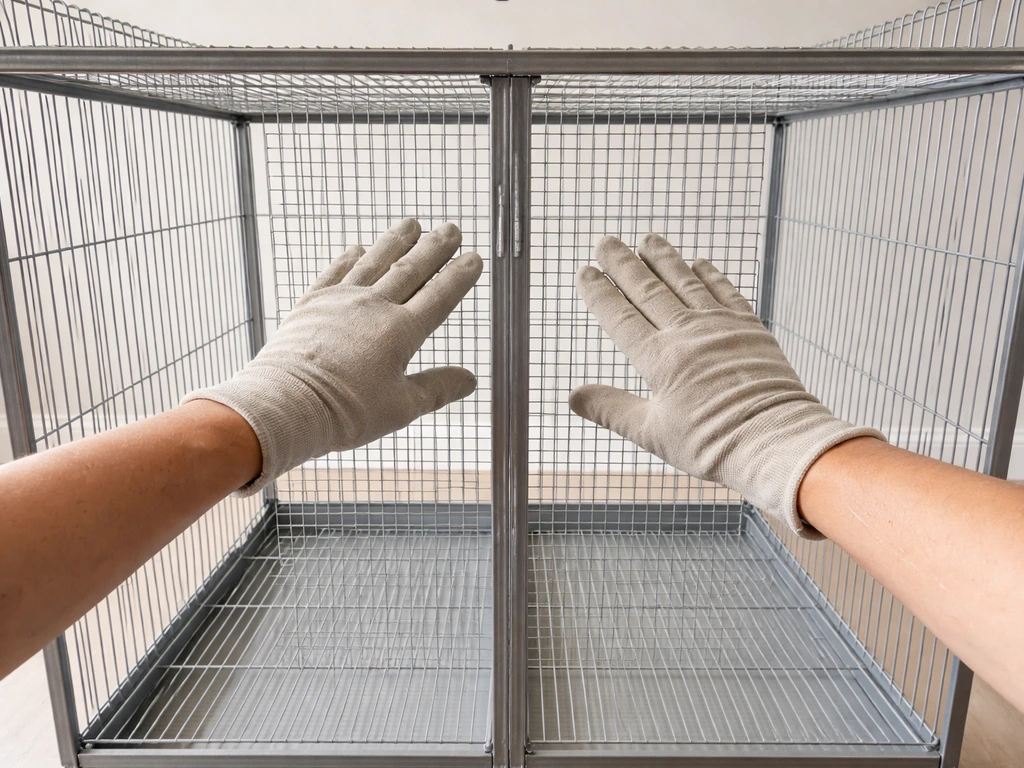
Install the divider with both sides of the cage empty. Slide or bolt it into position and immediately check these things before any bird gets near it.
- Entrapment check: Press the mesh firmly in multiple spots. It should not flex more than a few millimeters. Check every gap between the divider frame and the cage wall, ceiling, and floor. You should not be able to slide a pencil through any gap at the edges.
- Stability check: Grip the divider and push, pull, and twist it with moderate force. It should not shift, rattle excessively, or partially pull away from attachment points.
- Sharp edge check: Run your bare hand, slowly, across every surface that a bird could contact. Any snag means stop and file or re-clip before proceeding.
- Perch and feeder check: Verify that perches on each side are at least 1 inch away from the divider so birds don't sit directly against the mesh and get toes hooked through it during sleep.
- Door access check: Confirm you can open and close each side's access door without the divider interfering, and that you can reach food and water on both sides without fully opening the cage.
- Comfort check: After placing birds back in (one at a time, birds on separate sides), watch for 15 to 20 minutes. Look for repeated charging at the divider, any attempt to squeeze through gaps, and signs of distress like panting, feather-sleeking, or screaming that doesn't settle.
For introduction situations, expect some initial stress vocalization. That's normal. What you're watching for is physical contact attempts through the mesh, which means your aperture size or frame-to-wall gap needs attention before you leave them unattended.
Keeping both sides clean without losing your mind
A divider doubles your cleaning surface area and can create airflow pockets where droppings and food debris collect against the mesh. The fix is building a cleaning routine that addresses both sides on the same schedule rather than treating them separately.
Daily routine
Spot-clean droppings from the cage floor liner, grate, and any dropping that hit the divider mesh on both sides every day. Food debris and droppings on the mesh itself attract bacteria quickly. A damp paper towel or bird-safe cage wipe handles this in under two minutes per side if you catch it daily rather than letting it build up.
Weekly routine
Wipe down the full divider mesh and frame with warm soapy water (plain dish soap, thoroughly rinsed) using a stiff brush that can get into the mesh apertures. Remove the tray on each side, clean and dry it thoroughly before sliding it back, and replace the liner. Drying the tray completely before reinserting is important because moisture trapped under the liner and against the cage floor leads to mold and bacterial growth. Wipe cage bars and the divider frame as part of this same session so the whole interior gets attention at once.
Managing airflow across the divider
Mesh dividers allow air to move between sides, which is good for air quality but also means smells and fine particulate (feather dust, dander) cross freely. Position the cage so there's ambient airflow across the cage without creating a direct draft on either bird. If one side consistently accumulates more dust because of species differences (African greys, for example, produce a lot of powder down), a partial HEPA air purifier positioned near the cage helps both sides. Avoid solid panel dividers for this reason unless you have a specific breeding need for visual block, and even then use solid only on the lower half.
When things go wrong: common problems and how to fix them
The divider doesn't fit flush and there are gaps at the edges
This is usually a measuring problem or a cage that's slightly out of square. First, re-measure the cage at multiple points and compare to your divider dimensions. If the cage is the issue, add a border strip of folded stainless steel mesh or a foam-backed edge guard (bird-safe only) as a filler strip, then bolt the divider frame through it. Don't try to force an oversize divider into place, as this bows the frame and creates pressure points that eventually fail.
The divider shifts or rattles after installation
Check every attachment point and tighten any loose wing nuts or replace any clips that have opened. If the divider is held in a track and is sliding sideways, the track channels may be slightly too wide. Line the inside of each channel with a thin strip of food-safe silicone tape (sold for sealing aquariums) to reduce play without gluing anything permanently.
Birds are still reaching each other through the mesh
Your mesh aperture is too large for your birds' beak length. Replace the mesh with a smaller aperture. For breeding or nesting setups, a divider can be used so pairs cannot see each other’s nest areas while still allowing a gradual introduction within the same cage per-bird nesting introductions using a divider. For parrots that are actively reaching beaks through 1-inch mesh, step down to 1/2-inch mesh. This is not a tweakable problem, it requires replacing the mesh panel. It's also worth checking whether perches are positioned too close to the divider, which encourages birds to hang on the mesh directly.
The mesh is corroding or the coating is chipping
If you used powder-coated mesh and see chips or rust spots developing, remove the divider immediately. Rust and degrading coatings pose the same risk as the original galvanized hardware. Switch to 304 stainless steel mesh at this point. Yes, it costs more upfront. But it won't corrode, won't chip, and won't require replacement on a timeline you can't predict.
One bird is obsessing over the divider and not eating or sleeping normally
This sometimes means the visual stimulus of seeing the other bird constantly is more stressful than helpful. Try covering the lower two-thirds of the divider with a lightweight breathable cloth (not plastic, not anything that restricts airflow) for a few days. This maintains airflow and scent familiarity while reducing direct visual contact. Gradually remove the cover as behavior normalizes. If it doesn't improve, consult an avian vet before assuming you need a more permanent solution.
Upgrading your divider later
If you started with a basic fixed divider and want to upgrade to a removable track system for easier cleaning, the track channels can usually be retrofitted by bolting them to your existing cage bars without disturbing the cage structure. If you started with a basic fixed divider and want to upgrade to a removable track system for easier cleaning, the track channels can usually be retrofitted by bolting them to your existing cage bars without disturbing the cage structure how to divide a bird cage. Some owners use the divider as a stepping stone to connecting two separate cages as a permanent expansion, which is a different project involving external tunnel or door connectors rather than internal dividers. Some owners use the divider as a stepping stone to connecting two separate cages as a permanent expansion, which is a different project involving external tunnel or door connectors rather than internal dividers. If your situation has evolved into a full two-cage setup, that's worth exploring as its own build.
FAQ
Can I use hardware cloth if it is powder-coated or painted after purchase?
You should not. Many “coated” or repainted hardware cloth products are still based on galvanized wire, and the coating can chip where bolts or clips rub. If you want a coated mesh look, use stainless steel mesh and then apply a bird-safe, fully cured finish only if the manufacturer explicitly states it is non-toxic for chewing birds and won’t crack at flex points.
What’s the safest way to choose mesh size if I have a mix of bird species or unknown breeds?
When in doubt, size for the bird most likely to attempt to reach through, usually the smallest beak with the strongest exploratory behavior. Use the smaller aperture standard for any bird that could fit its head through, and keep perches positioned so neither bird can “hang” on the mesh. If you notice beak contact through the openings, replace the panel rather than trying to stretch or cover the mesh.
How do I prevent a gap from forming after installation, if my divider seems to fit at first but loosens over time?
Recheck measurements after a few days because cage bars and frames can shift slightly. Tighten wing nuts, replace any clips that have opened, and inspect the perimeter for daylight gaps. If the divider sits in tracks, reduce side-to-side play by lining the channel with a thin strip of food-safe silicone tape, then retest for wobble before birds use it.
Is it okay if the divider blocks visibility on the top half but leaves the bottom open?
Yes, in some cases. If one bird is more stressed by constant viewing, partially covering only the lower section can reduce direct visual triggers while still allowing airflow. Avoid anything airtight or restrictive, and never cover in a way that could encourage chewing at the fabric or create condensation buildup.
Can I make the divider from wood or plastic if I cover it with something safe?
Avoid both. Wood can absorb droppings moisture and be difficult to sanitize inside corners, and many plastics warp with heat or cleaning chemicals. For dividers, stick to stainless steel or aluminum framing and stainless steel mesh, then use bird-safe liners and trays you can remove and fully dry.
How should I manage food and water access so the divider doesn’t become a bottleneck?
Each side needs its own independent setup, or at minimum, both birds need a way to access without reaching across. Use separate bowls and waterers mounted to the cage bars on each side, and verify you can service both without leaning your hands or tools through the mesh gap that the birds might then test.
Do I need to worry about drafts or smell transfer if my divider is mesh?
Yes. Mesh allows airflow, which is helpful for air quality, but it also lets fine dust and odors pass. Place the cage so air moves across the room without creating a direct cold draft onto one side. If one bird side accumulates more dust, consider a localized HEPA purifier nearby, aimed at mixing the room air rather than blowing directly at the birds.
How often should I clean a mesh divider compared with the rest of the cage?
Clean on a same-schedule basis for both sides. Spot-check daily, but plan a full mesh and frame wash often enough that debris does not build on the apertures, then remove, clean, and completely dry the trays before reinserting. Moisture trapped under liners is a common cause of mold and odor even when the cage floor liner looks “clean.”
What should I do if I see rust, chips, or coating failure on a divider panel?
Remove the divider immediately and replace with 304 stainless steel mesh and compatible stainless components. Don’t just cover the bad spots, rust and degrading coatings can continue undermining the integrity of the barrier and can introduce exposure risks if chewing occurs.
My birds keep contacting each other through the mesh, what are my practical next steps?
First, remeasure your frame-to-wall gap and confirm the mesh aperture is small enough for the bird’s beak length. If the bird can reach comfortably and repeatedly, the mesh is usually too open, so replace the mesh panel. Also adjust perch placement so birds cannot position themselves right up against the mesh to probe openings.
Can I build a removable divider if my cage has unusual bar spacing or nonstandard geometry?
Yes, but plan for custom fit. Take interior measurements in multiple spots and match the tightest dimension. If the track system creates uneven seating, use the border-strip approach with folded stainless steel mesh or a bird-safe edge guard only as a filler, then bolt through the combined thickness to restore a snug, stable perimeter.
Next Articles
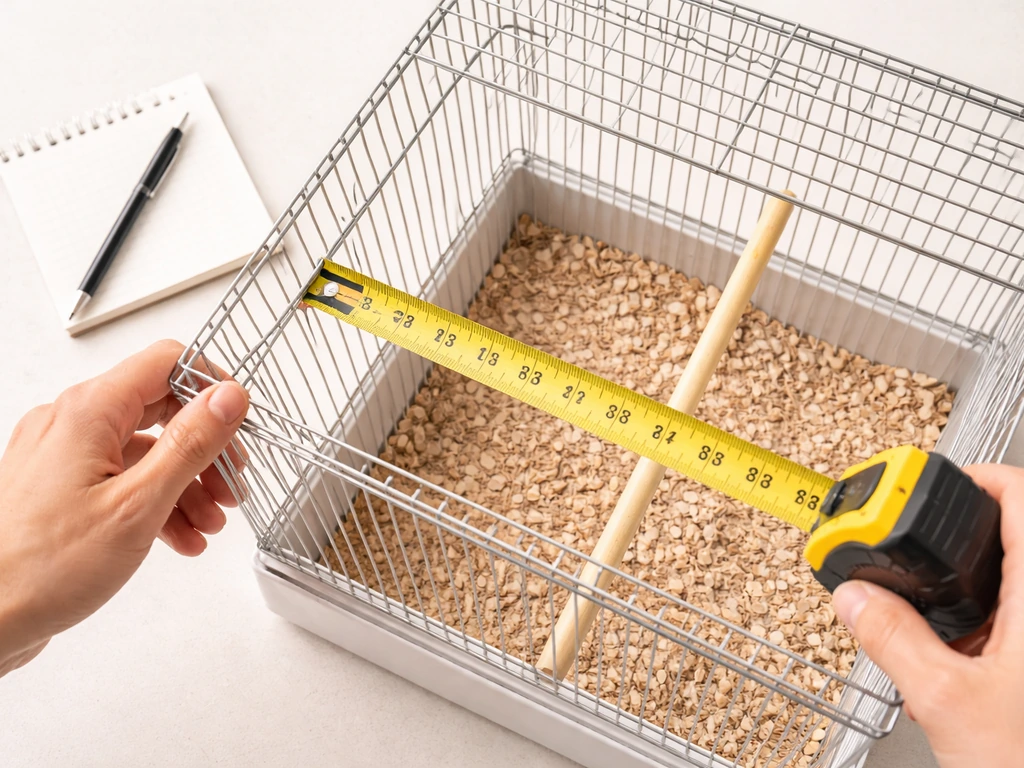
How to Measure a Bird Cage Size and Bar Spacing
Step-by-step guide to measure bird cage size and safe bar spacing, with tools, accuracy tips, and quick checks.
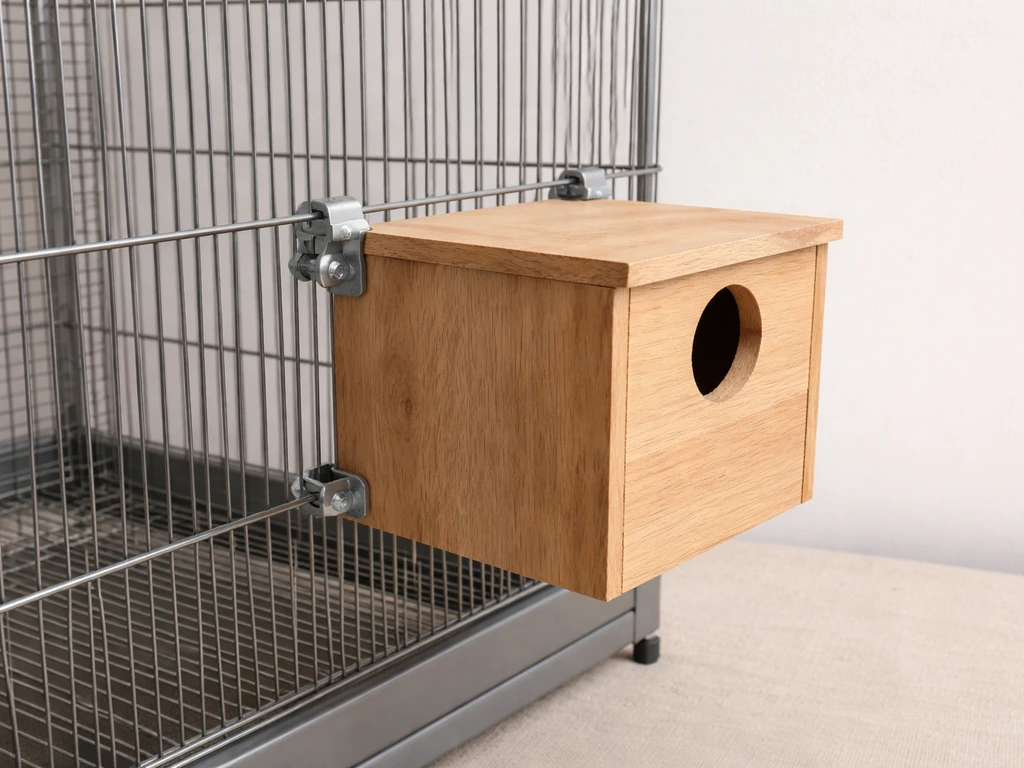
How to Attach a Nesting Box to a Bird Cage Safely
Step-by-step how to attach a nesting box to a bird cage safely: sizing, placement, hardware, and troubleshooting.
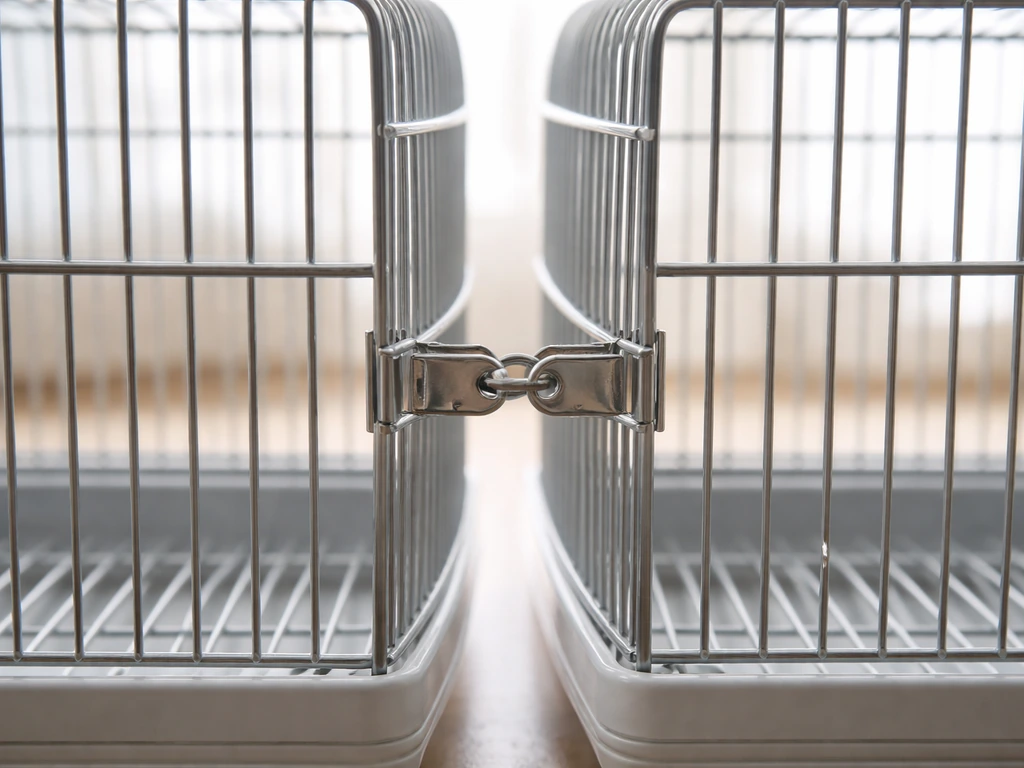
How to Connect Two Bird Cages Together Safely
Step-by-step guide to securely link two bird cages with safe connectors, proper alignment, airflow, feeding access, and