Building a bird cage in Minecraft is one of those decorative builds that looks impressive but is actually pretty straightforward once you know which blocks to grab. The core idea is simple: use glass panes for the cage walls, fences or fence gates for structure and entry points, and trapdoors for accents or a roof hatch. Whether you want a compact perch piece or a big statement cage, I'll walk you through both versions step by step.
How to Make a Bird Cage in Minecraft: Step by Step

Maya Bennett
12 Apr 2026
Quick materials & prerequisites
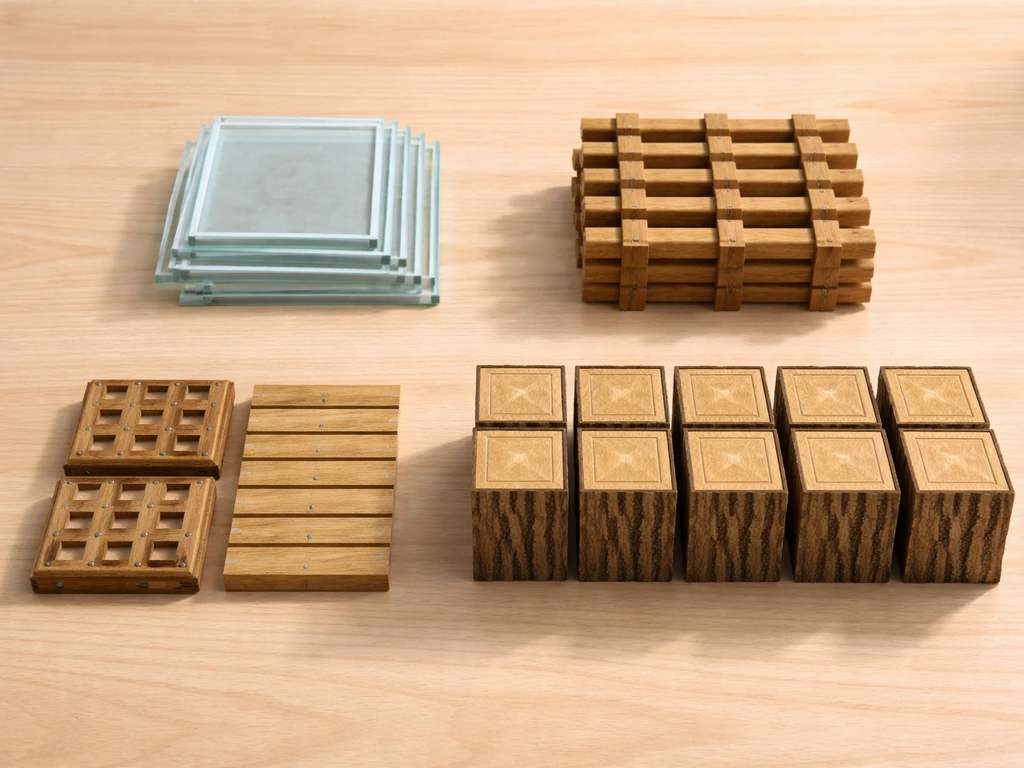
Before you place a single block, pull these items from your inventory or craft them at your crafting table. The quantities below cover the basic 5x5x5 cage design. Scale up proportionally for the larger version covered later.
| Material | Quantity (basic build) | Crafting note |
|---|---|---|
| Glass panes | ~32 panes | Craft 6 glass blocks → 16 panes; you need two crafting runs |
| Wood fences | ~16 pieces | 4 planks + 2 sticks per 3 fences |
| Fence gate | 1–2 | 4 sticks + 2 planks of any matching wood type |
| Trapdoors | 4–8 | 6 wood planks arranged in two horizontal rows yields 2 trapdoors |
| Wood planks (oak, birch, etc.) | Stack of 32 | Used for frame corners and crafting components |
| Slabs (stone or wood) | 8–12 | Optional; used for the roof layer |
| Carpet or wool (any color) | A few blocks | Interior floor decoration |
One thing worth knowing about glass panes before you start: blank" rel="noopener noreferrer">six glass blocks craft into 16 panes at the crafting table, so they go further than you'd expect. Keep a few extra glass blocks in your inventory because panes behave differently depending on what's next to them. When a pane sits alone with no side neighbors, it appears as a thin vertical post. Once you connect it to an adjacent fence or frame block, it flattens into a proper wall panel. This is actually useful for the cage look, so plan your placement so the panes are always connecting to your frame.
For the wood type, pick whatever matches your build environment. Oak gives a natural look; dark oak or spruce reads as a more rustic cage. Birch keeps it light and clean. The fence gate recipe doesn't care about mixing wood types in the recipe itself, but visually you'll want everything to match, so stick to one wood type throughout.
Basic bird cage build: step-by-step layout
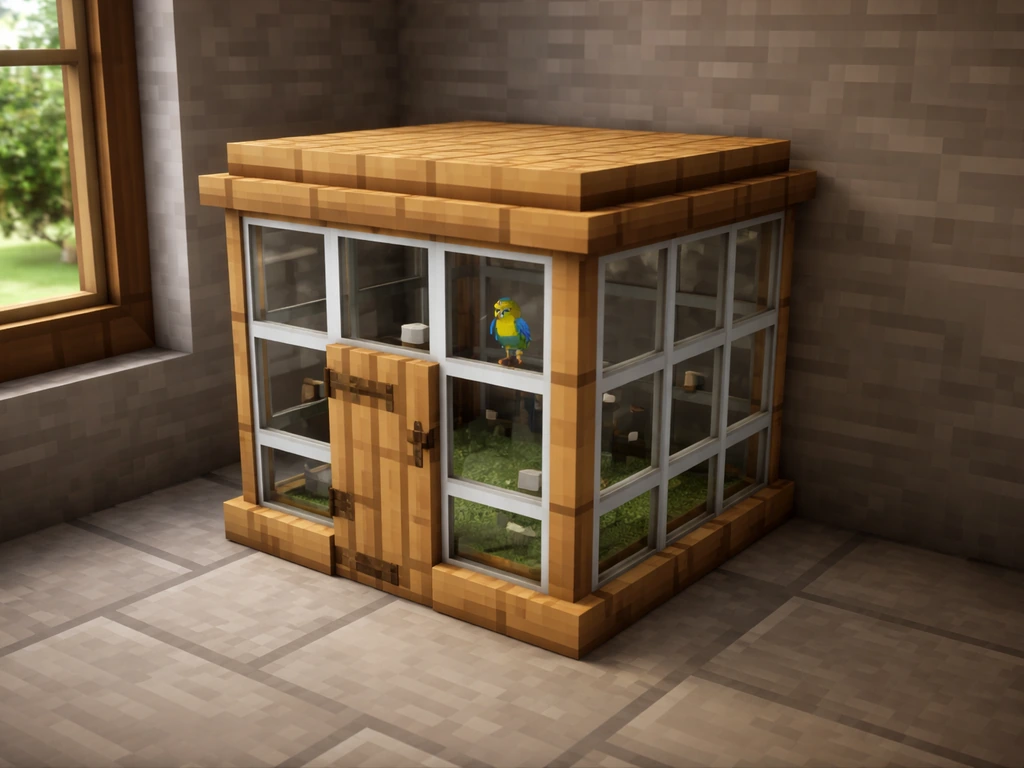
This basic design builds a 5-block-wide, 5-block-deep, 5-block-tall cage. It's compact enough for an interior room or a garden corner, but tall enough to look like a real bird cage rather than a box.
- Mark your footprint. Place a 5x5 square of any temporary block on the ground to mark the corners. You'll replace this with your actual floor later.
- Build the four corner columns. Place wood planks stacked 5 blocks high at each of the four corners. These are your structural pillars.
- Add the base frame. Along the bottom edge connecting each corner pillar, place a row of wood planks or slabs. This gives the cage a solid 'ring' at ground level.
- Fill the walls with glass panes. Between the corner columns, fill in each wall face with glass panes. With a 5-block-wide cage, you'll place 3 panes across each wall face, 3 panes tall (leaving the top and bottom frame rows as wood). The panes will automatically connect to the adjacent fence or plank columns once placed.
- Add the fence gate as the door. On one wall, swap out the center bottom pane and replace it with a fence gate. Make sure the gate faces outward so it swings open correctly. This is your cage entry point.
- Build the top frame. Mirror the base frame at the top: connect all four corner pillars with a ring of wood planks at height 5.
- Add trapdoors to the roof. Place trapdoors flat (open position, facing upward) across the top frame to create a decorative domed or slatted ceiling. You can leave the center open or place a hanging lantern or chain through it.
- Decorate the interior. Add a carpet square on the floor, a placed flower pot, or a fence post in the center as a perch. A single torch or soul lantern inside adds a warm glow without looking out of place.
That's the full basic build. The whole thing takes less than five minutes once you have materials ready. If you want to see how other games handle decorative cage builds for comparison, the mechanics of crafting a bird cage in Don't Starve Together follow a similar logic of combining structural and transparent elements, though the Minecraft version gives you a lot more creative flexibility.
Sizing up: how to build a big bird cage design
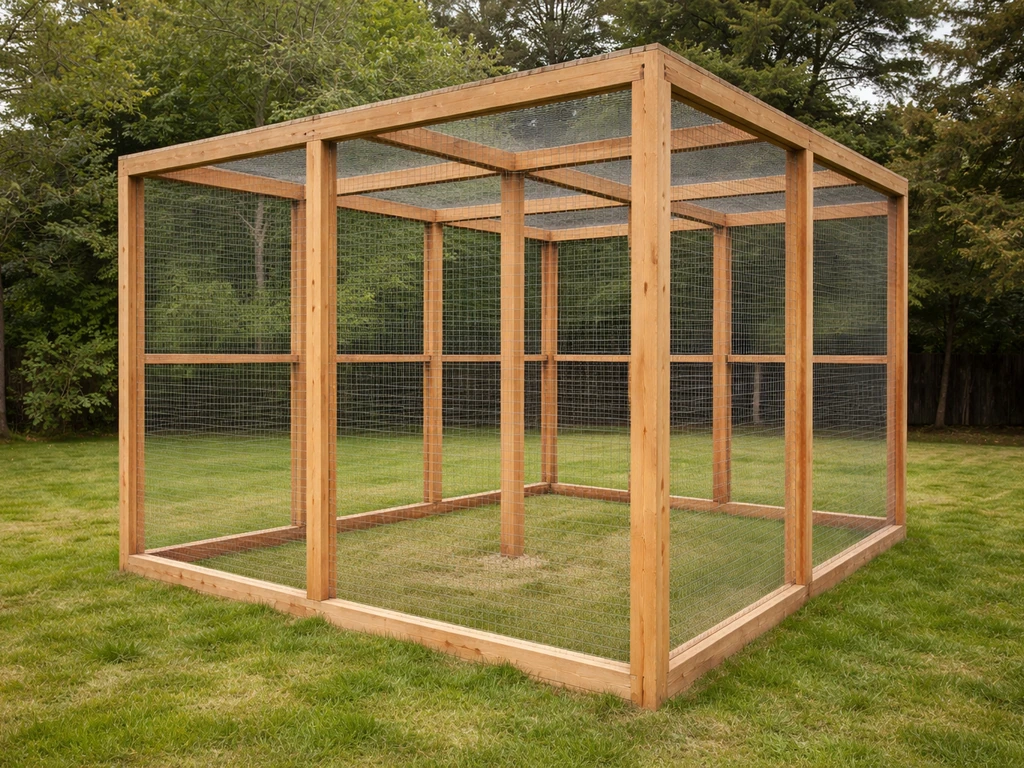
The big bird cage version scales the footprint to 9x9 and the height to 7 blocks. It works well as an outdoor aviary, a centerpiece in a large room, or even a habitable space if you're building a fantasy-themed map. The construction logic is identical to the basic build, just expanded.
For the footprint, mark a 9x9 square. Instead of corner-only pillars, place intermediate pillar blocks every 3 blocks along each wall. This gives you corner pillars plus one pillar per wall face at the midpoint, which keeps the glass panes from looking like a flat unbroken wall. Those mid-wall pillars are what make a big cage look intentional rather than just 'a big box with glass on it.'
At this scale, you'll go through glass panes fast. A 9x9x7 build uses roughly 80 to 100 panes depending on how many wall sections you leave open. Since 6 glass blocks yield 16 panes, plan on smelting at least 32 to 40 glass blocks before you start. Gather sand in bulk and smelt it in batches.
For the roof on the big version, use a combination of slabs and trapdoors. Run a ring of slabs around the top edge, then lean trapdoors inward from each side, creating a sloped 'pointed' roof shape. Leave a 1x1 or 3x3 opening at the very top center and hang a chain with a lantern from it. This one detail transforms the build from a rectangle into something that actually reads as a bird cage silhouette.
Use at least two fence gates on the big build, one on each long side, so you can walk through it easily. If you want a more purely decorative look without functional doors, you can check out how an empty bird cage is used in Kingdom Come: Deliverance for prop-only inspiration, though in Minecraft the gate also keeps the cage accessible for placing interior items.
Customization and styling without breaking the look
The base design is intentionally neutral so you can push it in several directions without rebuilding from scratch.
- Swap wood type for mood: Oak reads as natural/rustic. Dark oak or spruce reads as gothic or antique. Birch or bamboo (in Java 1.20+) reads as modern or tropical.
- Change the pane color: Use stained glass panes instead of clear ones for a jewel-box effect. Cyan and light blue work especially well for a birdcage aesthetic.
- Add iron bars as an alternative wall material: Iron bars give a harder, more industrial cage look and connect to glass panes naturally, which you can use to mix sections of bar and glass on the same wall.
- Use a domed roof shape: Instead of flat trapdoors, stack slabs in a pyramid pattern above the top frame ring. It takes a few more blocks but reads as a classic rounded birdcage dome.
- Hang it: For a hanging cage effect, build the cage on a platform and run fence posts or chains from the top corners up to a ceiling beam. This works especially well in large indoor builds.
- Interior perch: A single fence post in the center with a carpet 'pad' below it is the fastest way to make the interior read as lived-in rather than empty.
If you're pulling ideas from other fashion or game contexts, the visual concept behind getting the bird cage accessory in Dress to Impress actually illustrates the classic rounded dome-and-wire silhouette that translates directly into Minecraft as the slab-dome-over-pane-walls combo described above.
One quick styling note: resist the urge to fill every interior block with decoration. Empty space inside the cage is what makes it read correctly. A single perch, one light source, and maybe a flower or two is all you need. Over-decorating the inside makes it look like a storage room with bars.
Troubleshooting common build problems & quick fixes
The glass panes look like thin poles, not walls
This happens when a pane has nothing to connect to on its sides. Glass panes only flatten into a wall panel when they touch an adjacent solid or semi-transparent block. Make sure your corner pillars and mid-wall pillars are placed before you fill in the panes. If you placed panes before the frame, just break and replace them after the frame is in place and they'll connect correctly.
The cage feels too cramped or too open
If the basic 5x5x5 feels too small, don't just widen it by one block at a time. Jump straight to the 9x9 footprint with the additional mid-wall pillars. Going from 5x5 to 6x6 or 7x7 without the extra pillars just makes it look like a sloppy-scaled version of the basic build. The pillar rhythm matters more than the raw block count.
The fence gate won't open the right direction
Fence gates open based on which direction you're facing when you place them. If yours swings inward when you want it to swing outward, just break it and replace it while standing on the outside of the cage. The gate will then open away from you into the exterior.
The roof looks flat and wrong
A flat trapdoor ceiling is fine for the basic build but looks underwhelming on anything larger. Use the slab-pyramid method: place a full ring of slabs on top of the top frame, then offset the next ring inward and one block higher, and repeat until you reach the peak. It takes practice but the result is a properly domed silhouette that reads immediately as a bird cage.
Not sure which wood type looks best
Build a quick 3x3x3 test cage with each wood type you're considering before committing to the full build. It costs almost nothing in materials and saves you from breaking down a finished 9x9 because the dark oak looked different at scale than it did in your head. This kind of iterative testing is the same approach used in real DIY cage builds, and it applies just as well in Minecraft.
If you're ever curious how cage-themed items appear in other game contexts, the process of getting the bird cage item in DTI or understanding the steps behind building a bird cage in Don't Starve Together each show how different games approach the same visual concept with their own block or item constraints. Minecraft's version is the most flexible of the bunch because you control every single block.
Once your cage is up and looking right, take a step back and view it from about 10 to 15 blocks away. That's the distance at which the silhouette either reads as a bird cage or doesn't. If it does, you're done. If it doesn't, the fix is almost always the roof shape or the pillar rhythm, not the pane placement. Adjust those two things first and you'll get there.
FAQ
Can I make the bird cage out of blocks other than glass panes, like stained glass or full glass blocks?
You can use stained glass panes for color, but full glass blocks usually look too solid and ruin the airy cage look. If you want a different look, keep the walls mostly as panes, and reserve full glass blocks for small accent spots like corners or the top peak. Stained panes still connect to adjacent blocks the same way, so the cage walls will behave correctly.
How do I place glass panes so they always connect correctly to the frame?
Build your pillars or frame first, then place panes only when there is an adjacent solid or semi-transparent block to connect to on the side. If you accidentally place panes before the frame, break them and replace them after the frame is in place. This prevents the “single pane stands like a post” look.
Why is my big cage using fewer or more glass panes than expected?
The number changes based on how many openings you leave and whether you include gates and any internal breaks. A good rule is to estimate slightly above your target (leave a buffer), then do one wall segment test (for example, one 3-block section) to measure how many panes that segment consumes in your exact layout.
Do I need to craft fence gates to enter the cage, or can I use ladders or trapdoors for access?
For walking entry, fence gates are the simplest because they open from the outside and still match the cage aesthetic. Ladders and trapdoors can create functional access, but they look more like a tower or hatch than a bird enclosure. If you want purely decorative access, you can omit gates and rely on the interior having a removable roof section.
How can I keep the interior from looking like a storage room without it being too empty?
Use one main interior element (a single perch or a central platform) and then limit secondary details to one or two focal points, like a lantern and one flower or hanging decoration. If you add multiple blocks across the floor, the cage reads as a room with bars rather than a display enclosure.
What’s the best way to build the pointed roof if I’m using different wood or slab types?
Use slabs for the curved profile consistently around the ring, then slope trapdoors inward in the same “handedness” from each side. Mixing slab textures is fine for aesthetics, but keep the roof logic (slabs as the ring plus trapdoors leaning to form the peak opening) the same, otherwise the silhouette stops reading as a bird cage from 10 to 15 blocks away.
Can I make a bird cage that looks good from the side too, not just the front?
Yes, the key is symmetry and consistent pillar rhythm along both long and short walls. When placing mid-wall pillars, keep the spacing uniform so each face has the same glass panel pattern. After building, rotate your viewpoint around the cage at the same distance you tested (10 to 15 blocks) to confirm the silhouette reads correctly from multiple directions.
How do I fix a cage that looks “sloppy” when scaling up from 5x5 to bigger sizes?
Don’t increase size by small increments without adding structure. Jump to the bigger footprint pattern that includes mid-wall pillars, because the pillars create depth and prevent the build from looking like an enlarged box. If it still looks off, adjust first the pillar rhythm and second the roof shape, not the pane pattern.
Will the cage work in different game modes, like survival and creative, without changes?
Yes for placement, but in survival the main practical difference is material cost. Glass panes and fence gates become the limiting factor, so consider building a 3x3x3 test cage with your chosen wood to confirm the look before smelting large glass batches.
Can I “dress” the cage with items like birds, but still keep it decorative?
Keep functional blocks minimal and focus on visual centerpieces like a single light source and a perch. If you try to add too many interior objects, the silhouette and wall panel pattern become less readable, especially in the big version. Place items after the frame and panes are fully connected so you can judge the spacing and sightlines.
How do I make sure the roof opening and lantern chain look centered?
Use a top-center reference point, then create the final opening at exactly one block in from the ring. If you place the ring of slabs first and then build inward consistently, the peak opening will naturally line up with the cage center. If it’s off by even one block, the roof can look lopsided from the testing distance.
What’s the simplest way to test my design before committing to the full build?
Build a quick 3x3x3 cage using your exact wood type and roof idea. Check two things: whether the panes form proper wall panels (connectivity), and whether the silhouette reads as a bird cage when viewed from a distance. If either fails at small scale, fix it before smelting enough glass for the full size.
Next Article
How to Make a Temporary Bird Cage Step by Step
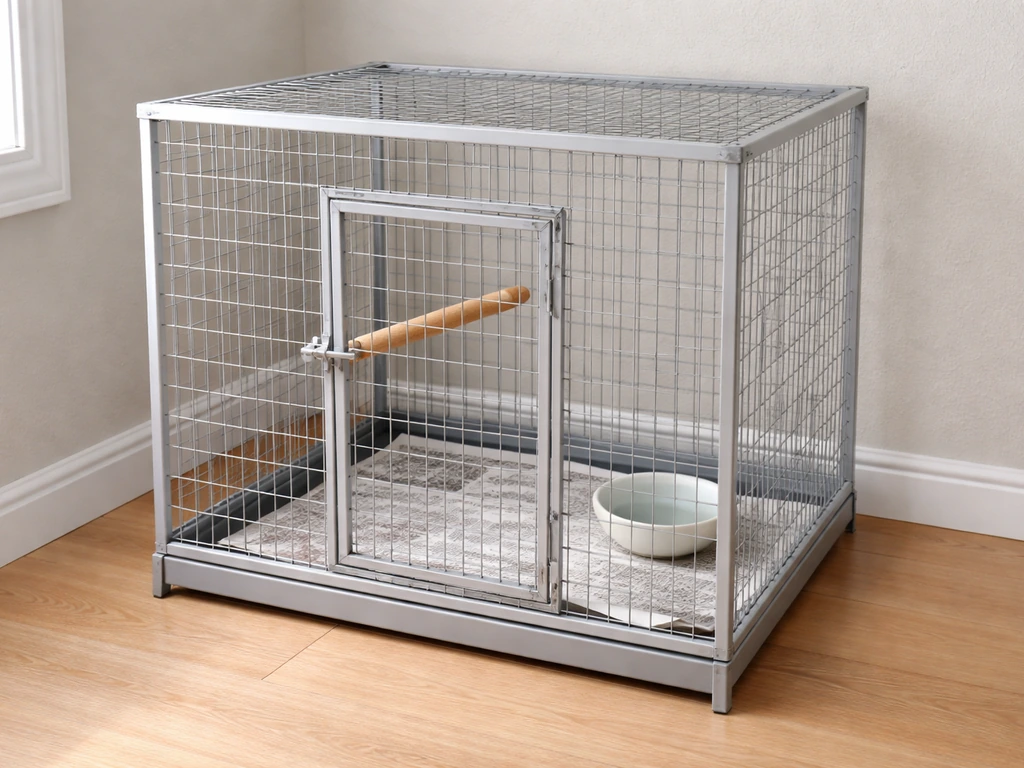
Step-by-step DIY guide to build a safe temporary bird cage now, with sizing, bar spacing, materials, and safety checks.