You can make a bird cage cover at home in an afternoon, and you do not need advanced sewing skills to get a good result. The goal is a cover that blocks drafts, dims light, and muffles noise at night, while still letting air circulate freely and keeping your bird's doors and feeders accessible. Get those three things right and your bird sleeps better, your routine stays easy, and the cover lasts through dozens of washes.
How to Make Bird Cage Covers: DIY Sewing Guide

Maya Bennett
17 Apr 2026
Why your bird actually needs a cover (and what it has to do safely)
A cage cover does four practical jobs: it signals sleep time so your bird gets a blank" rel="noopener noreferrer">consistent 10 to 12 hours of darkness, it cuts drafts from windows and air vents, it dampens household noise that would otherwise startle a bird mid-sleep, and it reduces early-morning light that wakes birds before you want them up. That sounds simple, but a badly made cover can cause real problems. A cover that fits too tightly or uses a heavy, non-breathable material traps heat and stale air around the cage, which stresses birds and can be dangerous overnight. The single most important design rule is: the cover must allow airflow. That means breathable fabric, a loose enough fit that air can move around the bottom edge, and no material draped directly against the bars where a bird can chew it. If you are also thinking about how to cover a bird cage in a more general sense, that context applies here too: coverage is about comfort and routine, not sealing the cage off.
Safety also means avoiding fabrics with chemical finishes. Flame retardants, stain repellents, and some wrinkle-resistant treatments release fumes that are toxic to birds. Stick with natural fibers and pre-washed fabric with no special finish. More on materials shortly.
Measure your cage before you cut anything
Skipping measurement is the number one reason homemade covers end up too tight, too saggy, or awkward around doors. Take five minutes to do this properly and everything downstream gets easier.
The four numbers you need
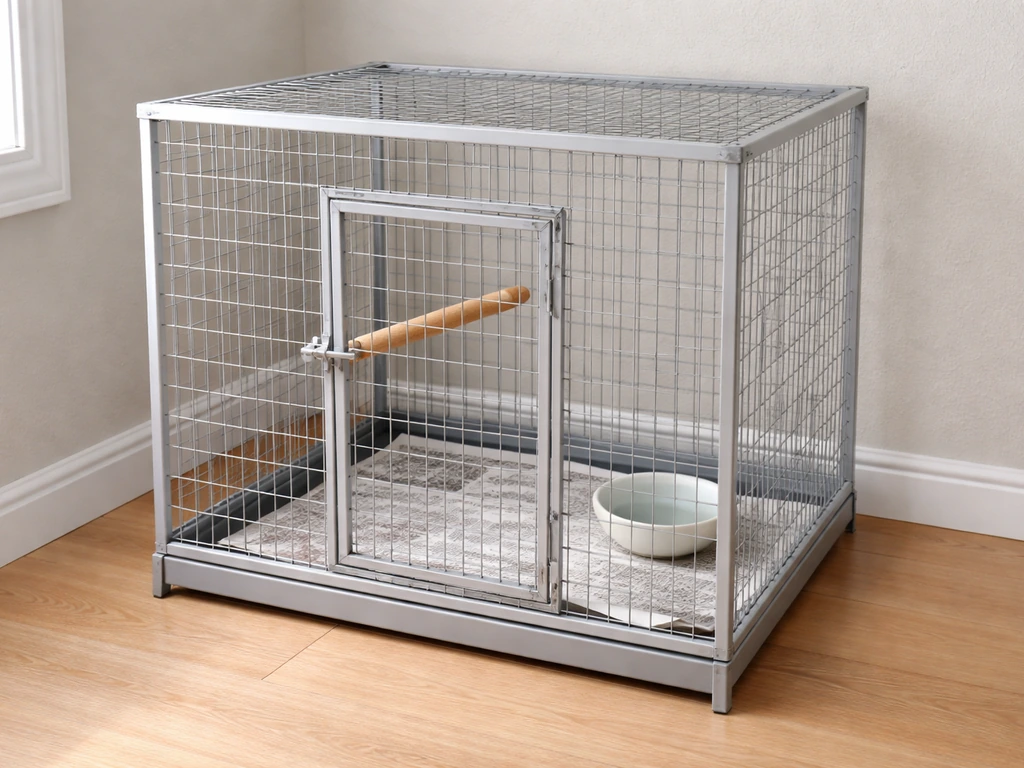
Measure the cage at its widest point for width and depth, not at the middle or bottom. Many cages taper slightly, and the cover has to slide over the top, so always measure at the top of the cage body. Then measure the height from the top of the cage frame down to the point where you want the cover to end. A good rule of thumb is to hang the cover about 2 inches below the cage floor if there is no seed skirt, or right to the top of a seed skirt if there is one. Write down: (1) width at top, (2) depth at top, (3) hang height, and (4) a note on anything that sticks out, such as feeder hooks, water bottle clips, or a bird cage skirt that needs clearance.
Now add your seam allowances. For a sewn cover, add approximately 4 cm (about 1.5 inches) to each side panel width for seam allowances, and add about 9 cm (3.5 inches) to the height for the top flap tuck and bottom hem. If your cage has a front door that opens outward, note exactly where it sits so you can plan a front panel opening or a partial front that lifts rather than wraps. Cages with side-loading food doors need a slit or flap on the appropriate panel so you are not removing the entire cover every morning to top up the feeder.
Sketch a simple panel map
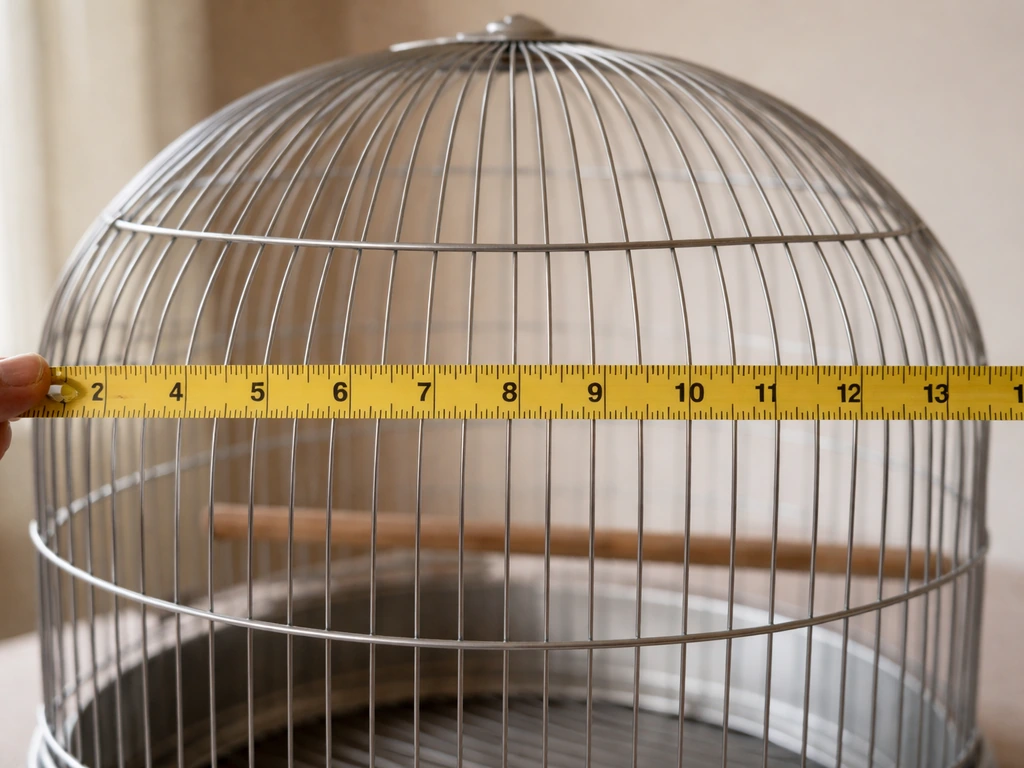
Once you have your four numbers, sketch the cover as a top panel plus four side panels (front, back, left, right). Label which panel needs a door opening and where your closure will go. This sketch becomes your cutting guide and saves a lot of confusion at the fabric stage. If your cage is round rather than rectangular, the approach changes significantly; the guide on how to make a round bird cage has structural context that helps when you are trying to draft a cover for a curved frame.
Choose materials that are actually safe for birds
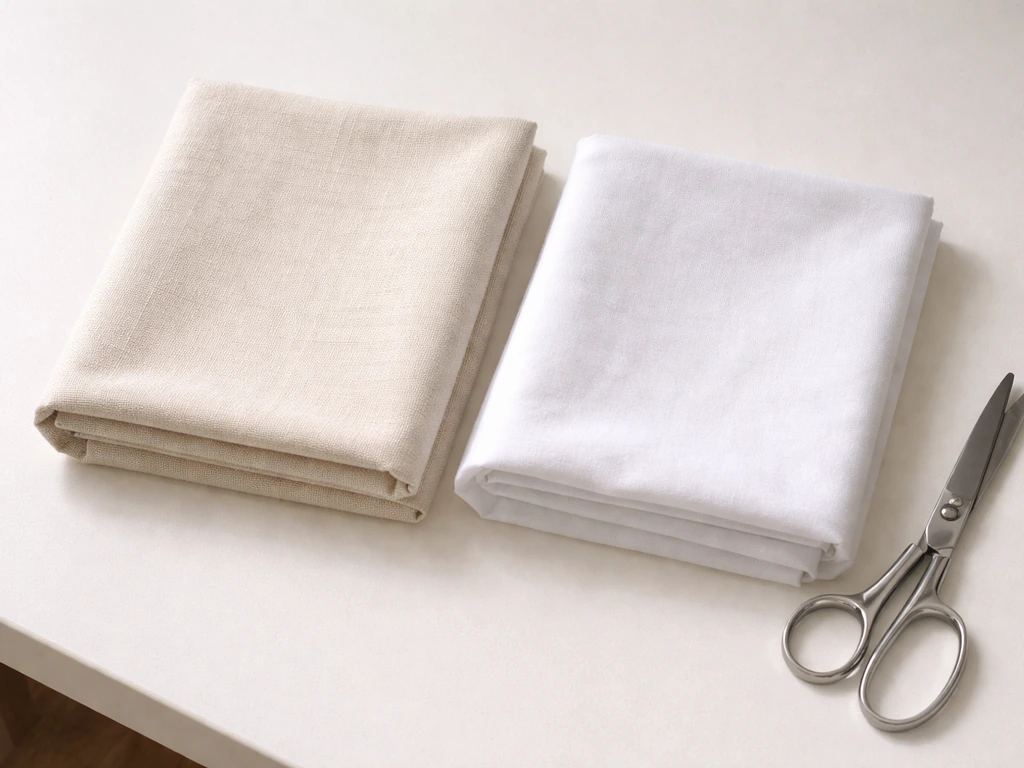
The best all-around choice for a DIY bird cage cover is 100% cotton canvas or medium-weight quilting cotton. Cotton is breathable, washable at high temperatures, dyes well, and does not off-gas anything harmful. It also presses flat easily, which matters when you are hemming and topstitching. Avoid synthetic fleece, polyester blends with coatings, and anything labeled as moisture-wicking or odor-resistant, because those finishes are often chemical-based. If you want something slightly heavier for winter draft control, a double layer of cotton or cotton duck is a better choice than switching to a denser synthetic.
Pre-wash and dry the fabric before you measure or cut. Cotton can shrink 3 to 5 percent in the first wash. If you skip pre-washing, a cover that fits perfectly on day one may be uncomfortably snug after its first laundry cycle, and tight covers restrict airflow. Pre-washing also removes any residual sizing or chemical finishes from the manufacturing process, which is an easy bird-safety win at no extra cost.
| Material | Breathability | Bird-safe | Washability | Best for |
|---|---|---|---|---|
| 100% cotton quilting fabric | High | Yes (unwashed) | Excellent, 60°C+ | Everyday covers, sewing beginners |
| Cotton canvas / duck | Medium-high | Yes (pre-washed) | Excellent | Heavy-duty or winter draft covers |
| Linen | High | Yes | Good (line dry) | Decorative covers, warmer climates |
| Polyester fleece | Low | Risky (finishes) | Moderate | Not recommended |
| Blackout fabric (polyester) | Very low | No | Poor | Avoid entirely |
For closures, hook-and-loop tape (Velcro) is the most practical choice. It is easy to attach, simple to open one-handed in the dark, and survives repeated washing. Cut Velcro into strips rather than using large panels, because large stiff patches can cause the cover to bunch. Flat elastic (about 1 inch wide) at the bottom hem is a good secondary option for holding the cover snug without requiring you to tie anything.
How to sew a bird cage cover: the full workflow
This method produces a durable, washable, properly fitted cover with finished edges that will not fray or unravel. It works for most rectangular cages and takes roughly two to three hours for a first-time maker.
What you will need
- Pre-washed 100% cotton fabric (amount based on your cage measurements plus seam allowances)
- Fabric scissors or a rotary cutter and cutting mat
- Sewing machine with a standard straight-stitch foot
- Thread in a matching or neutral color (cotton or polyester thread both work)
- Measuring tape and fabric marker or chalk
- Pins or wonder clips
- Iron and ironing board
- Hook-and-loop (Velcro) tape, about 30 to 45 cm (12 to 18 inches) total
- Optional: 1-inch flat elastic for the bottom hem
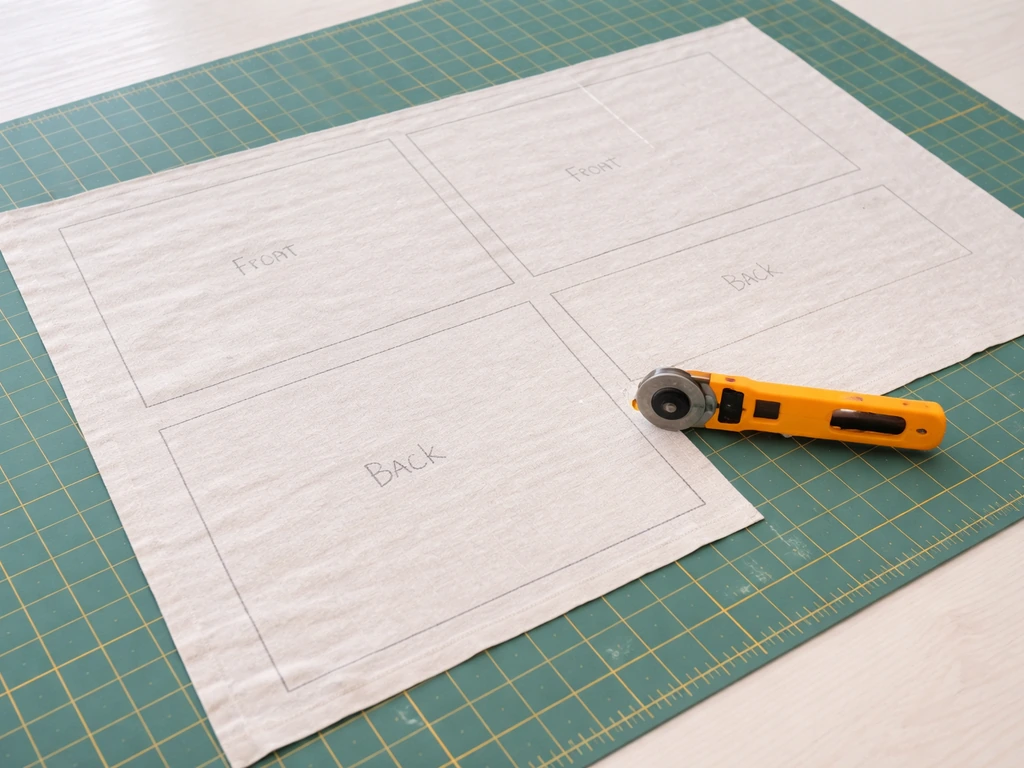
Cut your panels
Using your measurements and sketched panel map, mark and cut: one top panel (cage width plus seam allowances x cage depth plus seam allowances), one front panel, one back panel, and two side panels, each cut to your hang height plus hem allowance. If your cage front panel needs a door access slit, mark it now but do not cut it until the panel is hemmed and finished, so the edges stay stable. Iron the panels flat before pinning.
Sew the panels together
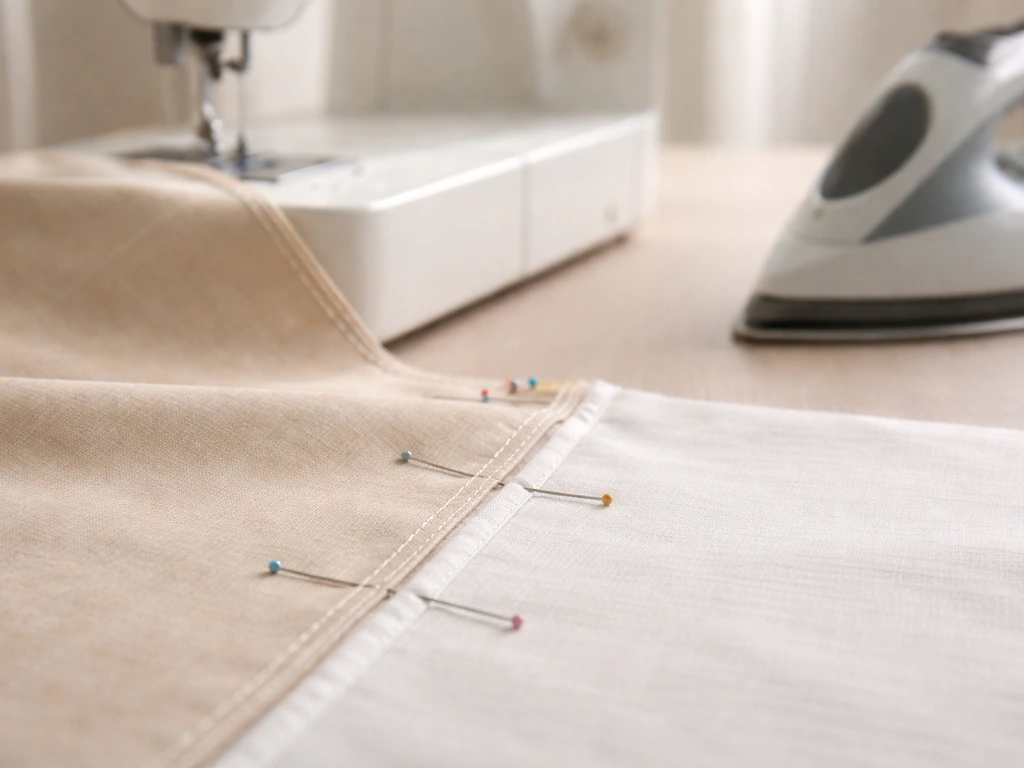
- Pin the back panel to the top panel with right sides together. Stitch with a 1.5 cm (5/8 inch) seam. Press the seam open with an iron.
- Attach the two side panels to the top panel the same way, right sides together, pressing seams open after each join.
- Attach the front panel last. If you are adding a door-access flap on the front, leave that section un-sewn and finish the raw edges of the opening with a double-fold hem before closing the front seam.
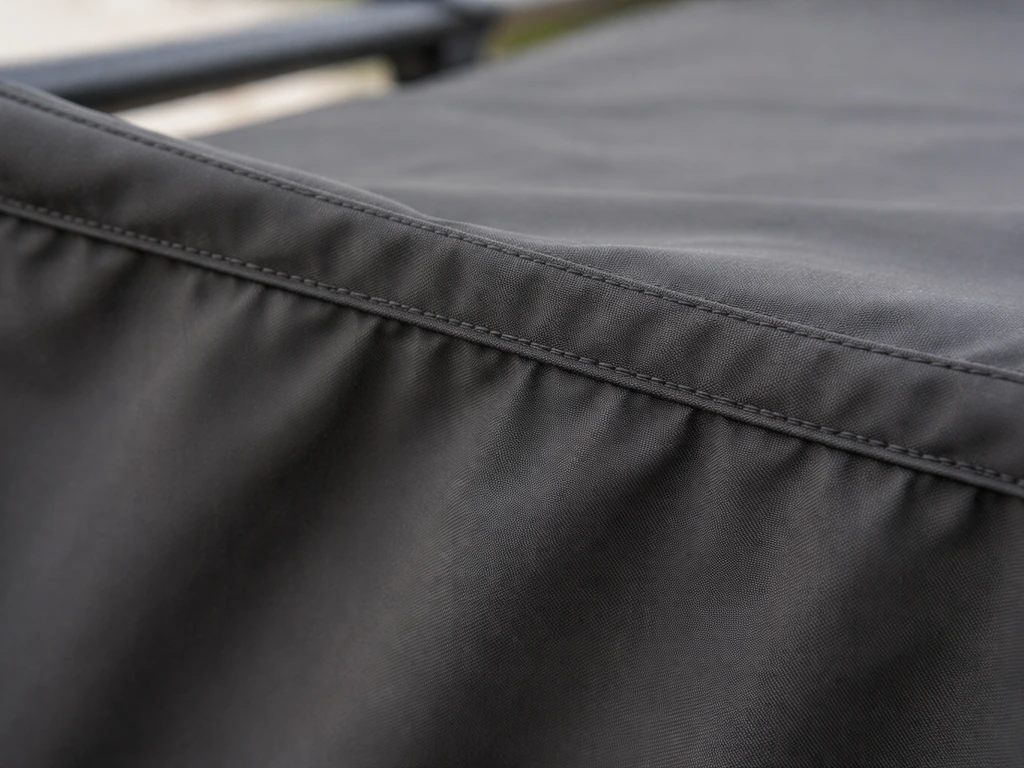
- Topstitch all seams from the right side at about 3 mm from the seam line. This edge-stitching keeps seams flat, reduces fraying, and dramatically improves durability through repeated washing.
- Fold and press a double-fold hem (about 1.5 cm folded twice) along all four bottom edges of the side and front/back panels. Pin and stitch. If you are adding elastic, thread 1-inch flat elastic through the hem channel before closing the hem, cutting it to fit snugly around the cage base.
- Add hook-and-loop closure strips to the front panel edges or the join between the front and a side panel, placing them at the top, middle, and bottom of the opening so the cover stays closed without pulling.
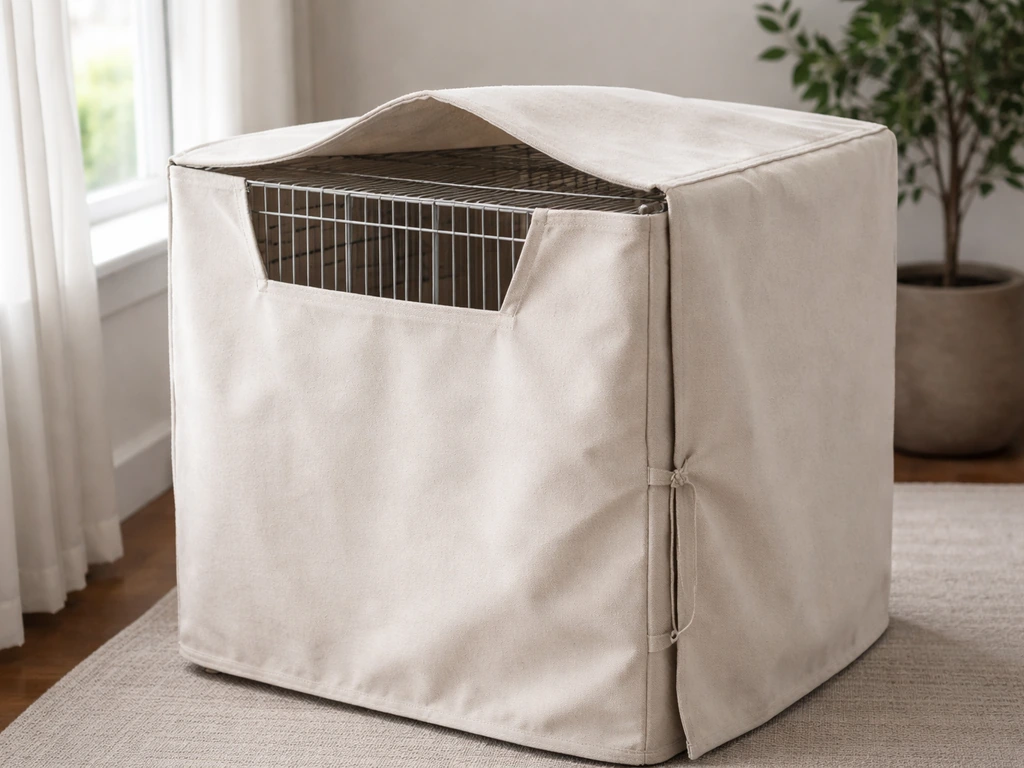
Finishing the top and adding a flap
The top panel should extend a few centimeters beyond the cage top so it drapes slightly rather than sitting flush. This creates a small air gap at the sides. Fold and press the top edge down by about 4 to 5 cm, creating a top flap that sits over the cage roof and stops the cover from sliding sideways. Topstitch the flap hem, then press the whole cover flat one final time before testing the fit.
No-sew options that actually work
If you do not have a sewing machine or want a quicker solution, there are two approaches worth trying. The simplest is a repurposed flat sheet or pre-cut cotton fabric draped over the cage and held in place with binder clips or safety pins at the corners. This works, but the edges will eventually fray without finishing, and a drape can shift overnight. For a more polished no-sew version, buy pre-hemmed cotton fabric panels (sold as tea towels, curtain panels, or drop cloths) and attach iron-on hem tape along any raw edges. Use 1-inch flat elastic sewn or safety-pinned into a channel along the bottom edge to keep the cover from riding up.
Iron-on Velcro strips (the kind with heat-activated adhesive backing) are the no-sew answer for closures. Press them on according to the package directions, let them cool fully before attaching, and test adhesion before trusting them overnight. They are not as permanent as stitched Velcro but hold well through several washes if you use the correct iron temperature. The measurement and hang-height rules above apply exactly the same way for no-sew covers: the cover should still end about 2 inches below the cage floor and must not compress against the bars. Just as you would when exploring how to make a bird cage with bamboo, material choice affects the final safety and durability of the build regardless of how much tool complexity is involved.
Fitting, securing, and keeping ventilation in check
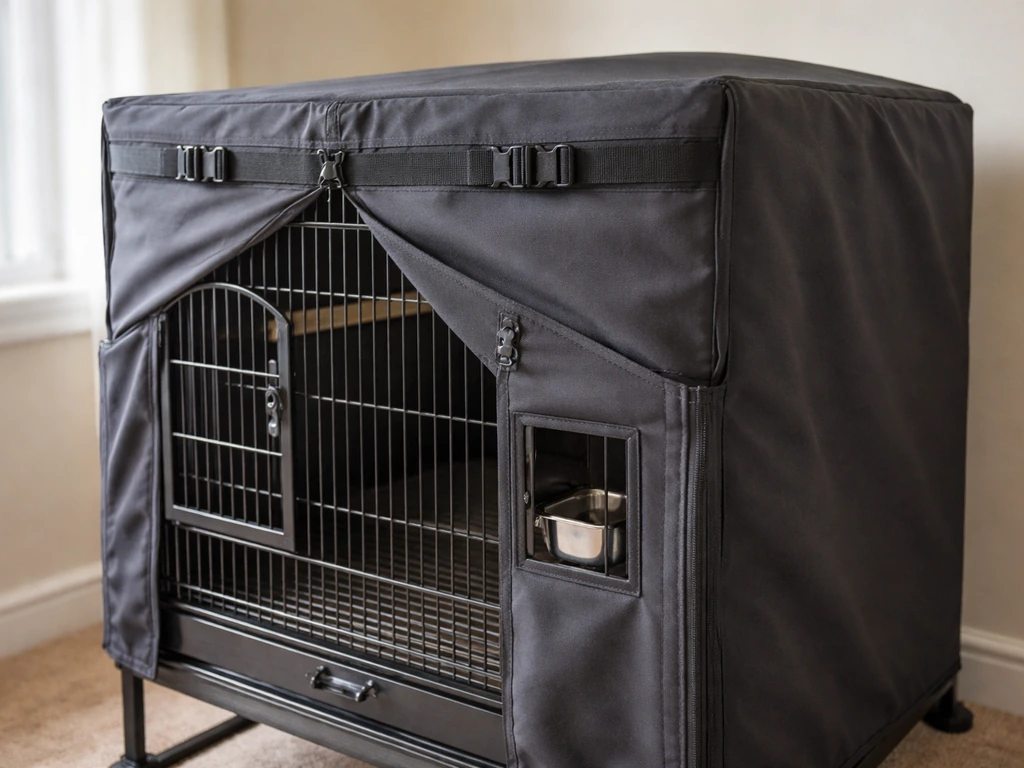
Once the cover is made, do a full fit test before your bird's first night under it. Put it on the cage in daylight with your bird inside or with toys placed where your bird usually sits, so you can check clearance. The cover should hang straight, not pull tight against any part of the cage, and leave at least a 1 to 2 inch gap along the bottom perimeter for air circulation. PEAC’s guidance on light cycles for birds also recommends ensuring ample sleep time, noting that when the household is quiet with no movement for 10, 12 hours, covering the cage can help blank" rel="noopener noreferrer">10–12 hours. Press your hand against each panel gently: if it pushes the panel into contact with the bars, the cover is too tight or the hang length is too short.
Check that every door or feeder hatch you use daily is accessible without removing the whole cover. If you have a side feeder door, make sure the corresponding panel either has a flap or lifts easily. The Velcro or elastic closure system should let you open and reclose any access point one-handed. After fitting, run the cover through one wash before regular use to confirm fit, shrinkage, and that closures survive the machine. Always air-dry or tumble-dry on low to protect the fabric and closures.
Ventilation check: the two-finger test
With the cover on and all closures fastened, try to slide two fingers under the bottom hem on each side of the cage. If you can do it easily, airflow is adequate. If the hem grips the cage stand or presses flat against the cage base, loosen the elastic or trim the hang length by a centimeter. This is the same principle behind why commercial cage covers often leave the very bottom open rather than sealing around a stand or tray.
Fixing the most common problems
The cover slips or shifts overnight
This usually means the top flap is too short or the elastic hem is too loose. Extend the top flap by folding and topstitching an additional 2 to 3 cm onto the top panel, so it grips the cage roof better. Tighten the bottom elastic by about 2 cm. If you used a draped no-sew cover with clips, add a second clip on each side midway down the panel.
The cover sags in the middle and touches the bars
Sagging is a weight or panel-size issue. If the top panel is cut too wide, it pools in the center. Re-cut or fold a tuck into the top panel and topstitch it flat. For side panels that bow inward, add a strip of hem tape or a thin sewn casing along the midpoint of the panel and thread a thin dowel or plastic rod through it to hold the panel straight. This is especially common on very wide cages where the fabric spans more than 60 cm without support.
Airflow feels blocked or the cage is warm in the morning
Trim the hang length so the cover ends higher, which increases the open gap at the bottom. If the cage has a built-in ventilation grate or air intake port at the back, make sure the back panel does not cover it. Cut a horizontal vent slit in the back panel at the appropriate height and finish the edges with a double-fold hem or hem tape so the opening does not fray.
Edges are fraying after washing
Raw or under-finished edges fray quickly in a hot wash. Go back over every seam and hem with a zigzag stitch or overlock stitch if your machine has one. For no-sew covers, apply liquid seam sealant (such as Fray Check) along any cut edges and let it dry fully before washing. Loose threads are genuinely dangerous in a bird cage because birds can catch their toes or beaks in loops of thread, so fraying edges need to be fixed promptly.
The cover is hard to wash or takes too long to dry
If the cover is bulky or layered, switch to a single layer of medium-weight cotton instead of a double layer. Single-layer cotton dries in under an hour on a rack. If you have Velcro closures, close them before washing so they do not collect lint or snag the fabric. Washing inside-out protects any outer-facing seams from abrasion. Making two identical covers and rotating them means one is always clean and ready while the other is in the wash, which is the single biggest upgrade to your daily routine.
FAQ
How do I know if my bird cage cover has enough airflow at the bottom?
Aim for a bottom perimeter that stays open enough to slide at least two fingers between the hem and the cage base. If you cannot, adjust by shortening the hang height slightly (so the fabric sits higher) or tightening the bottom elastic so it does not bunch and press upward against the stand.
What should I do if the cover becomes too tight after the first wash?
If the cover gets snug after washing, it usually means the fabric was not pre-washed or the pattern allowances were too small. Measure again after the first wash and remake only the side panels or add a 1 to 2 cm extension to the top flap, then re-hem and reattach Velcro strips.
My cage has a ventilation grate, how can I cover the cage without blocking it?
Avoid covering intake grilles completely. If your cage has side or rear vents, cut a vent opening at the measured location and finish the edges with a double-fold hem (or hem tape) so the fabric does not fray and the opening stays stable.
Can I make a warmer cover for winter without harming airflow?
For winter draft control, use an extra layer of plain cotton (or cotton duck) rather than a coated or non-breathable fabric. Keep the same airflow rule at the bottom, and do not compress the bars by making the cover shorter than your planned hang height.
How can I prevent my bird from chewing or pulling the cover?
If your bird can reach the fabric through the bars, leave at least a 1 to 2 inch gap near the bottom and ensure no fabric rests directly against the bar line. Also consider placing Velcro strips higher and keeping the hem elastic snug so the fabric cannot sag into reach.
What’s the fastest way to stop fraying on no-sew or loosely finished edges?
Finish cut edges before the first wash. For sewn covers, use zigzag or overlock stitching, then topstitch key edges like the top flap. For no-sew edges, seam sealant works best only if fully cured before laundering and if you still use a bottom elastic or channel to stop shifting.
How do I handle a cage door that swings outward without making the cover annoying to use?
If doors open outward, avoid wrapping fabric around the hinge area. Plan a front panel opening or a lift-up flap that lets the door swing without forcing the cover to stretch, and keep the access flap fastened with short Velcro strips so it re-closes flat.
How can I test my cover’s access points so I do not struggle at night?
Test with the bird and with your own hands in daylight, then again in dim light. Use closure strips that are easy to find by touch, and confirm you can open and reclose the door or feeder hatch in under a minute without moving the whole cover.
Do I really need to sketch a panel map, or can I draft directly from measurements?
Instead of guessing, make a simple panel template using brown craft paper for the top and one side panel. Check the drape and bottom gap with the template, then convert to fabric, because darts and flap lengths can differ slightly between cage models.
Can I make a secure no-sew cover that still lasts through repeated use?
Yes, but only if the fabric choice stays breathable and bird-safe. Prioritize pre-hemmed cotton panels and iron-on hem tape on all raw edges, then confirm adhesion by leaving it on for a full day before using it overnight.
Next Article
How to Make a Temporary Bird Cage Step by Step
Step-by-step DIY guide to build a safe temporary bird cage now, with sizing, bar spacing, materials, and safety checks.