Setting up a bird cage correctly from the start is the single biggest thing you can do to keep your bird safe and comfortable. Whether you picked up a Pets Alive-style cage at a pet store or online, the instructions in the box often skip the details that actually matter: bar spacing checks, door security, safe interior setup, and placement that won't quietly stress your bird over time. This guide walks you through every step, with real checks you can do as you build.
Pets Alive Bird Cage Instructions: Safe Setup Checklist

Maya Bennett
22 Apr 2026
Choosing the Right Cage Size and Layout
The most important numbers on any bird cage are the interior dimensions and the bar spacing, and they have to be right for your specific bird. A cage that's too small stresses birds physically and mentally. Bar spacing that's too wide lets a small bird squeeze its head through and get trapped or injured. Bar spacing that's too narrow frustrates larger birds and can catch toes.
Use this table as your starting point. These are minimum sizes and bar spacing values based on veterinary guidelines. If you can go larger, do it.
| Bird Group | Minimum Cage Size (L×W×H) | Bar Spacing |
|---|---|---|
| Budgerigar, cockatiel, lovebird, parrotlet | 20 × 20 × 30 in | 0.5 in |
| Conure, Poicephalus, caique, miniature macaw | 36 × 24 × 48 in | 0.75 in |
| African grey, Amazon, small cockatoo | 40 × 30 × 60 in | 0.75–1 in |
| Macaw, large cockatoo | 48 × 36 × 66 in | 1.5 in |
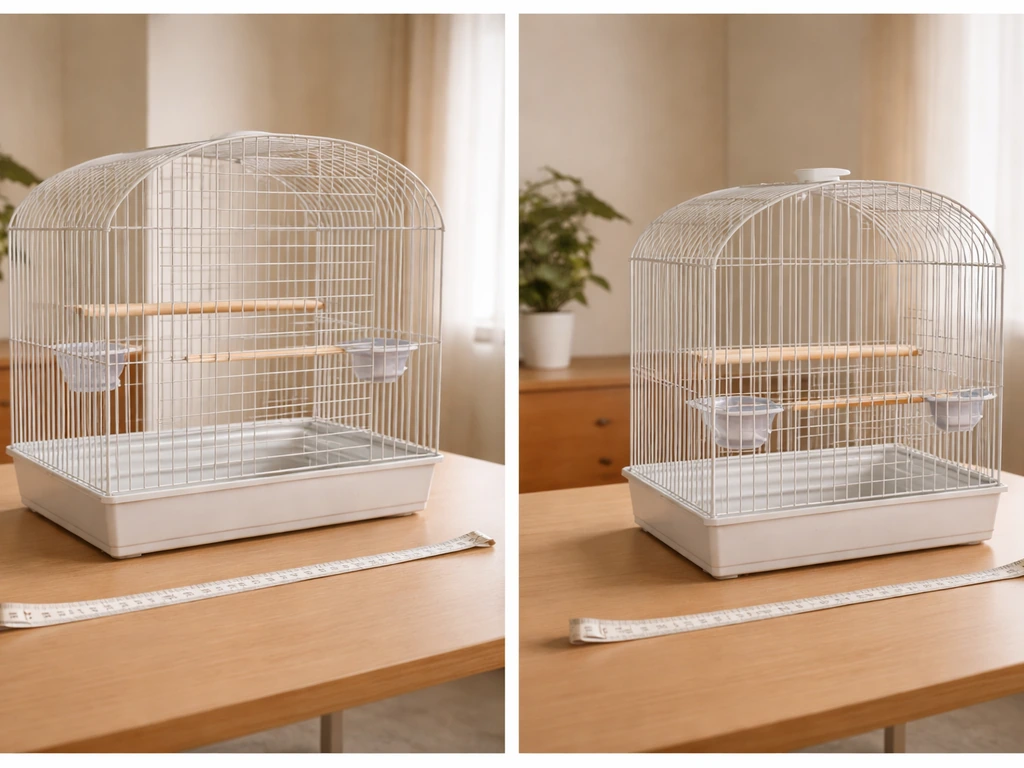
Beyond the numbers, do a quick physical check before you buy or finalize a cage: when your bird spreads both wings fully, neither the wingtips nor the tail should touch any bar, including the top or the bottom grate. If they do, the cage is too small. This is a non-negotiable welfare minimum. For cockatiels, conures, and lovebirds specifically, a 24 × 24 × 36 inch footprint with 5/8 to 3/4 inch bar spacing is a reliable real-world benchmark. One popular retail option for that size range lists dimensions of 25.2 × 21.1 × 31.9 inches with 5/8-inch wire spacing, which lands right in that zone.
On layout: horizontal bars on at least two sides give climbing birds something to grip and exercise on. Wide doors matter too. A large front door with bird-proof locks (like a dual-latch design) makes daily access easy without creating an escape risk. Rectangular footprints with a flat top are more versatile for placement than dome tops, which can cut into usable interior height.
Tools and Materials for a Safe Bird Cage Build
Most pre-made bird cages come partially assembled and need minimal tools. But having the right things on hand before you start saves a lot of frustration mid-build.
- Phillips head and flathead screwdrivers (both sizes)
- Needle-nose pliers (for tightening wing nuts or bending any errant wire ends)
- Wire cutters (only if you're trimming a DIY liner or adjusting anything structural)
- Zip ties or plastic-coated cage clips (for securing any loose bars or reinforcing weak joints)
- A measuring tape (to verify bar spacing and interior dimensions match specs)
- Non-toxic disinfectant or plain dish soap and hot water (for pre-cleaning before use)
- Paper towels or a clean cloth
On materials: stick to powder-coated steel or stainless steel. Stainless steel is the gold standard because it doesn't rust, doesn't chip, and has no coating to worry about. Powder-coated steel is fine if the coating is intact, lead-free, and zinc-free. Avoid galvanized wire, especially on any surface a bird will chew, since zinc toxicity is a real risk. Never use bare aluminum or any cage with flaking paint. If you're buying a Pets Alive cage or any similar brand and it smells strongly of paint or chemicals out of the box, wipe it down with soapy water, rinse well, and let it air dry completely before putting a bird near it.
Step-by-Step Bird Cage Assembly Instructions
Before you start snapping pieces together, lay every part out on a clean flat surface and count them against the parts list in your instruction sheet. Missing a bolt or a clip at this stage is much easier to solve before you're halfway through assembly.
- Clean all parts first. Wipe down bars, trays, and panels with warm soapy water. Rinse and dry. Even brand-new cages can have manufacturing residue on them that's harmful to birds.
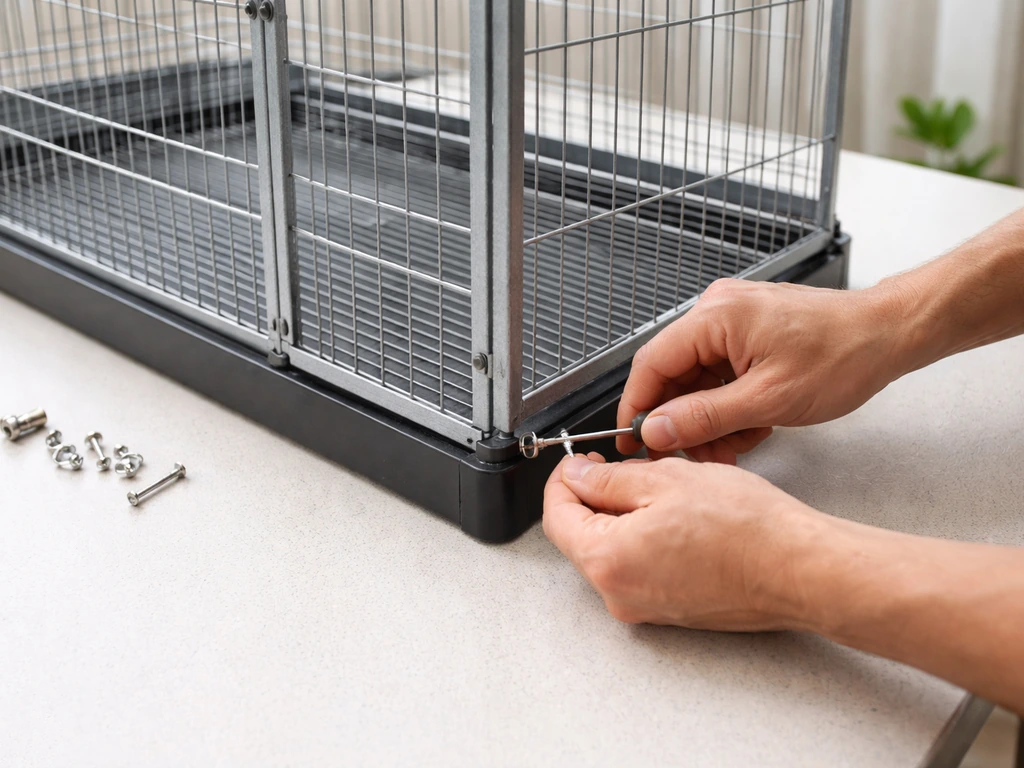
- Assemble the base tray and frame. Most Pets Alive-style cages start with a pull-out bottom tray that slots into a base frame. Slide it in and confirm it sits flush with no gaps larger than your bar spacing. A gap a bird can get a foot or toe into is a hazard.
- Attach the side panels. Line up the panels with the frame connectors and hand-tighten all bolts or clips before fully securing any of them. This lets you realign if something is off.
- Secure the top section. If your cage has a domed or flat top that attaches separately, click or bolt it into place now. Press down firmly at each connection point and check that there's no flex or wobble.
- Check every bar connection. Run your fingers along all four sides and the top. Any bar that wiggles, rotates, or slides needs to be tightened or secured with a clip before your bird goes in.
- Install the door(s). Swing each door open and closed several times. The latch should engage with a firm click, not a loose snap. If your cage has a slide-lock or a second bird-proof latch, engage both and confirm you need deliberate hand pressure to open them. A bird with beak-and-claw dexterity (like a cockatiel or conure) can work a simple spring latch open in minutes.
- Do the bar-spacing finger check. Try to slide two fingers (side by side) through the bar spacing. For a small bird like a budgie or lovebird, even one finger fitting through is too wide. If you can fit fingers through easily, that cage is not safe for that species.
- Do the wing-spread check. If your bird is already on hand, let it perch on your arm, gently encourage a stretch, and compare that wingspan to the interior width. Wings and tail should clear all bars with room to spare.
- Set the cage on a stable, level surface before adding anything to the interior. A top-heavy cage on an uneven stand is a tip risk.
Placement, Airflow, and Seasonal Protection
Where you put the cage inside your home matters more than most people expect. Birds are sensitive to drafts, and a room near a doorway or high-traffic hallway where doors open and close frequently can expose them to sudden cold air. A quiet wall in a living area where the bird can observe household activity without being in the middle of the chaos is the sweet spot.
Keep the cage elevated off the floor. Low placement increases draft exposure and makes birds feel vulnerable. A dedicated cage stand or a sturdy table at chest height works well. Do not push the cage flush against a wall on all sides. You want airflow around it, but not a direct draft hitting it. One wall behind the cage (for the bird's sense of security) and open sides is a good arrangement.
Direct sunlight is a real problem. A spot in front of a window sounds nice but birds overheat fast and can't escape the heat if they're in a cage. Keep the cage in a well-lit area but out of direct sun for more than an hour or two at a time. The target indoor temperature range for avian housing is 60°F to 80°F. Below 60°F is too cold for most pet parrots; above 80°F and you're pushing into heat stress territory.
In winter: keep the cage away from radiators and heating vents, which create hot dry air directly next to the cage. Use a breathable cage cover at night to retain warmth without cutting off all airflow. In summer: avoid air conditioning vents blowing directly on the cage. A fan in the room is fine as long as it isn't pointed at the cage. If your home gets above 80°F regularly in warm months, a small clip fan aimed across the room (not at the cage) helps move air.
One room to avoid entirely: the kitchen. Cooking fumes, especially from overheated non-stick cookware, produce fumes that are acutely toxic to birds and can kill them quickly. Even essential oil diffusers in the cage's room are risky and should be avoided entirely when birds are present.
Safe Add-Ons: Perches, Feeders, Toys, and Liners
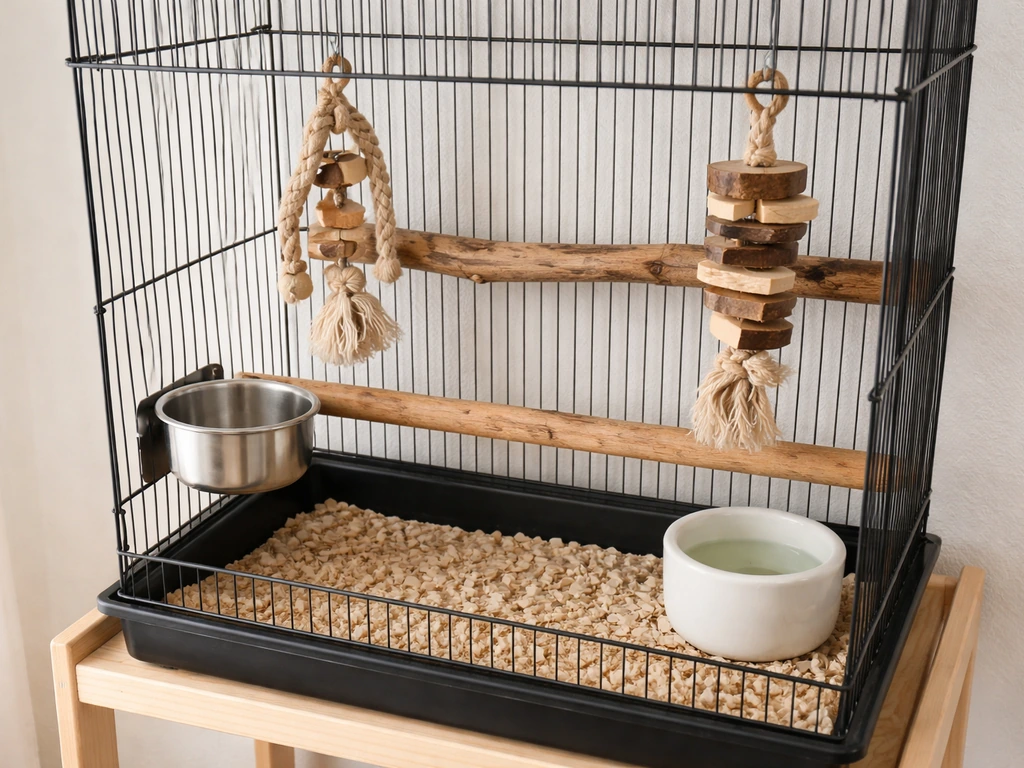
Perches
Natural wood perches of varying diameters are the best option. Different diameters mean the bird's foot is never locked in the same grip position all day, which prevents foot sores. For a cockatiel or similar bird, perch diameters of roughly 1/2 to 3/4 inch are appropriate. Avoid sandpaper-covered perches, which cause skin abrasion. Place perches at different heights but not directly over food or water bowls, so droppings don't contaminate them. Leave enough clear space at the perch ends that the bird's tail doesn't press against the cage bars when perching.
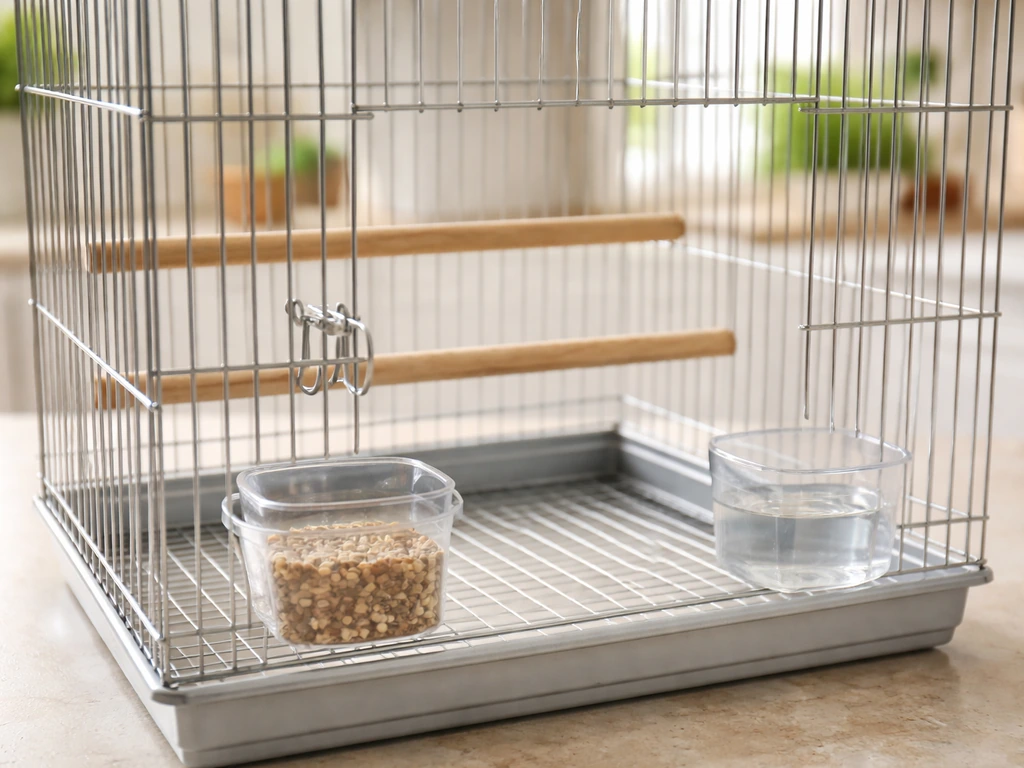
Feeders and Water
Stainless steel or thick ceramic cups are safest. Plastic can harbor bacteria in scratches over time. Mount food and water at mid-height or higher, not at floor level where droppings accumulate. If your cage has built-in cup holders on the door, make sure the cups lock in firmly so they can't be tipped. A second water source (like a sipper bottle) is useful as a backup but shouldn't replace an open bowl entirely since some birds never learn to use sippers. Keep feeders accessible from outside the cage door if possible so you can refill without reaching into the bird's space.
Toys
Bird toys should be sized for your bird. A large chunky toy in a small cage reduces interior space and is a hazard if the bird gets tangled in it. Check every toy for small parts, thin loops, or frayed rope ends a foot or neck could get caught in. Hang toys from the cage top, not draped across perches where they block movement. Rotate toys every week or two to keep your bird mentally engaged. Avoid toys painted with unknown paints or dyed with unknown dyes.
Cage Liners
Plain newsprint or unscented paper towels are the simplest and safest liner options. They're easy to swap daily, and you can see droppings clearly to monitor your bird's health. Cut liners to fit the pull-out tray with a slight overlap on the edges to reduce mess spread. Avoid scented cage liners, wood shavings (cedar and pine release aromatic oils toxic to birds), and corncob bedding (which molds quickly). If you want a pre-cut liner solution, flat paper liners sized for your specific cage model are available and worth the small extra cost.
Maintenance: Cleaning Schedule, Preventing Pests and Mess

A consistent cleaning routine is the core of long-term cage safety. Here's a practical schedule that works without being overwhelming.
| Frequency | Task |
|---|---|
| Daily | Replace cage liner, wipe food and water cups, remove uneaten fresh food |
| Weekly | Wipe down bars and perches with a damp cloth, scrub cups with dish soap and hot water, check for droppings buildup on bars or toys |
| Monthly (at minimum) | Spray down and scrub the entire cage with a non-toxic disinfectant and hot water, rinse thoroughly, air dry before returning the bird |
On cleaning products: this is where people make dangerous mistakes. Bleach is effective but must be used diluted (roughly 1:10 bleach to water) and the cage must be rinsed extremely thoroughly afterward, then fully air-dried before the bird returns. Undiluted bleach can cause severe respiratory tract irritation in birds. Never, under any circumstances, mix bleach with ammonia-based cleaners. That combination produces a toxic gas that can cause serious breathing distress in birds and humans, and symptoms can appear 12 to 24 hours later. Vinegar is often recommended as a 'natural' option, but it still needs careful use and thorough rinsing. The safest approach is a commercially made bird-safe disinfectant designed specifically for avian use, because the formulation is tested for bird safety.
For pest prevention: mites are the most common cage pest. They hide in cage joints, under cage covers, and in wooden perches. If you see your bird scratching excessively, check the cage at night with a flashlight. Red mites are only active in the dark. If you find them, the entire cage needs a thorough hot-water scrub and an avian-safe mite treatment. Discard wooden perches and replace them. Regular weekly cleaning is the best prevention. Keep the cage area dry, since moisture under the tray grate is where pest problems often start.
For mess control: a seed guard or mesh skirt around the base of the cage catches thrown seed and feathers before they hit the floor. It's one of the simplest additions that makes a real daily difference. Position the cage on an easy-clean surface like tile or a cage mat rather than carpet if possible.
Troubleshooting Issues: Rust, Escapes, Poor Fit, and Stress
Rust appearing on the cage
Surface rust on powder-coated steel usually means the coating has chipped or worn through. Small spots: sand lightly, apply a non-toxic bird-safe sealant or touch up with stainless appliance paint rated safe for bird contact, and let it cure fully before returning the bird. Widespread rust, especially on any bar your bird chews, is a replacement situation, not a repair one. Rust ingestion and zinc poisoning from degraded galvanized coatings are both genuinely dangerous. When in doubt, replace the cage panel or the whole cage.
Escape attempts or successful escapes
If your bird is escaping, run through this checklist. First, is the door latch genuinely bird-proof? A carabiner clip or a small padlock through the latch loop is an easy fix for a latch a clever bird has figured out. Second, are there any bars that have separated from their welds or connectors? Press and wiggle every bar systematically. Third, is the bar spacing too wide for the bird? If the bar-spacing finger check (two fingers fitting through easily) shows a problem, that cage is not appropriate for that species, full stop. Some owners use zip ties to halve the effective spacing in a pinch, but this is a temporary measure only until you get the right cage.
Liners and covers that don't fit
Pre-cut liners and cage covers are rarely one-size-fits-all. For liners: measure your tray interior (not the overall cage footprint) and cut paper liners to fit with about an inch of overlap on each side to prevent droppings from getting under the liner edges. For covers: a cover that hangs too low leaves gaps at the bottom where drafts get in anyway. Measure cage height including any dome top, and look for a cover with drawstring or clip closures that let you adjust the fit. A loose cover that flaps also startles birds at night. If you can't find the right size, a breathable dark cotton fabric cut and hemmed to size works fine.
Signs the setup is stressing your bird
Watch for feather plucking, aggressive bar biting, continuous pacing or bobbing, screaming beyond the bird's normal vocalization pattern, or a bird that never willingly leaves one corner. These are signals that something about the setup is wrong. Run through the basics: Is the cage big enough for full wing extension? Are perches at appropriate heights and diameters? Is the placement exposing the bird to noise, drafts, or unpredictable traffic? Is there enough enrichment (toys, foraging opportunities) to keep the bird occupied? Sometimes the fix is as simple as moving the cage to a different wall or adding a natural branch perch. If the behavior persists after you've addressed the environment, a vet visit is the right next step.
Your Final Setup Checklist
Before your bird goes into the cage for the first time, run through this checklist. It takes five minutes and catches the issues that matter.
- Bar spacing confirmed correct for species (checked against the table above and verified with the finger test)
- All bars firm with no wiggle or rotation when pressed
- Door latch tested by hand, bird-proof confirmed (can't be nudged open with gentle pressure)
- Base tray sits flush with no gaps larger than bar spacing
- Cage wiped down, rinsed, and fully dry before bird enters
- Interior temperature in placement area confirmed between 60°F and 80°F
- Cage positioned away from drafts, direct sun, kitchen fumes, and floor level
- Perches installed at varied heights with tail clearance from bars
- Food and water cups locked in and not positioned under perches
- Cage liner in place and extra liners stocked for daily swaps
- Wing-spread check passed: bird can stretch both wings fully without touching any bar
- Cleaning schedule set (daily liner swap, weekly wipe-down, monthly deep clean)
If you're working with a specific branded cage rather than a generic build, the assembly details can vary quite a bit. If you are following pet store or brand-provided directions, use them alongside a quick bar-spacing and door-security check so the cage is safe before your bird is inside pet republic bird cage instructions. Brands like Vivohome, A&E, and Pet Republic each have their own hardware and latch systems, so always cross-reference this guide's safety checks with whatever the specific product's instructions tell you. For A&E bird cage assembly instructions, double-check the latch design and bar spacing before you let your bird anywhere near the cage. The checks themselves, bar spacing, door security, wing clearance, temperature range, and cleaning schedule, apply universally regardless of which cage you're building.
FAQ
How do I measure bar spacing correctly on a Pets Alive bird cage if the bars look uneven or the cage is partially assembled?
Measure between the bars at the spot where the bird would reach, not near a rounded corner or decorative panel. Use a straight, flat ruler or calipers, and re-check at multiple heights (top third, middle, bottom third) because bar spacing can vary slightly after shipping or if a section is assembled out of alignment.
What if two fingers fit through the bar spacing, but my bird is still getting stuck or bruising its head?
Two-finger fit rules are a rough welfare screen, not a guarantee. Check whether there are any bent bars, gaps near welded joints, or a door frame that increases effective spacing when the door is shut or slightly misaligned. If the bird can jam its head through at any height, switch cages to the correct spacing rather than “adjusting” with temporary fixes.
Is it okay to cover the cage with a blanket at night if I do not have a “breathable cage cover”?
A blanket can work only if it does not touch hot spots, does not block airflow, and stays clear of the door seam where drafts or humidity can collect. If you use any cover, keep it high enough that it does not sag into the bars, and remove it immediately if you see frantic movements or chewing at the cover.
How do I clean the cage after using bleach without risking bird exposure?
Rinse until there is no bleach smell, then rinse one more time with clean water. After that, let the cage fully air-dry in a ventilated area with all parts exposed, including the tray and grates. If you can still smell “pool chemicals” when it is dry, keep rinsing and drying before the bird returns.
Can I mix different cleaning products if I rinse between them?
No. Even if you think you rinsed, residue can remain in corners, tray seams, or door latches. Only use one cleaner at a time, and follow up with thorough water rinsing if the product requires it. When unsure, switch to a bird-safe disinfectant formulation and keep your routine consistent.
What should I do if my bird refuses the open bowl but drinks from a sipper bottle (or the opposite)?
Some birds learn only one method. If your bird avoids bowls, keep a safe backup water source available until it reliably drinks, but do not assume “they must drink enough.” Check daily by looking for normal droppings and, if possible, track water level changes. If intake seems reduced, consult an avian vet rather than repeatedly changing the water system.
Where should I place the first perch and other accessories so droppings do not contaminate the food and water?
Keep food and water above the lowest droppings line for your bird by mounting bowls at mid-height or higher, then position perches so the underside of the perch does not align directly over bowls. Also leave clearance at the perch ends so the tail does not drag along bars, which can encourage awkward perching and more mess.
Are paper liners always the safest choice, or can I use thicker liners to reduce cleaning frequency?
Unscented paper liners are ideal for daily visibility and simple swapping, but thicker products can slow drying under grates and make it harder to spot early health changes. If you use a thicker option, ensure it fully fits the tray edges with overlap and is still easy to replace daily, not only weekly.
How often should I check for mites if I use a clean liner and I do not see pests?
Use a quick inspection at least weekly, and do a focused night check with a flashlight if your bird has increased scratching. Mites often hide in joints and under covers, so the key is not the visible presence, it is the behavior pattern plus a targeted inspection routine.
If my cage has rust spots, can I just sand and repaint the affected area instead of replacing parts?
Small, localized spots on non-chew areas may be manageable if you completely remove loose rust, apply a bird-contact-safe coating, and let it cure fully. Do not patch rust on bars your bird chews or gnaws, because degraded coatings can continue to flake or contaminate the bird. When rust is widespread, replacement is the safer decision.
What’s the best way to prevent escapes if my bird is smart and tests the latch repeatedly?
After assembly, test the latch with realistic force (gently simulate the leverage your bird would use) and confirm the door cannot shift when closed. Replace any weak hardware, and avoid temporary “spacing” hacks as a long-term solution. If the bird still targets the door area, consider adding an additional secure barrier like a cage stand strategy that reduces reach access.
If my bird shows stress signs after setup, how do I tell whether it is temperature, noise, or cage size?
Run one change at a time and observe for 24 to 48 hours. For temperature stress, look for persistent fluffed posture or panting-like breathing in warm conditions. For noise or traffic, stress often improves when you move the cage to a quieter wall. For size issues, wing-tip and tail bar contact during full extension is the strongest physical indicator, so re-check wing clearance and bar spacing before you assume behavior is “personality.”
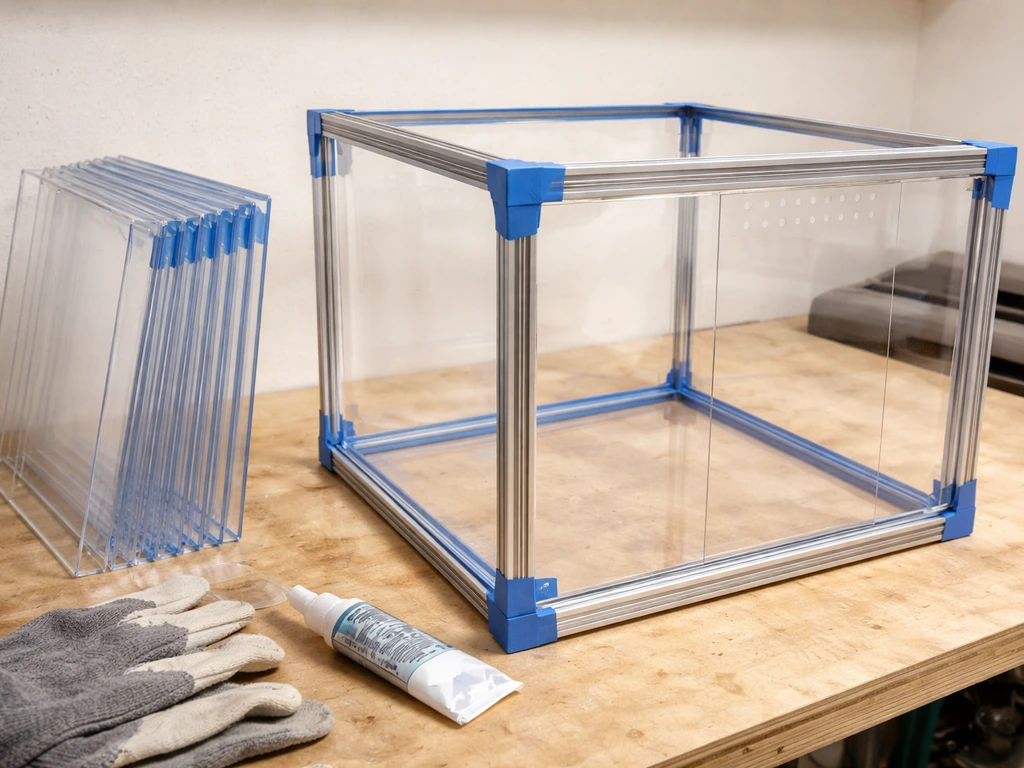
Next Article
How to Build a Plexiglass Bird Cage Step by Step
Step-by-step DIY guide to build a safe plexiglass bird cage: materials, dimensions, cutting, sealing, doors, airflow, an